Dynamic Data Fields
Adding and Removing Data Fields
To add a dynamic data field, select one from the middle section of the Insert menu.
Dynamic data fields can be added directly to your document, or inside a regular text box.
Until the data field is populated with some information, it displays its name. For instance, <ZIP/Postal Code>.
Reserve a sufficient amount of space for data fields that import information from outside sources, such as data from a file or from Contacts or Address Book. To make sure that everything fits in your design, go to the Print dialog, select contacts if you are going to print for them, and check the print preview. The length of Page Number or Date and Time fields can be verified right in the main window when you edit your document.
You can combine regular text with dynamic data fields in the same text box. This way you can create text with variable parts, and use it for merge printing. It is useful for printing a number of name badges of business cards with the same design but different personal information.
To add text inside a field with dynamic data, double-click on it to activate the editing mode, and then place the cursor before or after the data field and type.
To remove a standalone dynamic field, select it and hit the Delete key.
To remove a dynamic field inserted into a text box, double-click on the text box to enter the editing mode. Then click on the dynamic field to select it, and press on the Delete key.
Using a Text Box to Group Data Fields
Placing data fields inside a text box lets you manipulate all related data fields as a single object. This can be used with address fields.
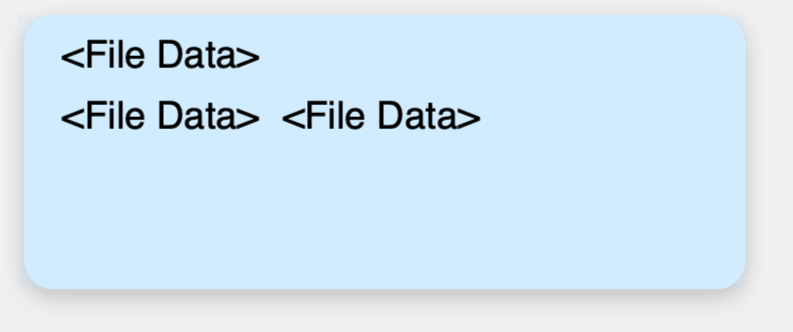
This technique also makes the position of fields flexible. Each data field changes its location depending on the amount of text before it. It is extremely helpful when data is inserted into the fields automatically while each piece of data takes different amount of space. Let's take address labels as an example. Here we have data fields placed directly on the label.
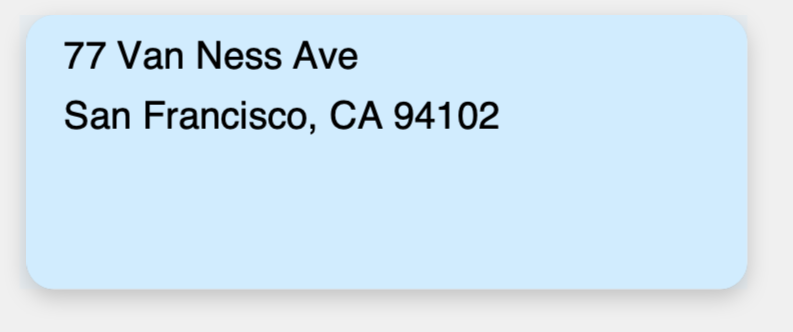
As you can see, we properly arranged the city, state and ZIP code in the second line. Now, let's open the Print dialog to preview labels with the rest of addresses inserted.

The "San Francisco" address looks nice because we looked at this address when manually positioned the data fields. The space in the middle of the "New York" address is too big. The name of the city become shorter but the positions of the state and ZIP code didn't change. There is the opposite problem with the "Prince Frederick" address. The city name goes over the following text.
If we put the address fields into a text box, the problem described above disappears. The name of the state just follows the city name however long it could be.
