Printing and Exporting
Bleeds
The bleeds option is used when you need to export your design to a file in order to print this file on a commercial printer. To turn the bleeds on or off, use the Export Options dialog.
Commercial printers use paper that is larger than the final page size so that they can print over the edges and then trim them. The term comes from the idea that the images "bleed" over the edges.
Imagine that you need to print a booklet with a colorful background that reaches the edges. If you simply print it, you may get unwanted white edges if the print or trim operation is off-centered. When an image bleeds beyond the page edges, unwanted white edges will not appear.
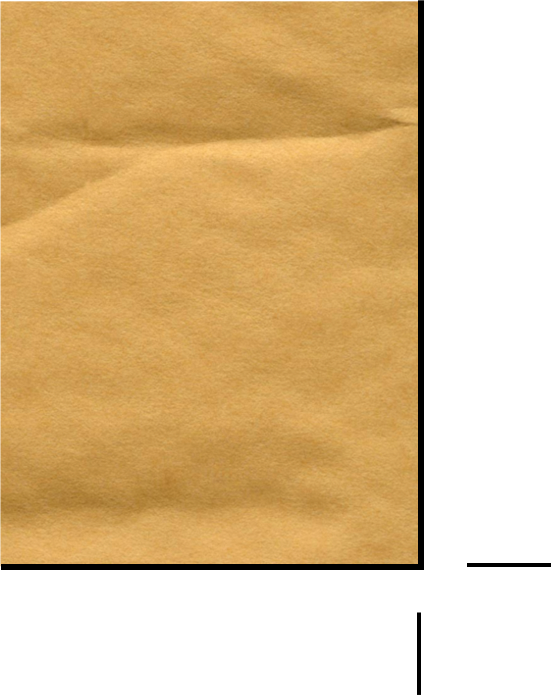
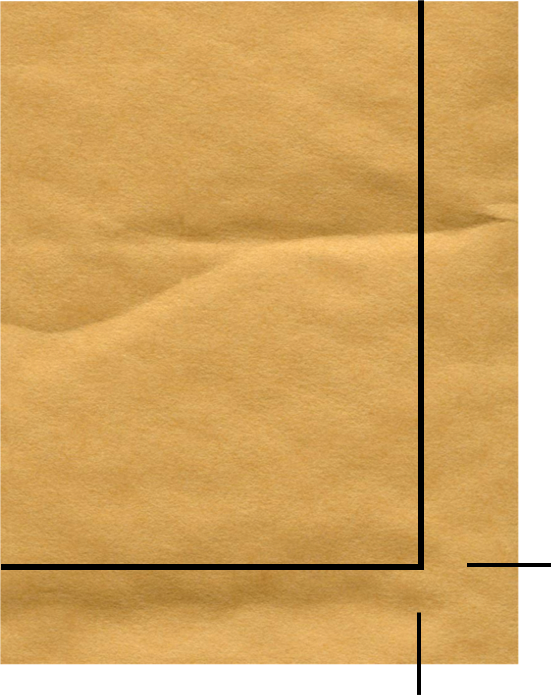
The images below demonstrate how the bleed control works. In the left picture, the bleeds option is deactivated. The artwork is trimmed right along the document edge. The right picture is an example of printing with bleeds. Part of the artwork will be printed beyond the document edge.