How to Create a Yearbook on Your Mac
Creating a yearbook can be a fun, exciting and meaningful adventure that captures memories, celebrates accomplishments and creates lasting memories. Here are the basic steps you can follow to create a yearbook with the help of your Mac.

Preparation Stage
Gather Materials for Your Yearbook
Collect all the photos, artwork and other materials that you want to include in your yearbook. Make sure to organize them in folders on your Mac, so it’s easy to access them later.
Here are some tips on what images you can collect:
- Photos. They are the main element of a yearbook. Collect as many high-quality photos as you can from school events, sports games, clubs and individual portraits. Make sure to get permission from the photographers and the people in the photos before including them in the yearbook.
- Artwork. Collect artwork from students, such as drawings, paintings and digital art, to add a creative touch to your yearbook and showcase the talents of your fellow students.
- Quotes. Collect quotes from students, teachers and staff members. These can be inspirational, funny or meaningful and can provide a glimpse into the personalities of the people in your school community.
- Stories. You can add stories from students, such as memories from the school year, personal experiences or achievements. These can be a great way to capture the spirit of the school year and create a more personalized yearbook.
Add Memorable Stuff
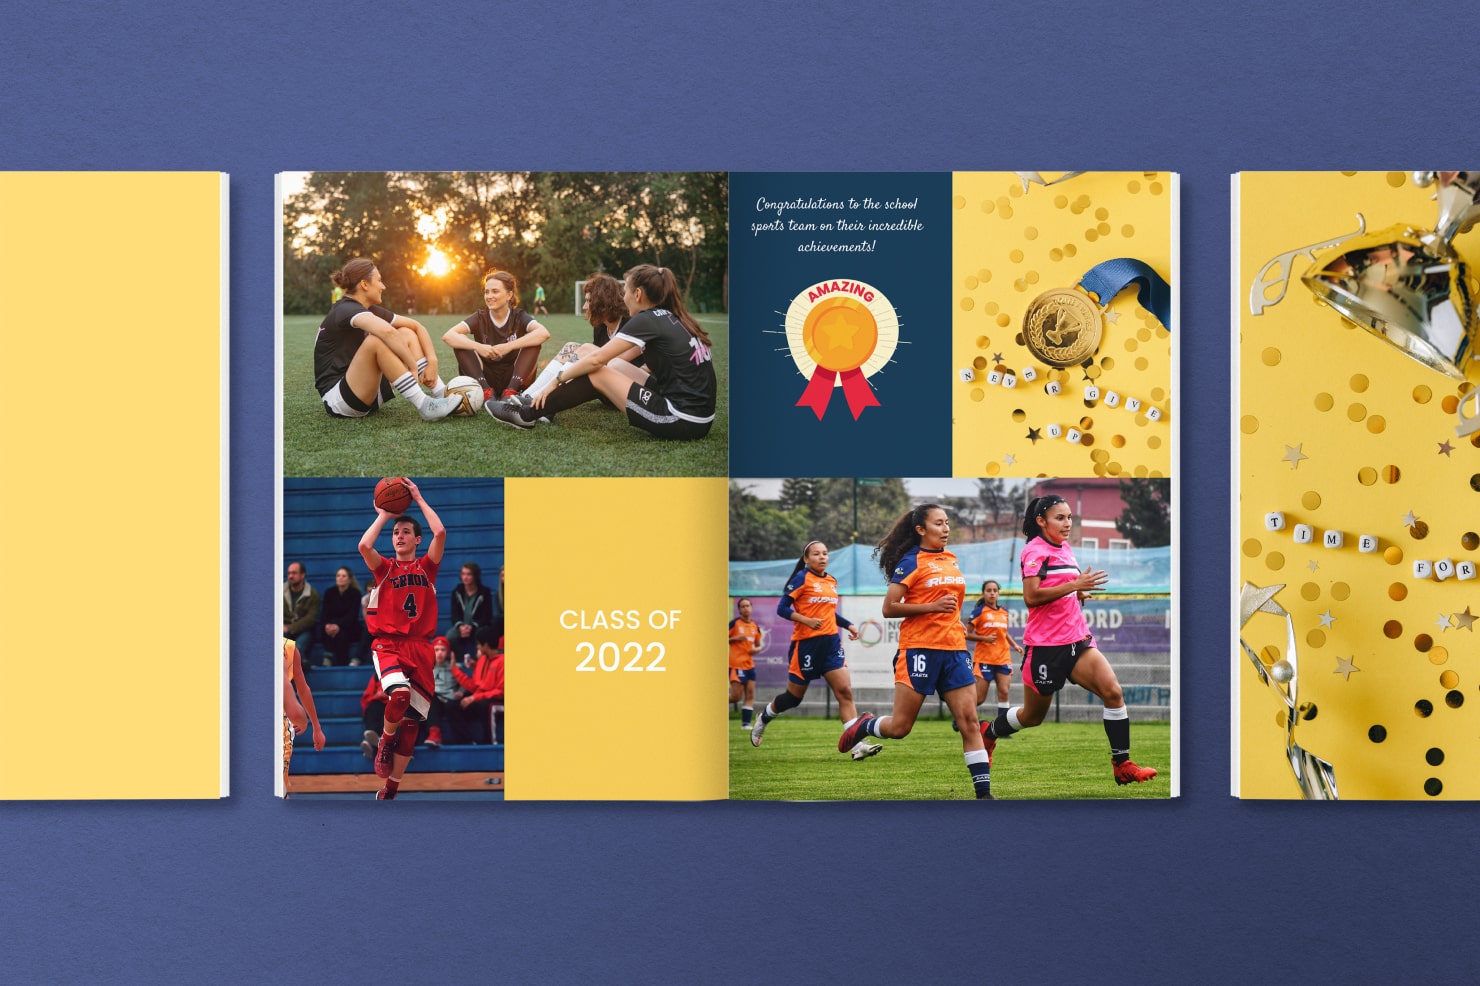
Collect items such as ticket stubs, programs and other items from school events. This can add a nostalgic touch to your yearbook and remind readers of the events they attended throughout the school year. Don’t forget about memorable sports events—cups and medals can be also included in the yearbook as photos, or even shared with the stories from the team members.
Choose DTP Software
There are many software options you can use to create a yearbook on your Mac, such as Swift Publisher, which offers a variety of tools and features for creating a wide range of printed materials, including yearbooks. With Swift Publisher, you can make custom layouts, add images and text, create photo collages and more. The software also provides you with the ability to print high-quality yearbooks at home or in a print shop or export your document as a PDF file, easily shareable with others.
Alternatively, you can use Adobe InDesign, Canva or Apple Pages.

Creating Your Yearbook
Creating a Template of Your Yearbook
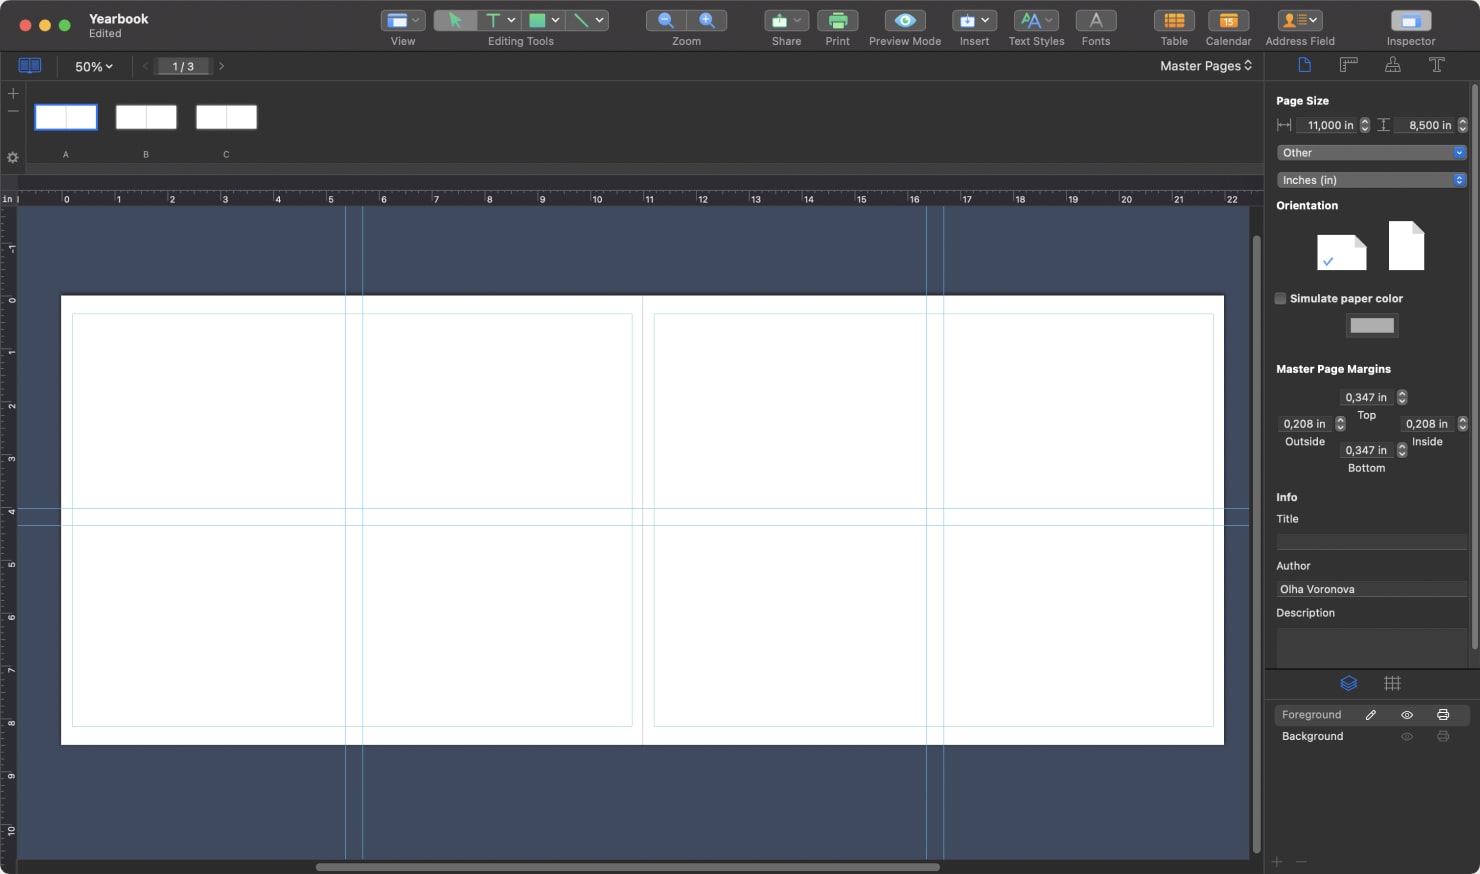
Before you start laying out your pages, it’s essential to create a template for your yearbook. Decide on the page size, margins and the number of columns you want to use. Don’t forget to use the Master Pages feature in Swift Publisher for the common design elements throughout the yearbook.
Adding Content to Your Yearbook
- Add pages. Once you have your template, start adding pages to your yearbook. You can include an introduction, table of contents, photos, quotes and stories.
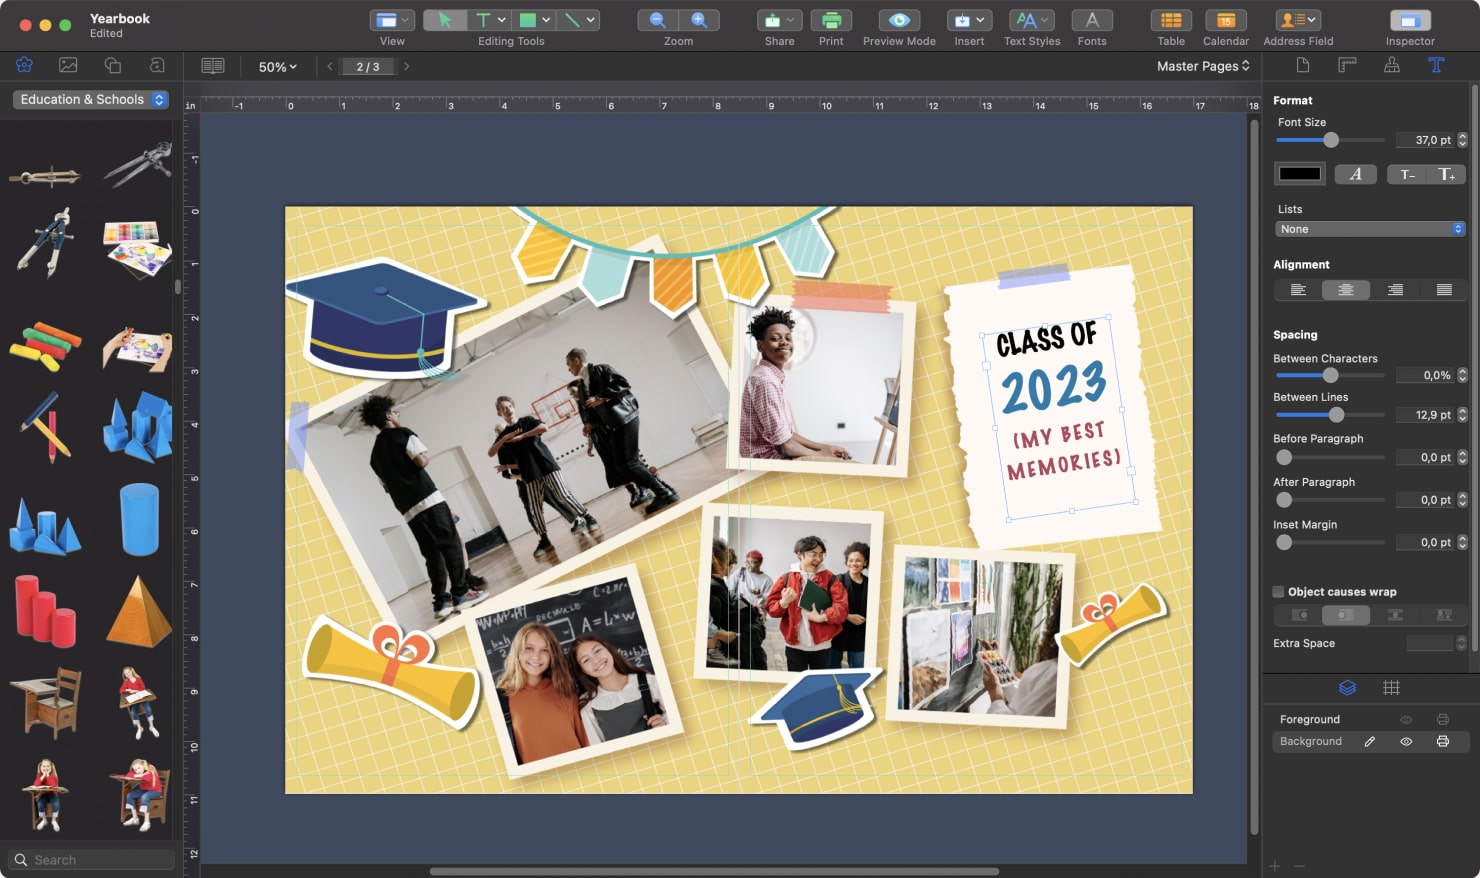
- Add photos. The most critical elements of a yearbook are the photos. Make sure to choose high-quality images that are well-lit and focused. You can edit the photos in software like Adobe Lightroom or Photoshop to adjust brightness, contrast and color balance.
- Add text. You can add text to your yearbook to explain the photos or tell the story behind them. Choose a font that’s easy to read, and make sure the text is properly aligned. Also, to create artistic text and headings for your yearbook, you can try Art Text.
Reviewing and Printing
Once you’ve completed your yearbook, review it carefully to make sure everything is correct, check the images and proofread the texts. Then, export the file to a high-quality PDF and send it to a professional printing company. Alternatively, you can print it at home using a color printer.
Factors to Consider When Selecting the Perfect Size for Your Yearbook
The dimensions of a yearbook can make or break its layout, design and budget. This piece will delve into the various factors that you should keep in mind when choosing the ideal size for your yearbook. These include page count, images and text placement, font size and careful choice of design elements. Whether you’re crafting a yearbook for an institution or a club, this guide will equip you with all the necessary information to help you arrive at an informed decision as to what size best suits your requirements.
Yearbook Dimensions
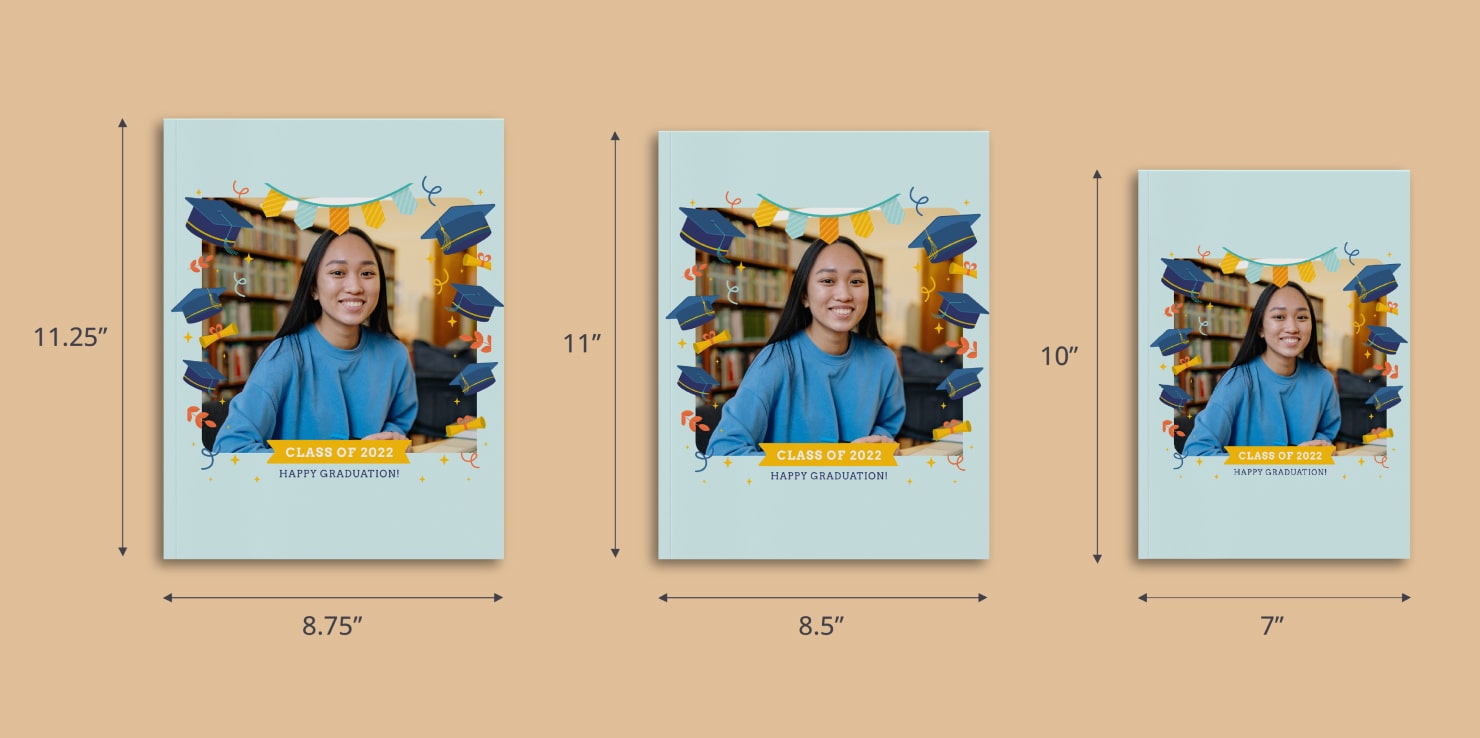
The best dimension for a yearbook will depend on the printing options available and your personal preferences. Here are some common yearbook dimensions that you might consider:
- 8.75 × 11.25 inches is a slightly larger format that can provide more space for photos and text. It can also make the yearbook feel more substantial and impressive.
- 8.5 × 11 inches is the standard size for most school yearbooks. It’s a good option because it’s easy to handle and fits easily on bookshelves.
- 7 × 10 inches is a smaller size that can be a good option if you’re on a tight budget or want to create a more compact yearbook. It can also be a good choice for elementary school yearbooks.
Keep in mind that the size you choose may affect the layout and design of your yearbook. Additionally, be sure to check with your printing company to see what sizes they offer and what their requirements are for file type, dimensions and resolution.
How Size Can Affect The Layout of the Yearbook
Canvas dimensions can have a significant impact on the layout and design of your yearbook such as:
- Page count. The size of a yearbook will affect the number of pages required to accommodate all of the content. This can affect the overall cost of printing, as well as the amount of content you’re able to include.
- Image and text placement. A larger size may allow for more flexibility in the placement of images and text, while a smaller size may require more careful consideration of how to fit everything on the page.
- Font size. This is pretty simple—the larger the yearbook, the bigger font size you can use, and vice versa, to fit all of the necessary information.
- Design elements. The size of a yearbook can also affect the use of design elements, such as borders, backgrounds and other graphic elements—a small yearbook size may require simpler design elements to avoid clutter.
Ultimately, the size of a yearbook is an important consideration when it comes to the layout and design of the book. Make sure to choose a size that works well with the content you want to include and the design elements you want to use.