Quick Start Guide for Swift Publisher on а Mac
Design and print marketing materials such as flyers to promote events or services, letterheads for official correspondence, brochures, pamphlets and booklets for product overviews or event details.
Starting a New Design in Swift Publisher
Template Gallery comes up when you launch Swift Publisher. In the Template Gallery you can select the design and paper size.
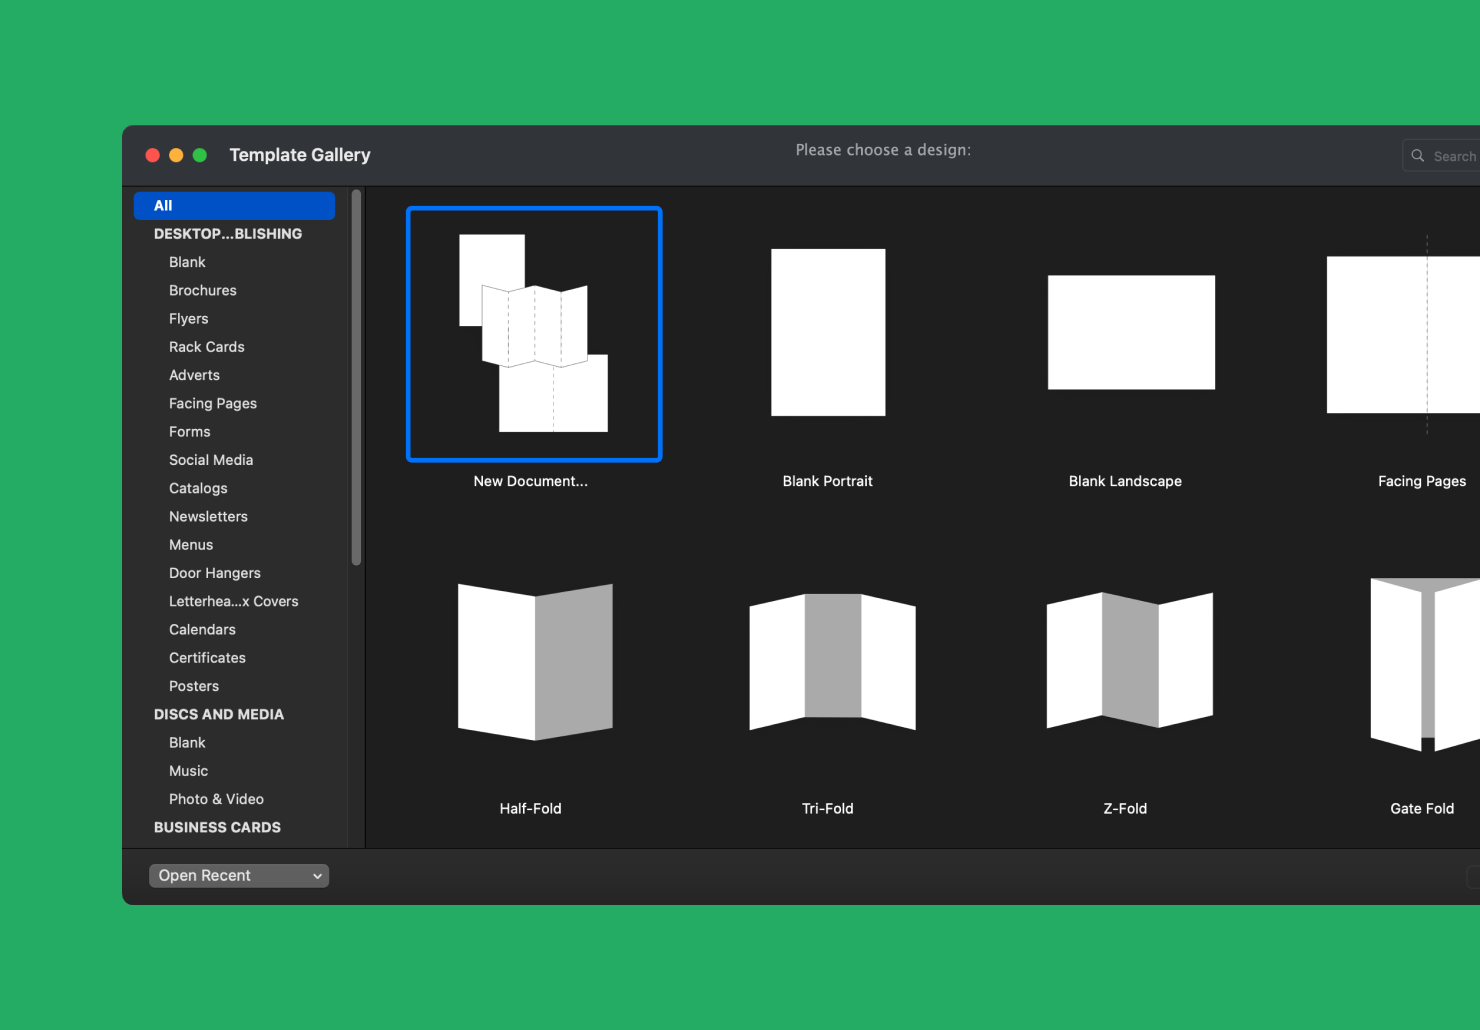
Template Gallery shows the list of categories and templates’ preview of the selected template category. Along with ready-made designs there are blank templates in the collection. Choose a category. Select a template in the preview and click Choose. The selected template will be opened in Swift Publisher.
Editing a Document
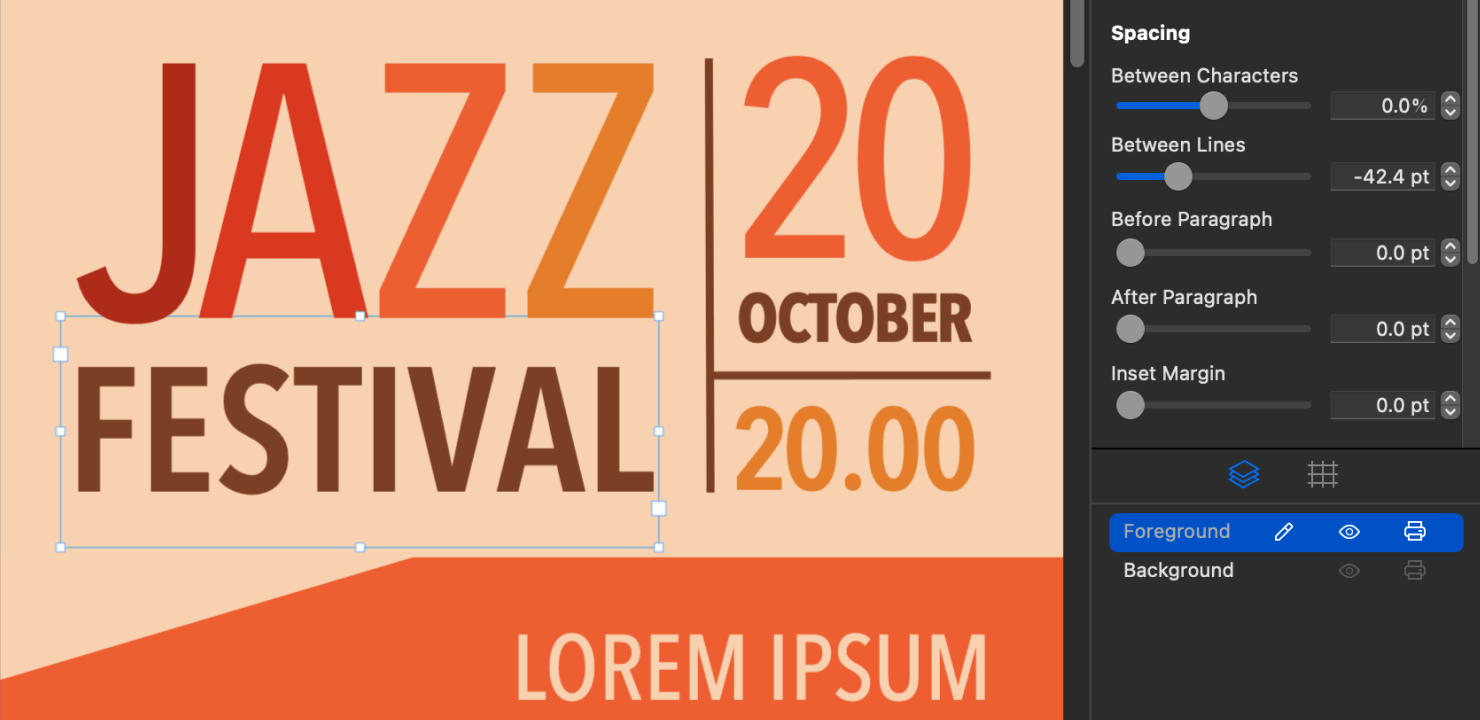
The document has two layers: Background and Foreground, which allow editing and creating complicated designs. You can switch between them using either Arrange > Layers from the menu bar or by using the Layers panel located at the bottom of the Inspector.
Selecting and Moving Objects
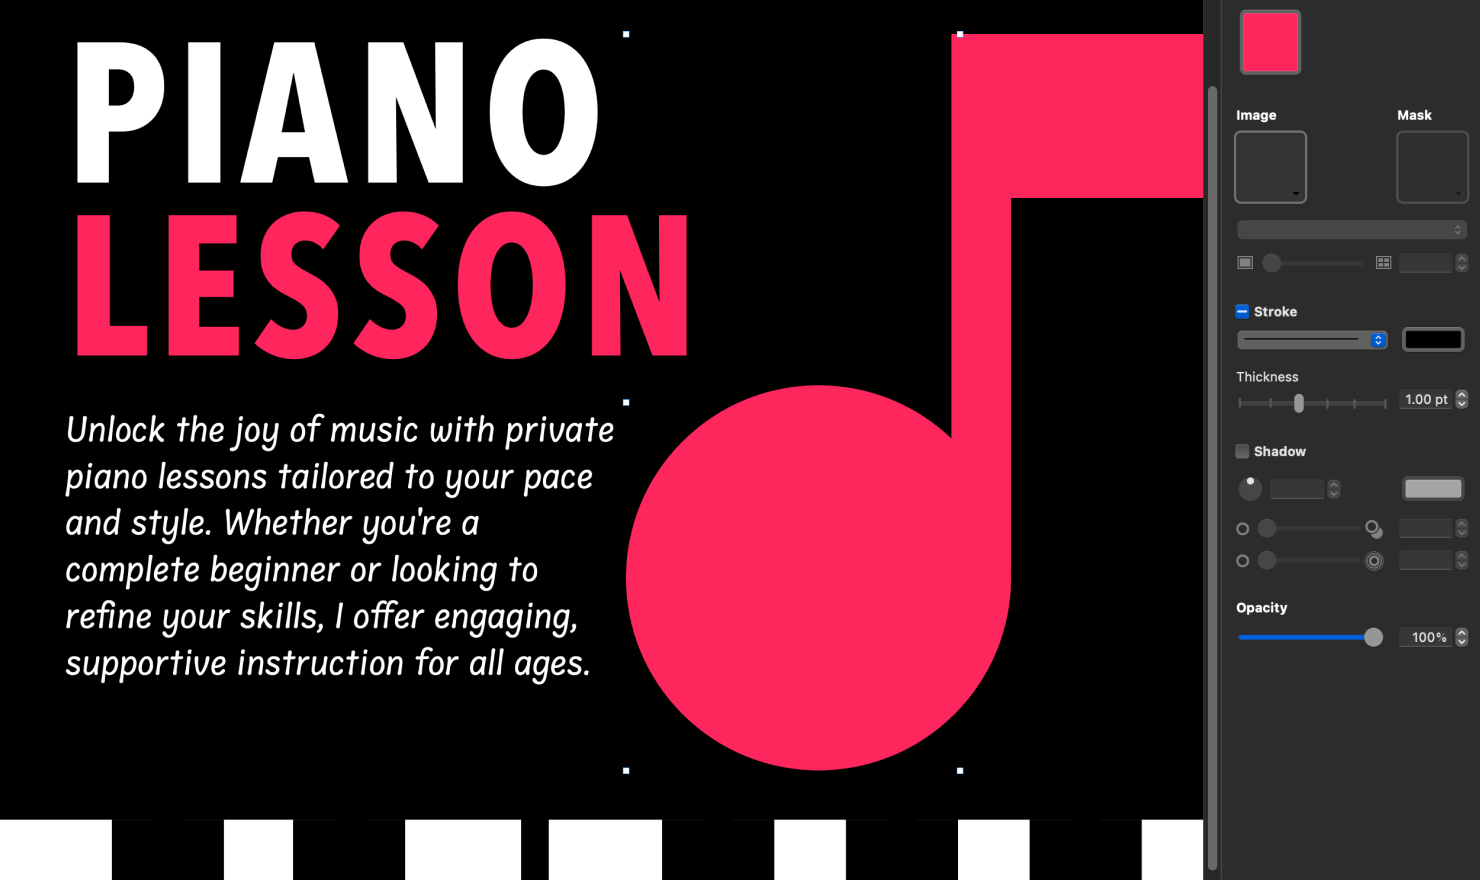
Click on an object to select it and drag the mouse to move it around. Hold down the Shift key to select more than one object. A selected object has borders with handles on its corners and sides, use them to resize it. To duplicate selected objects, press Cmd + D. To delete an object, press the Delete key on the keyboard. You can change the properties of the selected object in the Inspector.
Editing Text
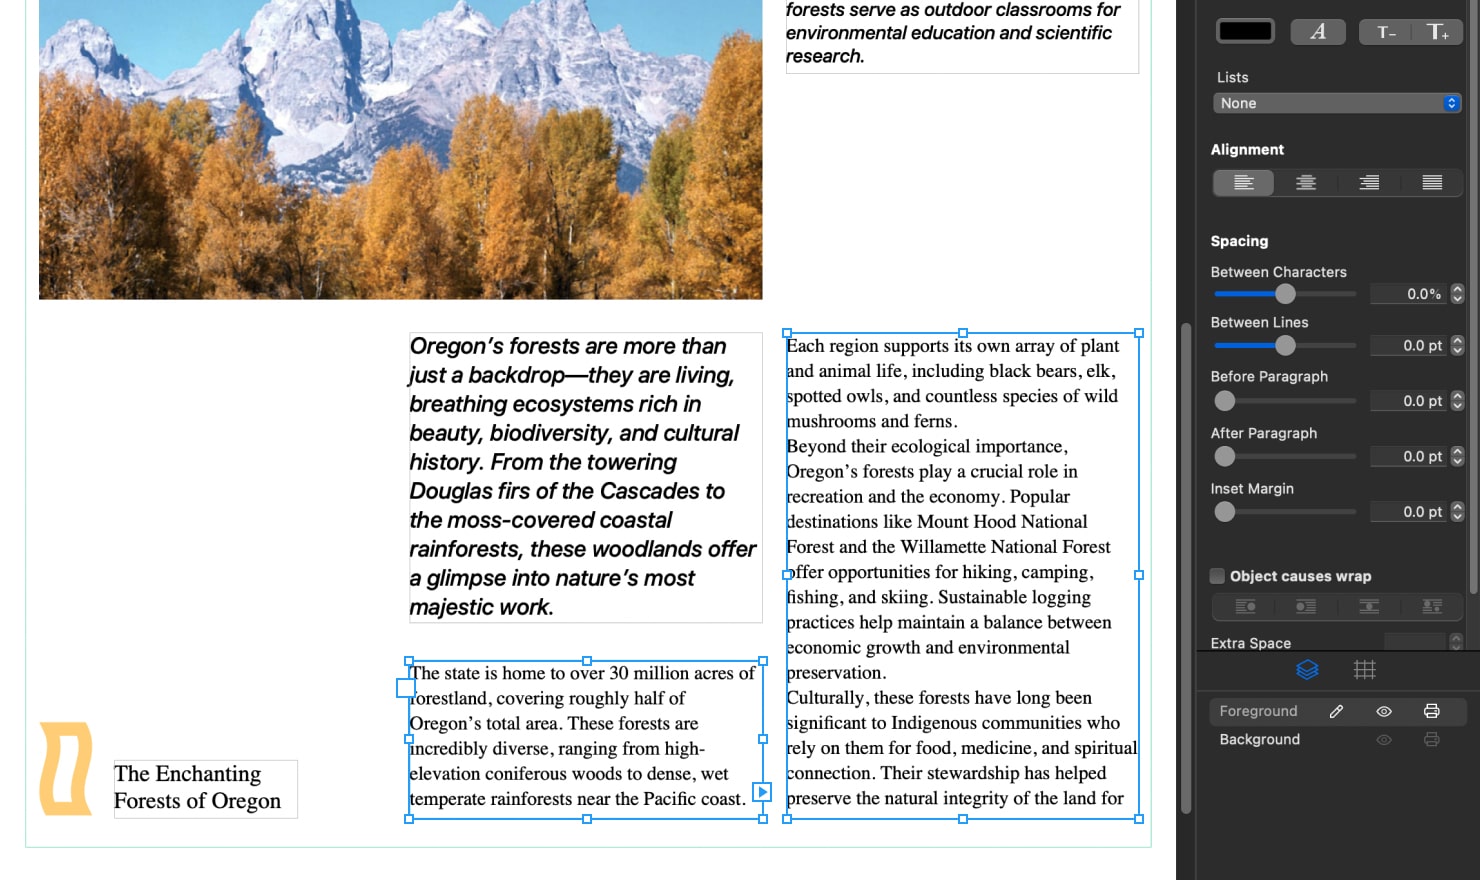
To add a text block click the T button on the toolbar, click with the mouse on the page and move the mouse to stretch a rectangle. Type in text block or paste it from the clipboard. Click outside the text block to cancel text edit mode. To enter edit mode, double click on the text block. In editing mode a text block behaves similar to ordinary text editor, but has several special features. Objects (images and vector shapes) can cause text wrap. You can turn the wrapping mode on by selecting an image and clicking on the Object causes wrap in the Text tab of the Inspector.
Swift Publisher allows creating linked text blocks. This means you will have several blocks containing one text extract that can be moved separately and even placed on different pages. If space in the first block isn't enough for pasted text, text will flow to the next block and so on. To add a linked text block click on the small square on the right side of the selection border and choose a place for it.
Pictures
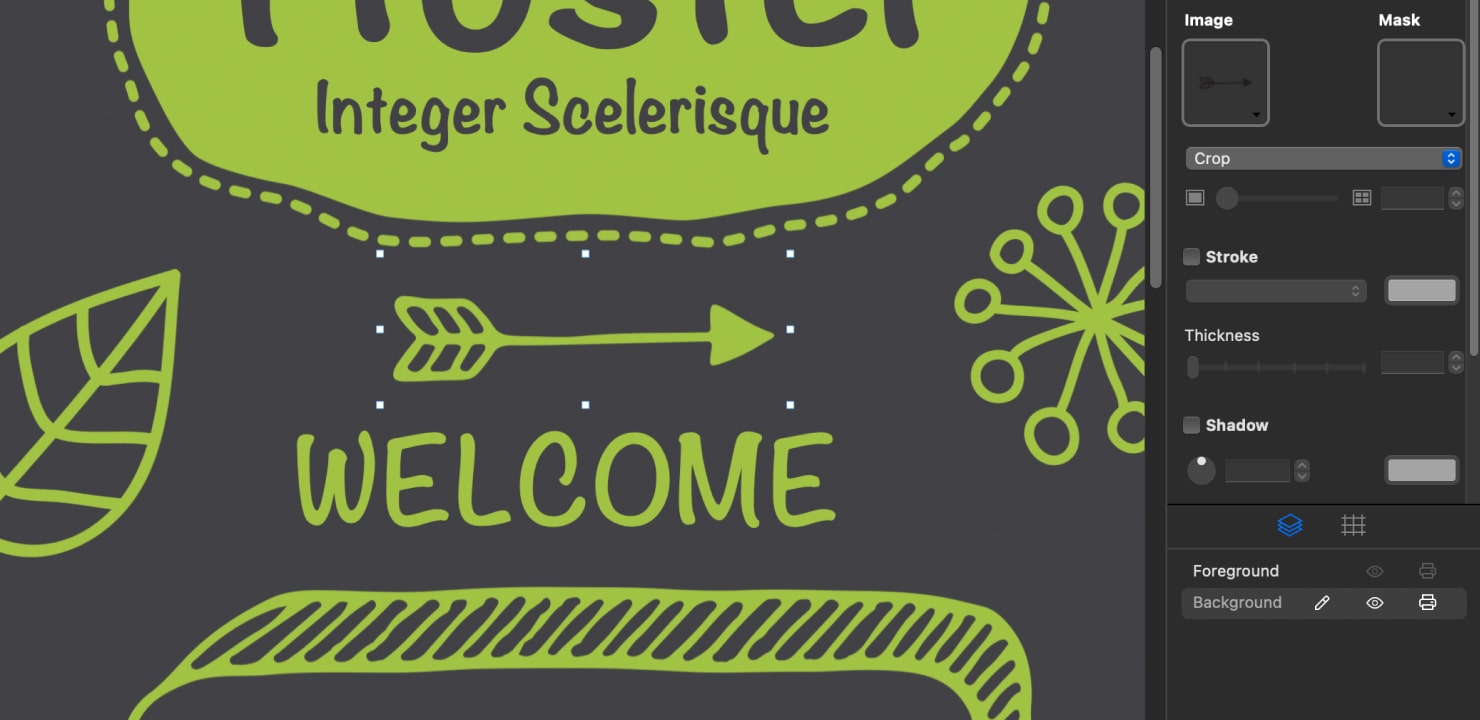
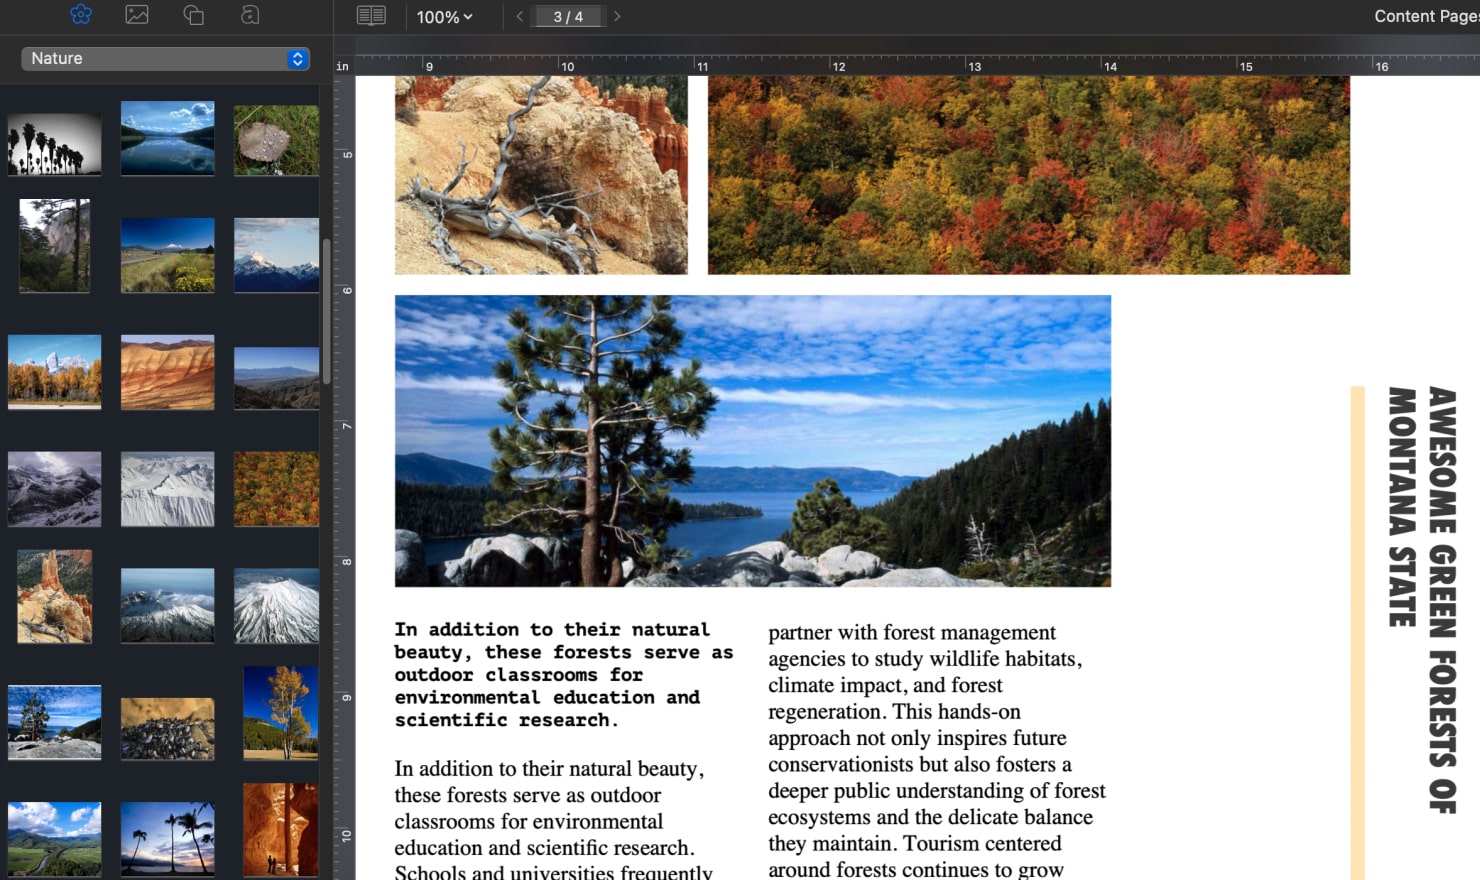
You can add images to your document from embedded Clipart, Photos collection or from a file on your disk. Also, you can search and download a picture from the Internet—use Insert > Image > Search on the Internet from the program menu. A collection of images already comes with the program. In the Inspector you can change properties of the selected picture—apply a mask, change opacity, rotate or tint it. You can easily crop an image to remove the parts you don’t like—choose Crop Image command from the Format > Image > Crop menu and select the area you want to crop in the resulting dialog.
Smart Shapes
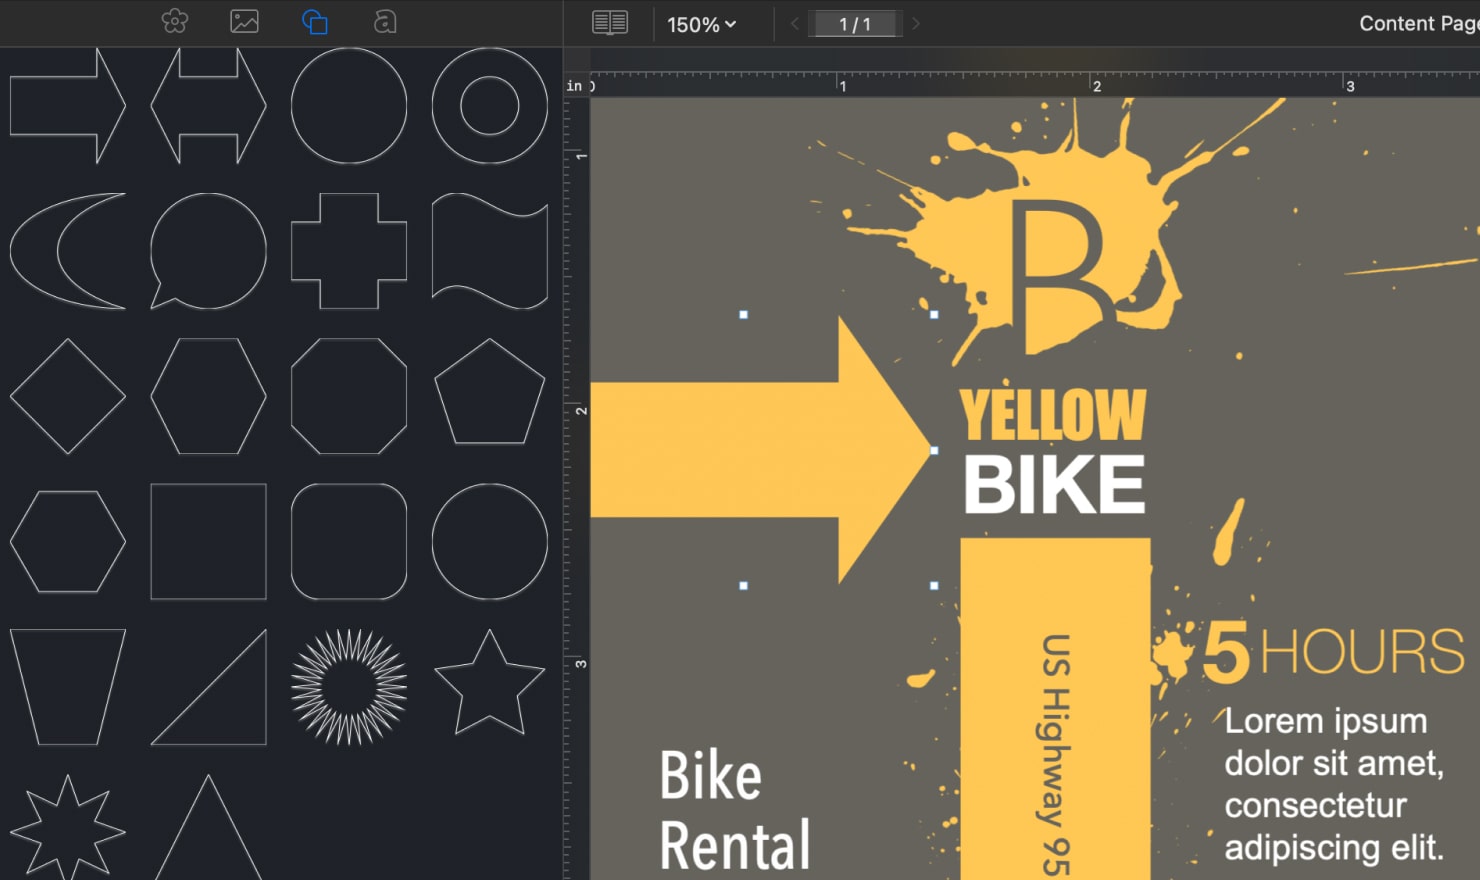
The Clipart has a Smart Shapes tab, the embedded source of vector figures with controllable behavior. Their properties can be changed in the Inspector panel.
Printing
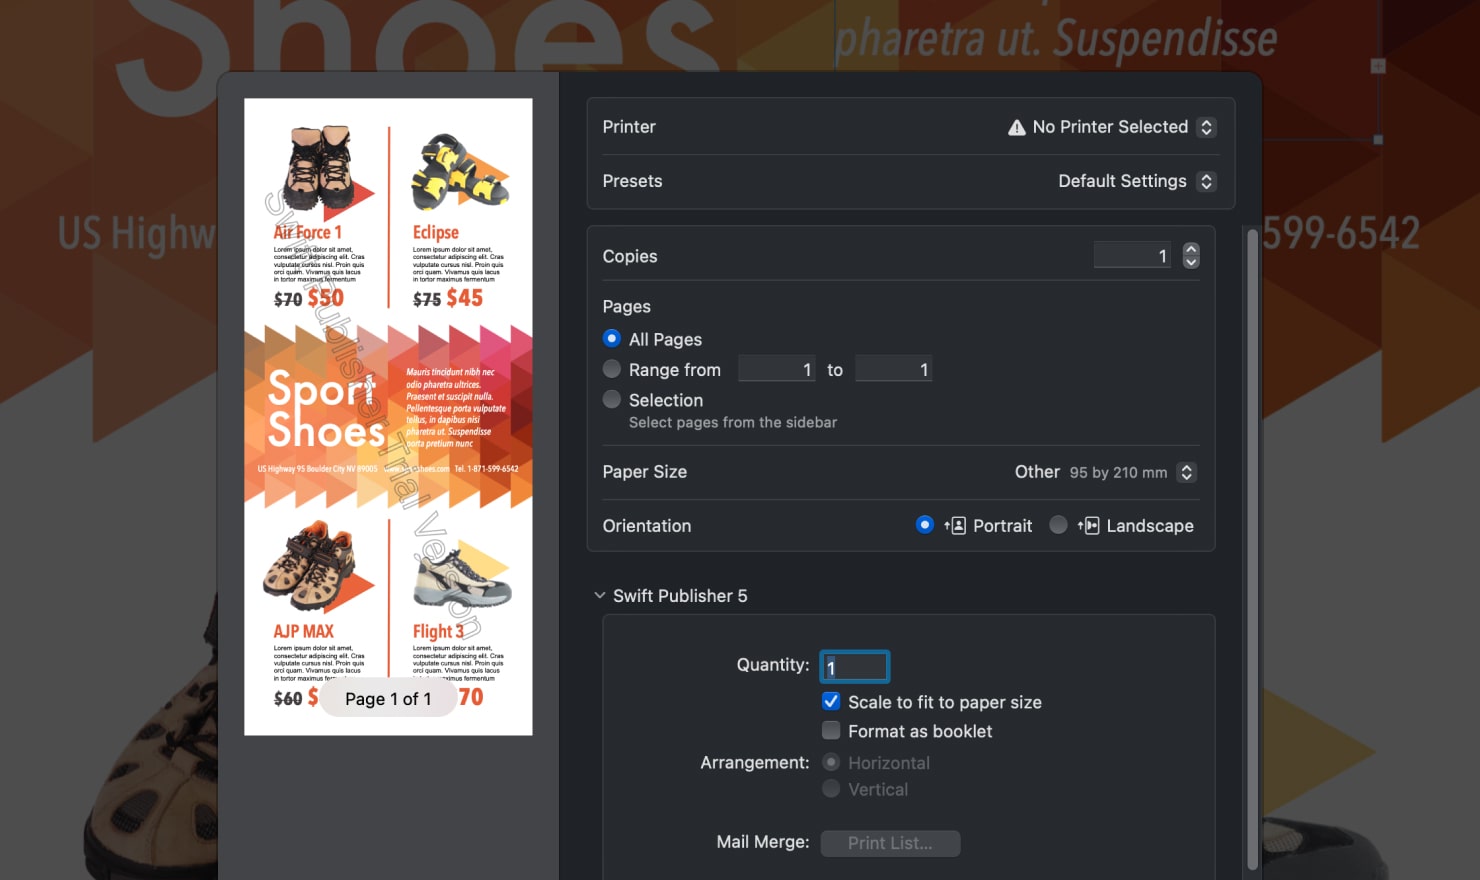
Your documents can be printed on a desktop printer. To start printing, select the File > Print menu. In the program Settings, you can adjust the quality of printing. This is the easiest way to find compromise between speed and quality when you have a lot of raster graphics in your document.
Selecting and Moving Objects
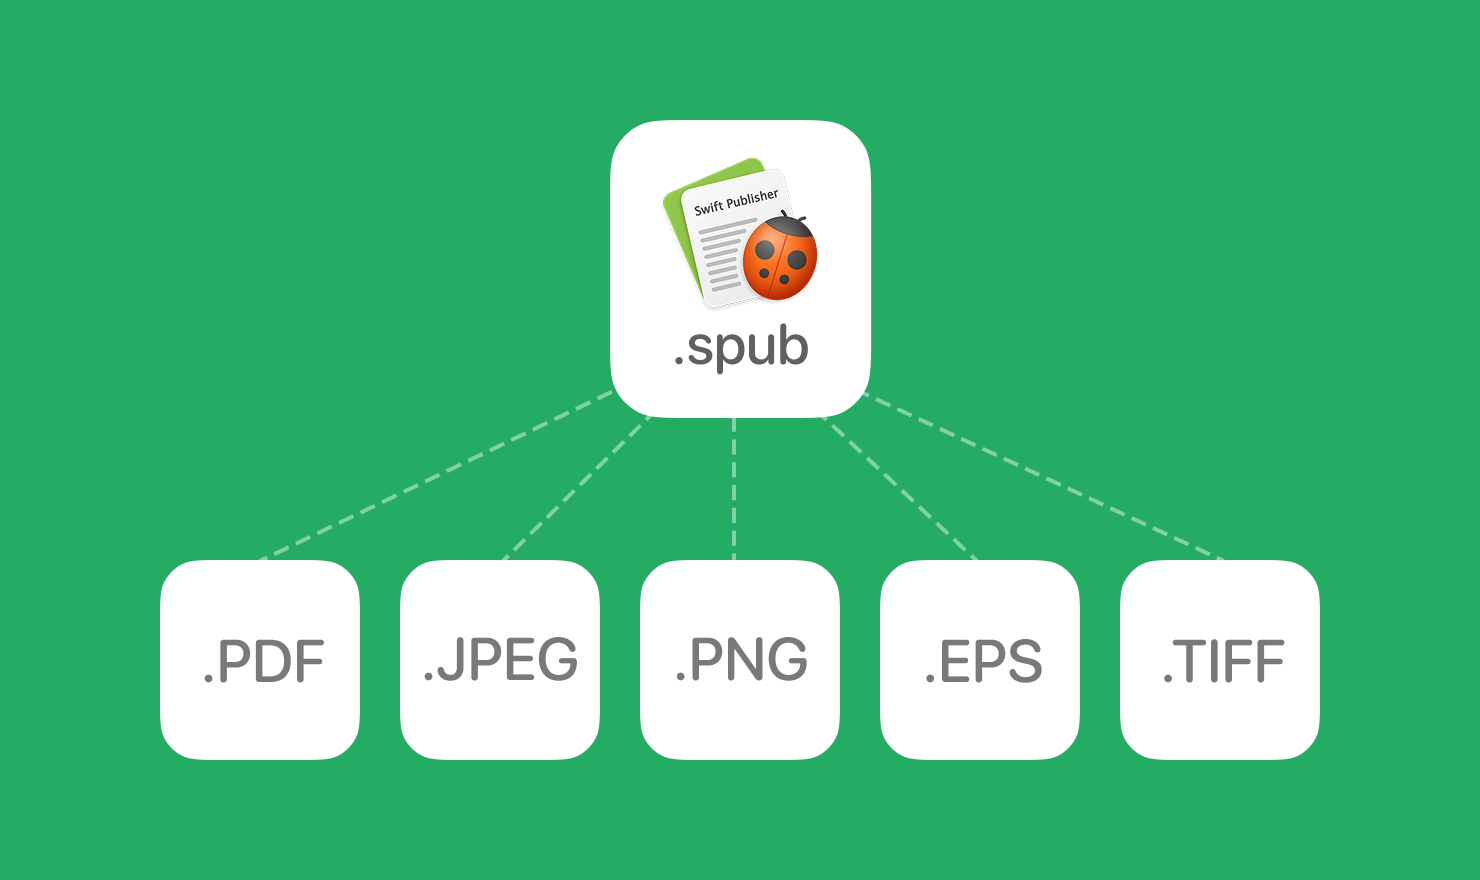
Swift Publisher can export a document to PDF, TIFF and JPEG file formats. To export, select File > Export menu. Then in the Format drop-down list choose file format, select file location and click Save.
Registering Swift Publisher
Once you’ve received your License Code after the purchase, you need to register the program to remove the limitation of the trial version. Call the License dialog from the application menu or by clicking the License button in the message box that comes up after launching the program. In the dialog, enter your name and the License Code you received.