How to Design Your Own Christmas Cards
Christmas time is looming, and soon we’ll be sending happy Christmas greeting cards to our friends, family members and colleagues. However, this tradition, although sweet, may be boring, especially when trying to choose your special Christmas card among a bulk of quite commonplace designs available in the shops.
I do my corporate and family Christmas cards with the help of Swift Publisher for Mac, so you can follow these simple steps and create your customized family or business holiday cards in a similar way.

Create a New Document
Creating your Christmas card design starts with defining its size and print layout.
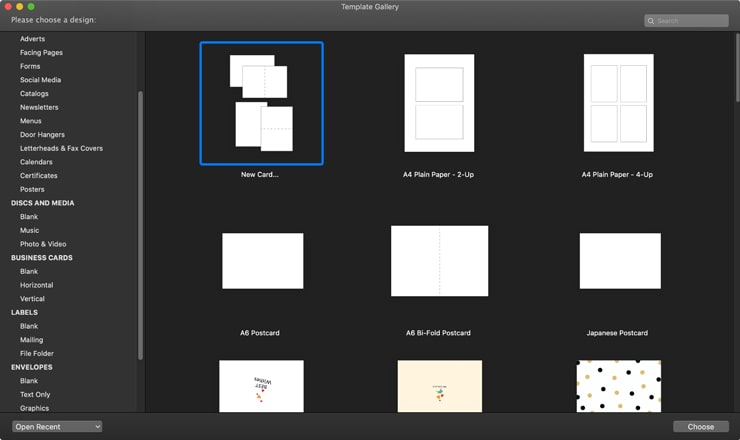
Choose a document type first, in your case, it is Cards and then click New Card to choose size and paper features, or select one of the pre-designed templates from the Folded Cards section. The most popular sizes for traditional folded Christmas cards include:
- large: 9×6 inches;
- square: 5×5 inches;
- standard: 7×5 inches;
- small: 5×3.5 inches.

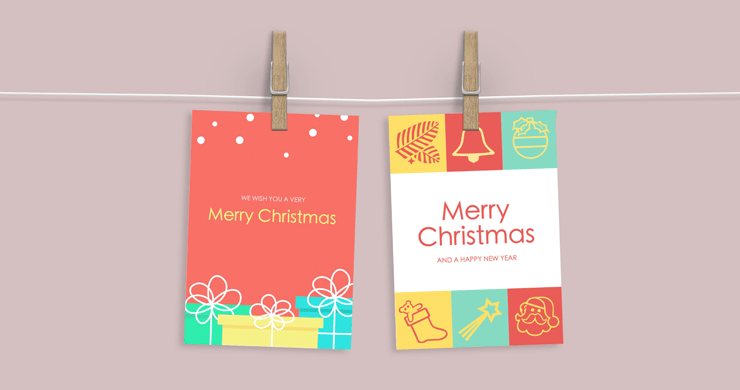
Choose Your Special Christmas Card Design
You may simply apply one of the multiple Christmas card design templates available, but placing your own photos right from your Mac or the internet into the document is an option as well. The photo is easily resized according to the document dimensions, so you won’t have any trouble inserting and then printing them just the way you intended. Just don’t forget that its resolution should be no less than 300 dpi if you want it to look clear after printing.
You will also have the option of different background colors and decorations for Happy New Year and Merry Christmas at your disposal. Thus, your personalized photo card is perfectly designed with all those holiday attributes.
Pour Some Warmth in Your Christmas Cards
You determine not only the text, but also its design and layout. Your Christmas greetings indeed can be personalized. Instead of all these boring cliches like “Wishing you a Merry Christmas and a Happy New Year,” etc, you may write something really touching and memorable, be it one of your favorite quotes or just a message with a few sincere words. Or, they can just be zany, such as:
We all believe in Santa and Christmas card joy.
Jingle bells, jingle bells, jingle all the way… Here we go—now it’s running all day long not only in my head. Welcome to the family!
Here, the most important thing is the option of inserting text into the card in the appropriate way, so it can be printed without offsets and white edges. Swift Publisher enables the placement of text vertically, horizontally, circular, etc. I know that whatever ideas I’d like to implement in my personalized family or corporate Christmas card, it will be printed exactly the way I designed it.
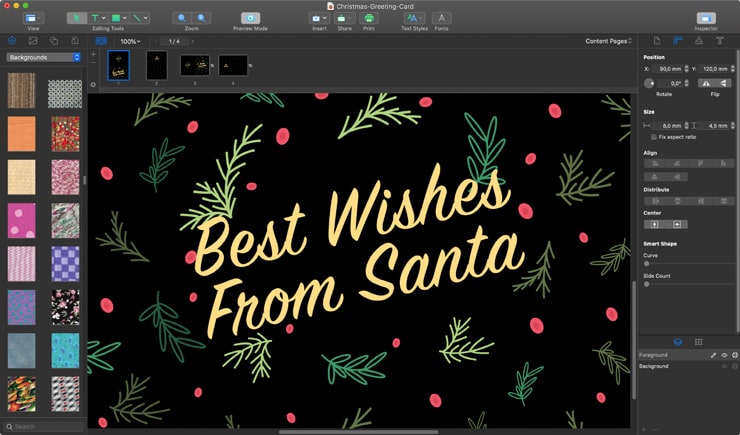
Beyond picking a font, styling your holiday greeting cards adds a handcrafted feel. Using unique ideas, such as Handwriting in Snow effects, is a great way to add a personal and whimsical touch to family cards.
Printing Your Christmas Card in the Right Colors
Now that you have designed your own homemade Christmas cards, it’s time to print them, and this is where you may encounter a problem with colors. The thing is that the colors on your Mac should be somehow realized by the printer, but your Mac and your printer have different visions of color, so to speak.
Your Mac identifies almost 17 million colors made up by various combinations of only three—Red, Green and Blue—thus, your Mac’s color system is called RGB. It works on a basis of luminous points or pips. Your printer also mixes from 4 to 6 colors, but it cannot print the light—instead, it uses the CMYK system, which is an acronym for Cyan, Magenta, Yellow and Black—your printer’s common color scheme.
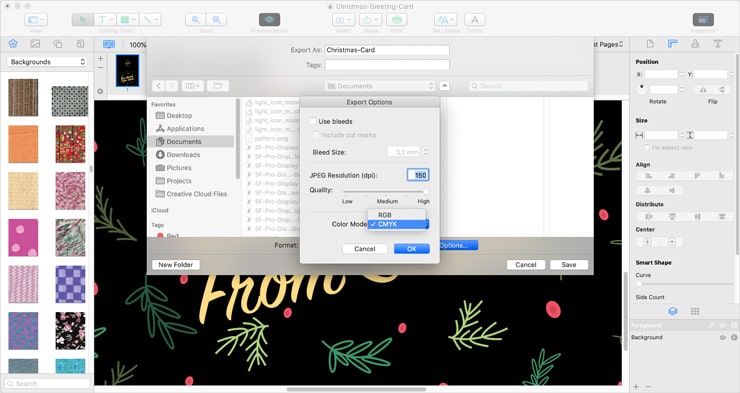
Thus, to transfer the chosen colors from your Mac to the printer and then onto your homemade paper Christmas card, while exporting (File > Export), choose either a TIFF or JPEG format to change the color scheme.