How to Create a Professional Lookbook on a Mac Without Design Skills
A lookbook is an essential tool for designers, particularly in fashion, jewelry, or furniture, to present a cohesive collection of stylized looks.
Basically, if you’re a designer of any kind, you need a lookbook in some form—digital or print. Not only will clients expect it, but it can help place you among the pros in the field, even if you’re early on in your career. But what if you’ve never put a lookbook together before, or lack experience? This article is for you because it lays out all you need to know to assemble your own lookbook.
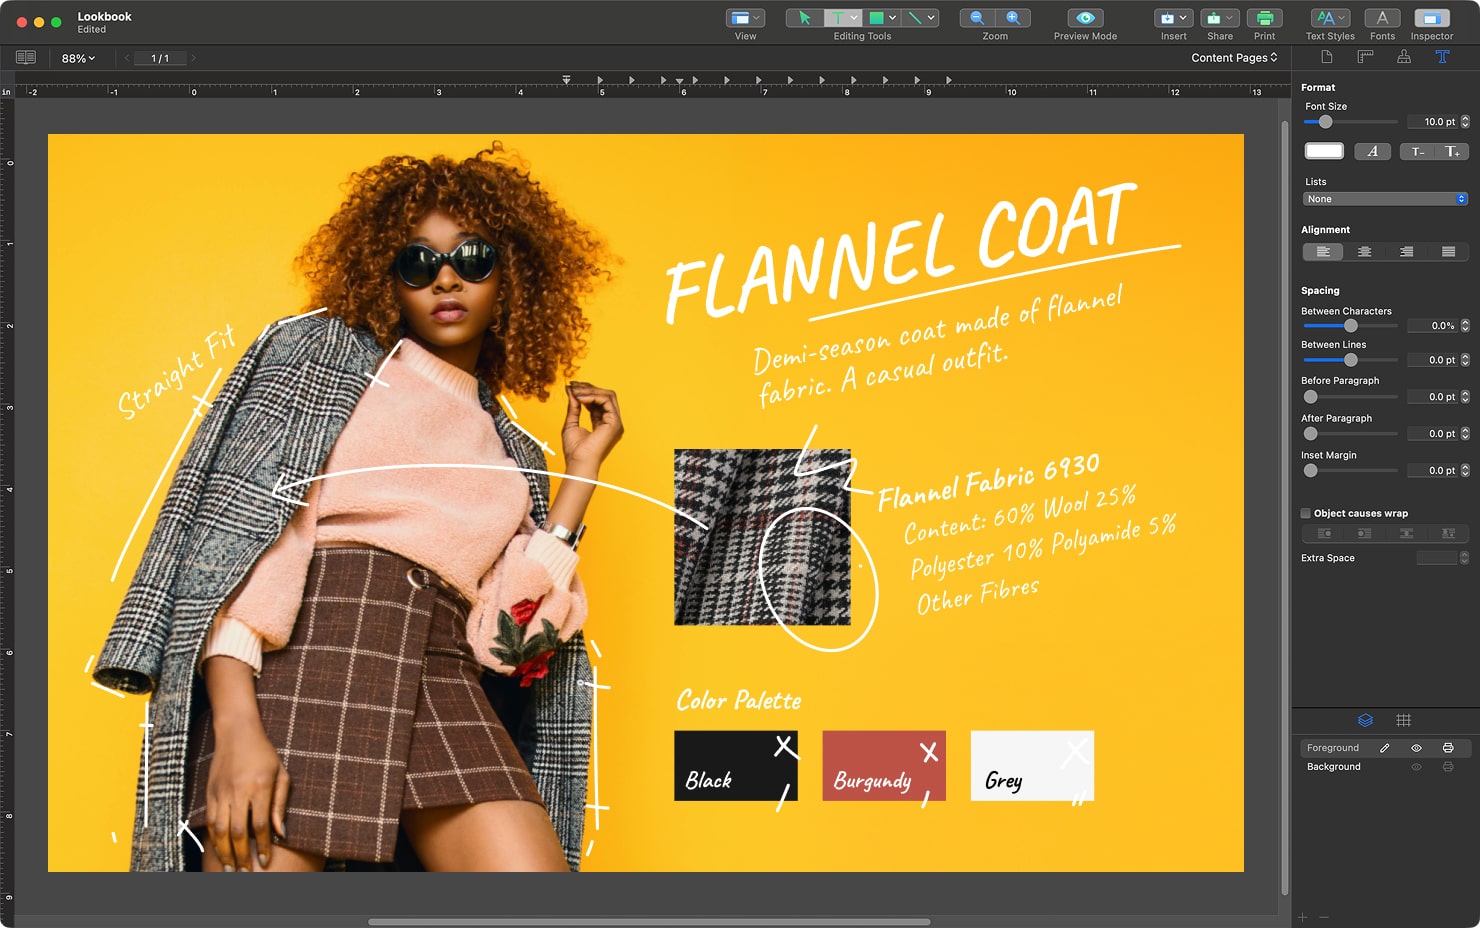
Even without design experience, Mac users can put together a professional, high quality lookbook using intuitive tools like Swift Publisher.
Understanding Lookbooks
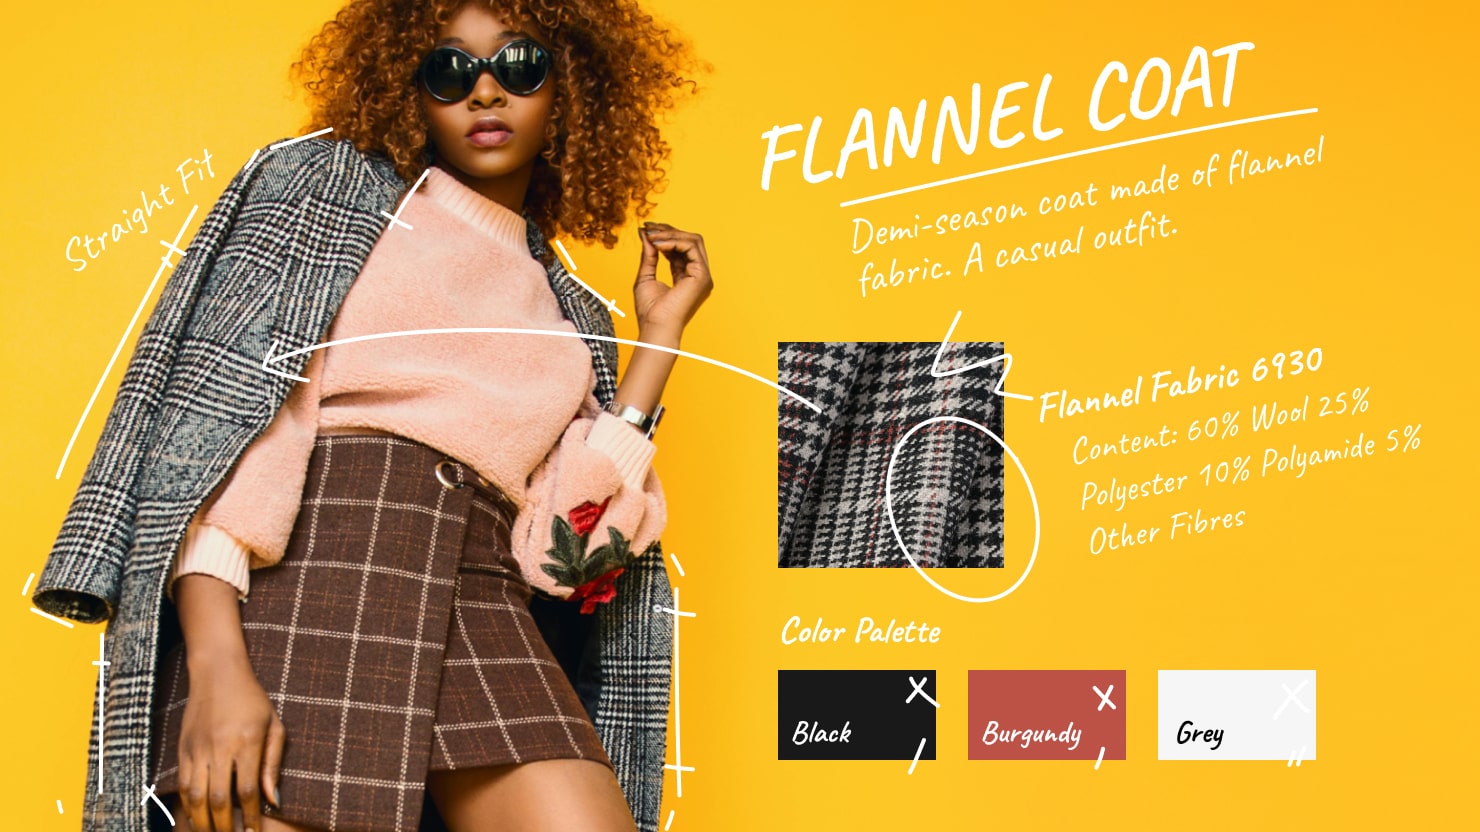
A lookbook is meant to be a beautiful magazine or booklet, in paper or digital, that represents your design skills. You might fill a lookbook with photos of products you’ve designed, illustration work, fashion editorials you produced, or lifestyle photography. A lookbook should be a collection of your visual work that tells a story about your creative point of view and presents your professional capabilities.
Many creative professionals beyond traditional graphic or fashion designers can benefit from having a lookbook. Interior designers, for example, can use lookbooks to present mood boards, room transformations, and finished spaces that reflect their signature style. Landscape and garden designers may showcase before-and-after projects, seasonal concepts, or plant compositions. Florists can highlight arrangements for weddings, events, and editorial shoots, while ceramic artists or potters can use lookbooks to document their collections, glazing techniques, and studio process.
Event decorators, stylists, and creative agencies also use lookbooks as visual storytelling tools to attract clients and demonstrate a consistent aesthetic. Even art galleries and curators rely on lookbooks to present exhibitions, artists, and collections in a polished, cohesive format. Essentially, a lookbook can be a creative presentation piece for anyone whose work involves visual artistry or design thinking.
If you’re a new designer, a lookbook will give you an advantage in the industry. For young designers, lookbooks are especially useful because they can be easily shared online, or printed and placed in the hands of your ideal audience. At industry events or client meetings, handing out your lookbook is a way to build credibility and stand out from the crowd.
Planning Your Lookbook
To create a high-quality lookbook, start by planning at a high level. Before you consider which individual images to include, think about what the lookbook should convey. Are you promoting a new brand, launching a new fashion line or putting together a seasonal portfolio? Your goal will help you define the content and visuals.
Select Images That Tell a Story
The next step is to collect all the best images or relevant information to present. Choose only high quality images that represent your best work and also align with the narrative you want to convey. Sort all your visual assets by theme or by story. For example, if you're a brand storyteller, you might organize your lookbook according to the different brands, or you could sort by the styles of various brands, such as grouping classical style brands together, then bright, playful style brands and sleek, minimalist brands together.
Perhaps you’re a lifestyle photographer and you want to show that you have your finger on the pulse of trends in urban culture. You might separate your photographs into themes like cityscapes, street fashion, or urban youth. Each section could showcase your ability to capture a vibe that is authentic and resonates with your target audience.
The most important thing about curating and sorting the chosen images is to make sure that each section of your lookbook tells a story about your creative process and your unique style.
Plan the Visual Layout
After you’ve narrowed down your images, begin planning the structure of the lookbook. It may help to sketch out your layout, so you can plan the order of your images and determine how many pages you’ll need. Also, think about whether to include text, and how much to include. Consider the overall style: are you aiming for vibrant and energetic, sleek and edgy or friendly and warm? Choose the colors and font to match the tone of the lookbook before you begin laying it all out.
Prepare the Images
The final stages of preparation is to confirm that the images are in high-resolution. That means at least 300 dpi for print, also you may consider reducing your photo resolution to 72 DPI for digital distribution to keep the lookbook file size smaller. This ensures the images will be sharp and the final product will look polished and professional.
Choosing the Right Design Tool
Now comes the fun part: choosing the right tool to bring your lookbook vision to life. One great choice for creating a lookbook is Swift Publisher, a desktop publishing tool for Mac that gives users a simple, straightforward way to put everything together. The drag and drop tools allow you to insert images quickly, and the grid and alignment features help you place images precisely. You can also insert text and add visual interest with loads of font choices.
There are other popular software tools that can also be used to create lookbooks, like Adobe InDesign or Scribus. These tools offer endless customization in design options, but for many they can be overwhelming due to all the features. For beginners, these tools have a steep learning curve so they aren’t as simple to start with.
If you want to put together a lookbook quickly, and don’t want to spend a lot of time learning a complex tool, Swift Publisher could be your go-to page layout tool. It offers everything a Mac user needs to create a high-quality, standout lookbook. Swift Publisher has enough features for creative pros, but it’s also simple enough for small businesses, independent designers or anyone new to design.
Adding Visual and Text Elements
Photos and images are the focus of the lookbook, but even the most beautiful photos will not have the strongest impact if they are not arranged well. Start by using full-page spreads for your most important images, and group smaller photos together for a visual narrative. If that sounds complicated, don’t worry: layout does not have to be a puzzle. Swift Publisher’s alignment and grid tools make it easy to arrange elements evenly. Thanks to the grid and snap tools, you can make sure you end up with a perfect page layout.
A lookbook is usually presented as a brochure or small book format, so using page spreads helps emphasize the visual flow across pages. A well-designed two-page spread can create impact and continuity, allowing large images or compositions to breathe and connect naturally.
You’ll also need text elements to give context and to break things up. Short descriptions and product names should give more information about your images. Make sure all text is easy to read, but does not overwhelm the images. When selecting fonts, limit it to one or two styles, and keep the sizes consistent through the design.
Exporting and Printing Your Lookbook
Once your layout is complete, export or print the lookbook all from Swift Publisher. The program supports high-resolution PDF export, bleeds and cut marks, so files can be sent to a printshop, shared by email or prepared for download from your website.
Remember to stick with the recommended file resolution (300 dpi for print) and correct page size (typically A4 or US letter). A helpful tip for printed lookbooks is to enable bleed settings so images go all the way to the edge of the page. Add crop marks for the printer if needed, to guide the printer where to trim the pages.
Digital lookbooks are also excellent for sharing, and Swift Publisher allows you to export files that are optimized for device display. This makes it easy to distribute your lookbook on social media, through email or in client presentations.
Tips for Professional Results
If you follow this guide thoroughly, your final product will be excellent. Remember that the details are what make your lookbook stand out. Pay close attention to things like style consistency across every page. To reinforce your brand, integrate your logo, contact details, and social media handles where it makes sense. And since storytelling is a central part of lookbooks, arrange each page so there’s a natural flow, whether that’s through an artist portfolio or a collection of lifestyle photos.
Before you export for printing or PDF, double-check colors, alignment, and text readability on every page. It’s also helpful if you can have a second set of eyes to check all the details. Consistency and polish will make a huge difference in how you are perceived in the eyes of your lookbook audience.
Turn Your Vision Into Reality
Your Mac and Swift Publisher are your best friends when it comes to creating a lookbook worth showing off. You don’t need expensive software or years of design training to have an excellent lookbook. A polished finished lookbook product will give you the confidence to share your talent and creativity.
Whether you’re a small business owner, freelance producer or another creative looking to show the world what you can do, it is within your reach to produce a professional lookbook that uniquely represents your talent. Simply dive into Swift Publisher and start creating today.