Swift Publisher for Mac Tutorial: Create Eye-Catching Name Badges
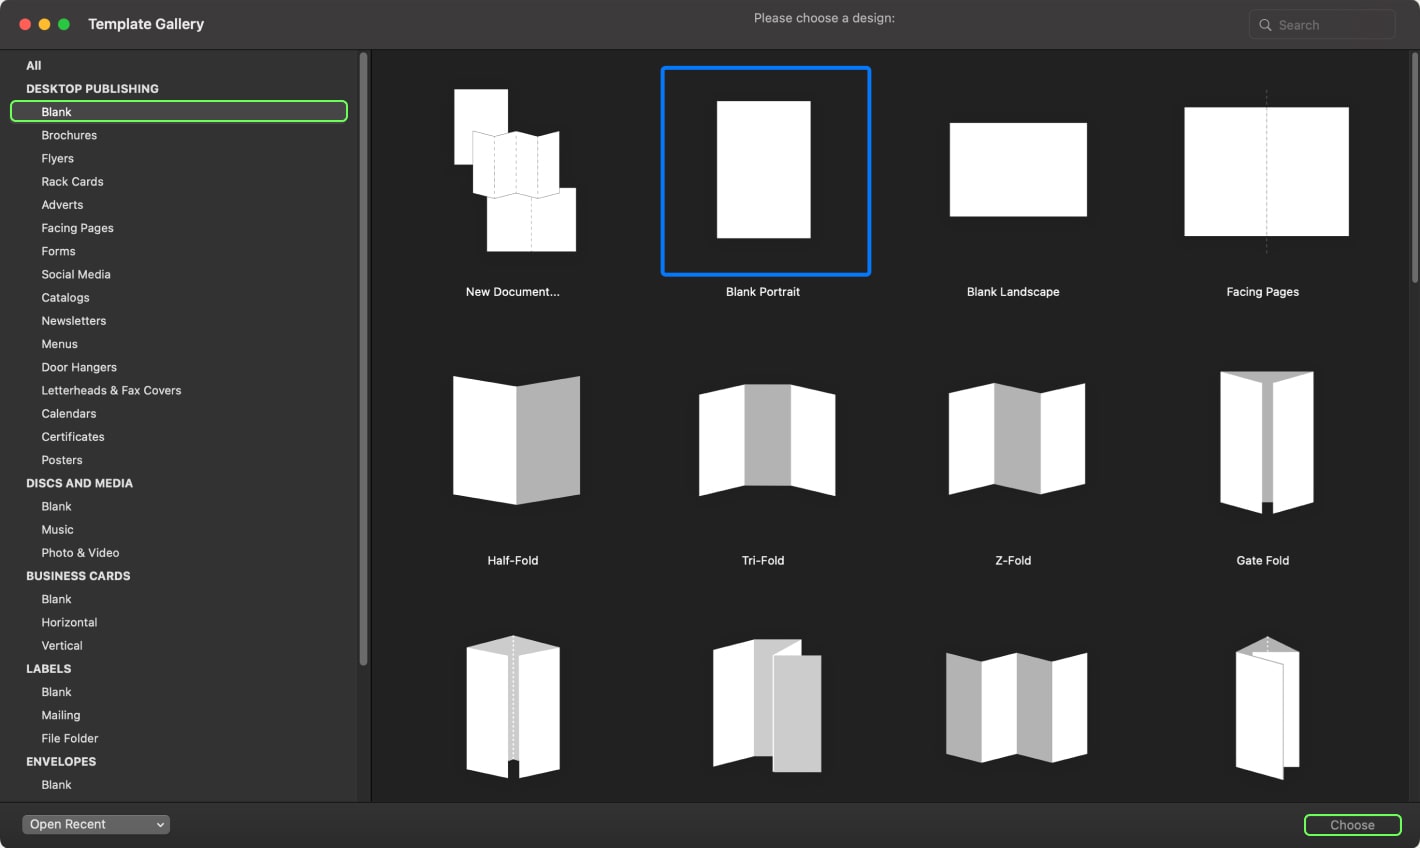
Open Swift Publisher, select Blank Portrait in the “Desktop Publishing” category, and press the Choose button on the bottom right side of the interface.
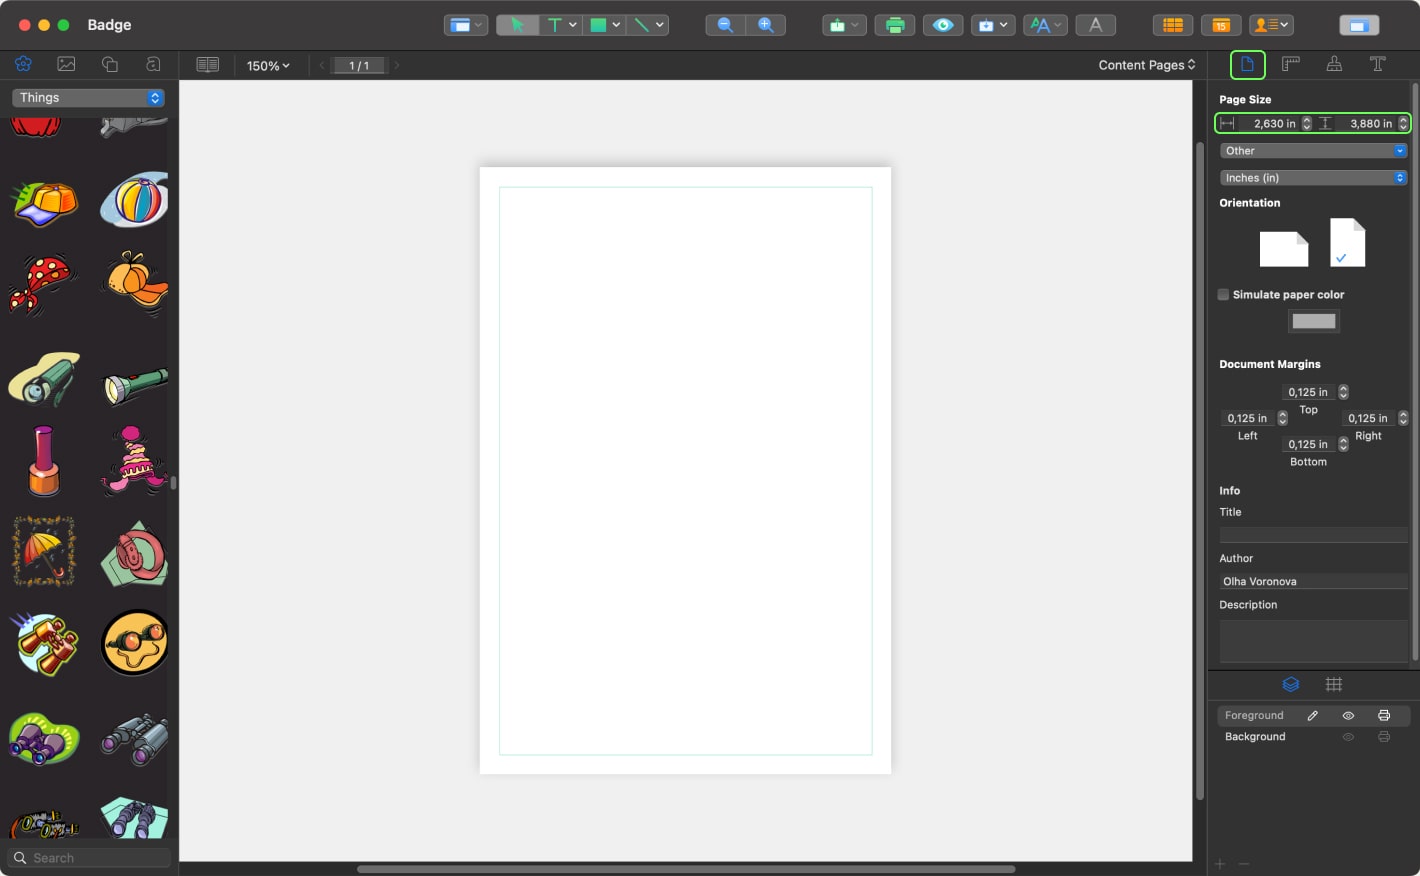
Go to Inspector > Document, set the Page size to 2.63″—wide, and 3.88″—height, which corresponds to the dimensions of the badge R-100 format.
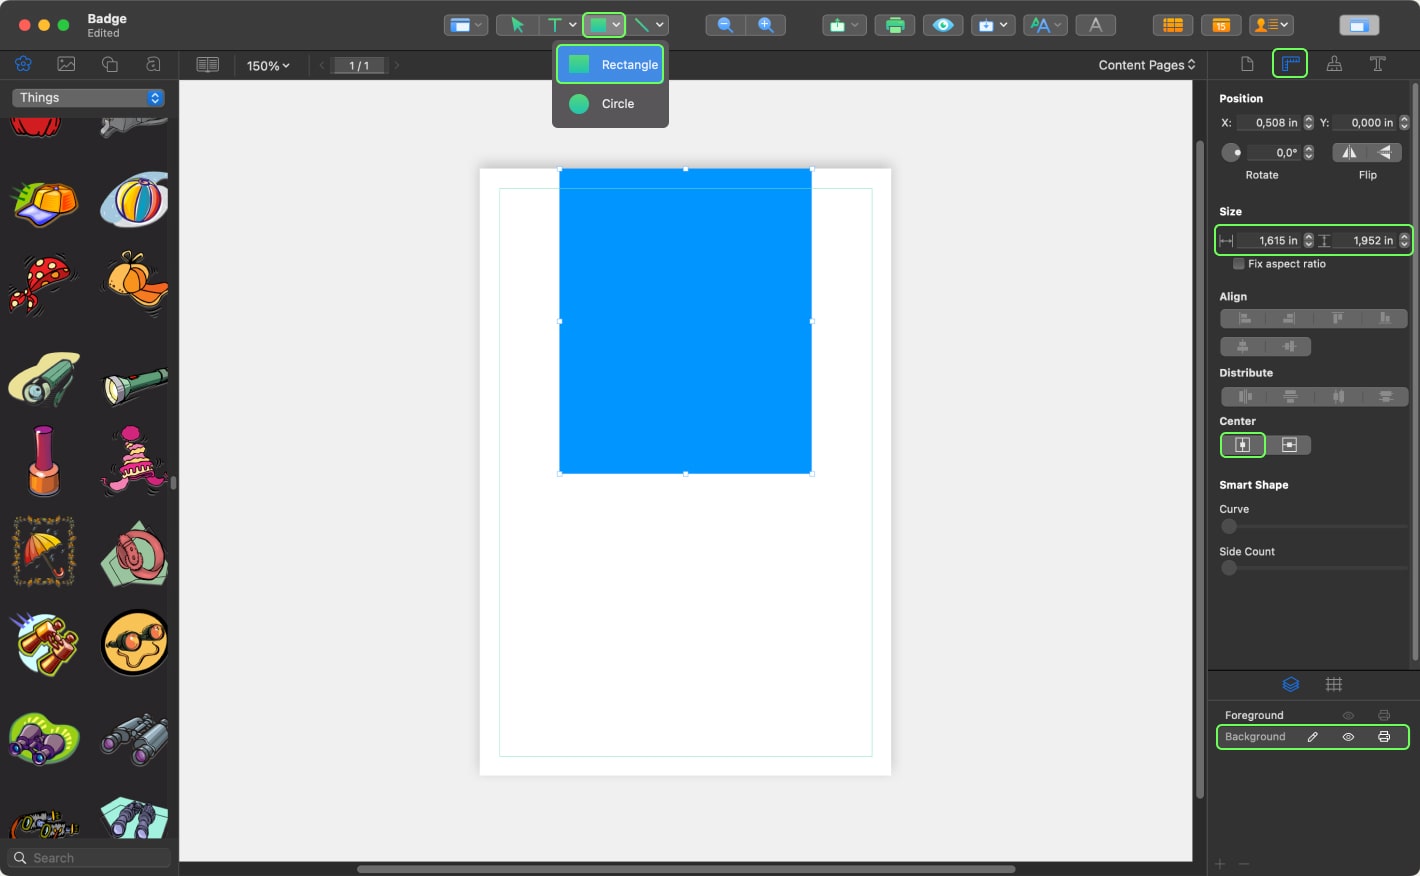
On the right bottom side of the Inspector, select the Background layer. If you want, you can rename this layer by double clicking on it. In the Toolbar, select the Rectangle tool and create a rectangle shape. Go to Inspector > Geometry and set the same size as on the screenshot. Place the rectangle on the top of the canvas. In order to align the shape in the Inspector, press the button “Move the selected object horizontally to the center”.
To change the rectangle color go to Inspector > Appearance. Choose the vibrant pink color (#FE408F) as seen on the screenshot.
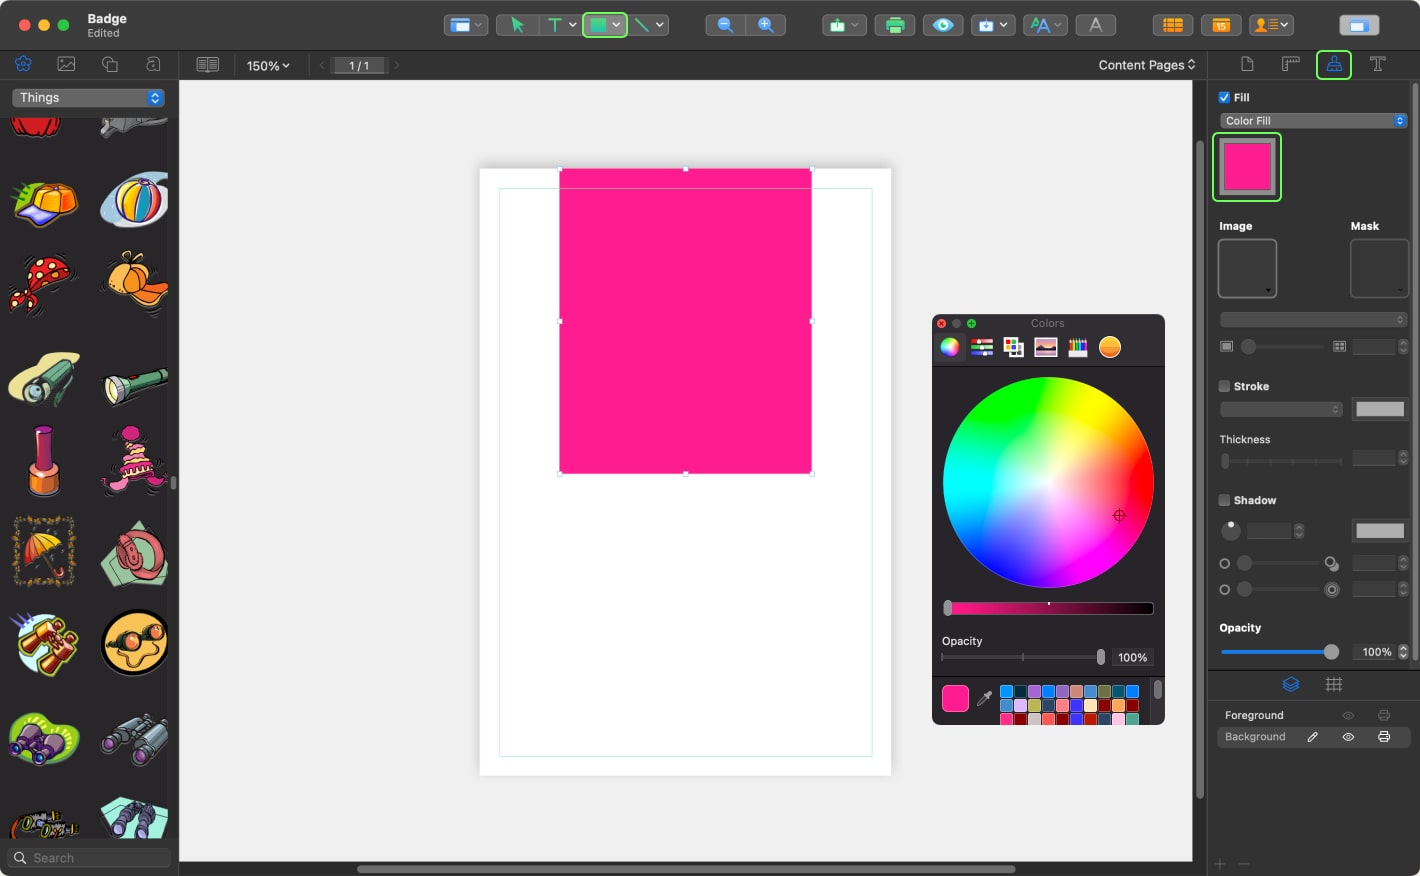
On the right bottom side of the Inspector, select the Foreground layer. Create a second rectangle shape with the dimensions 2.38″ × 1.7″ using the Rectangle tool in the Toolbar. Select the rectangle and press the button “Move the selected object horizontally to the center” to align it to the center of the canvas.
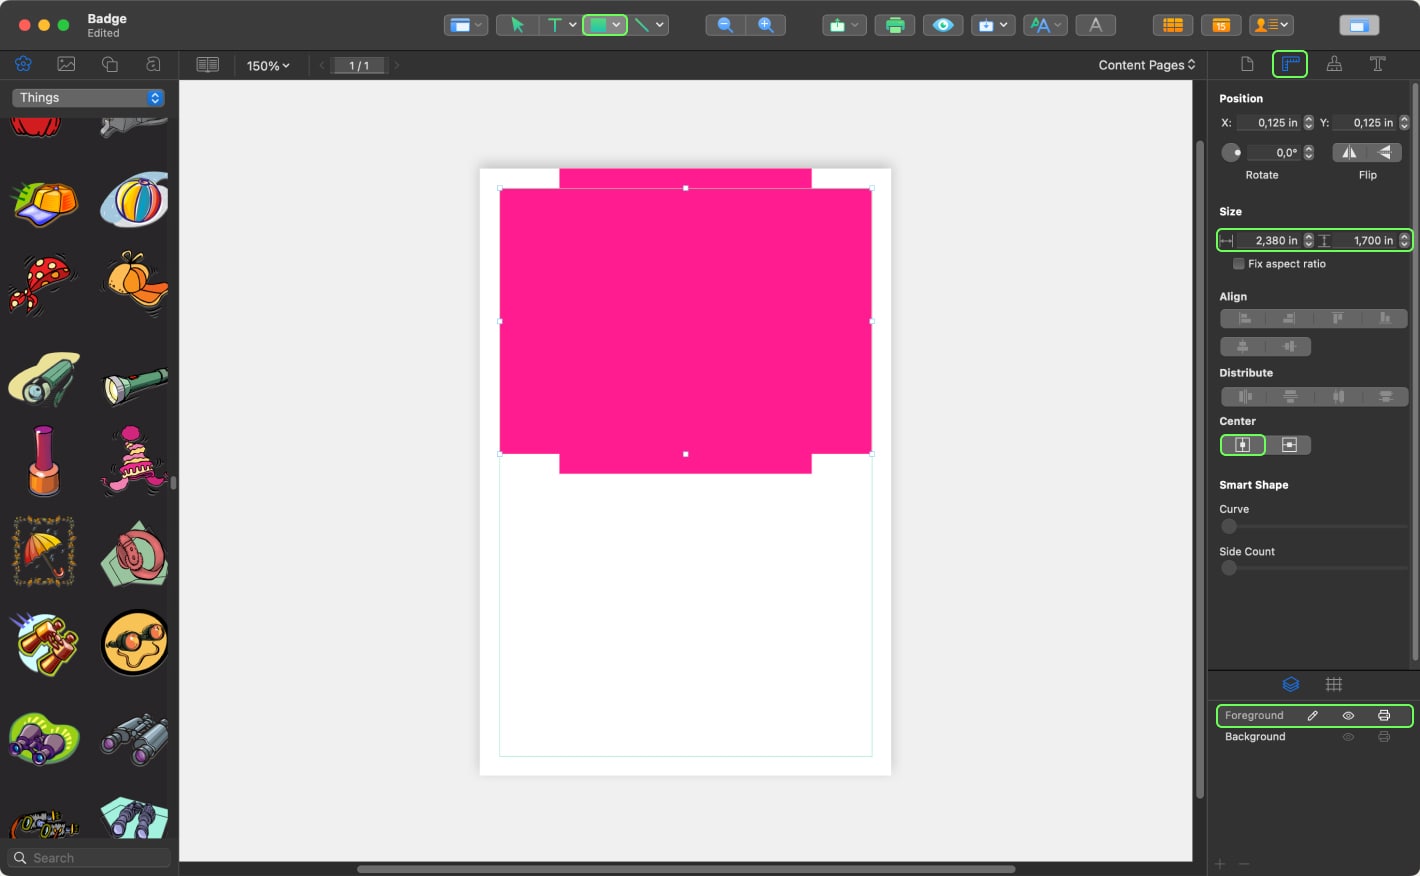
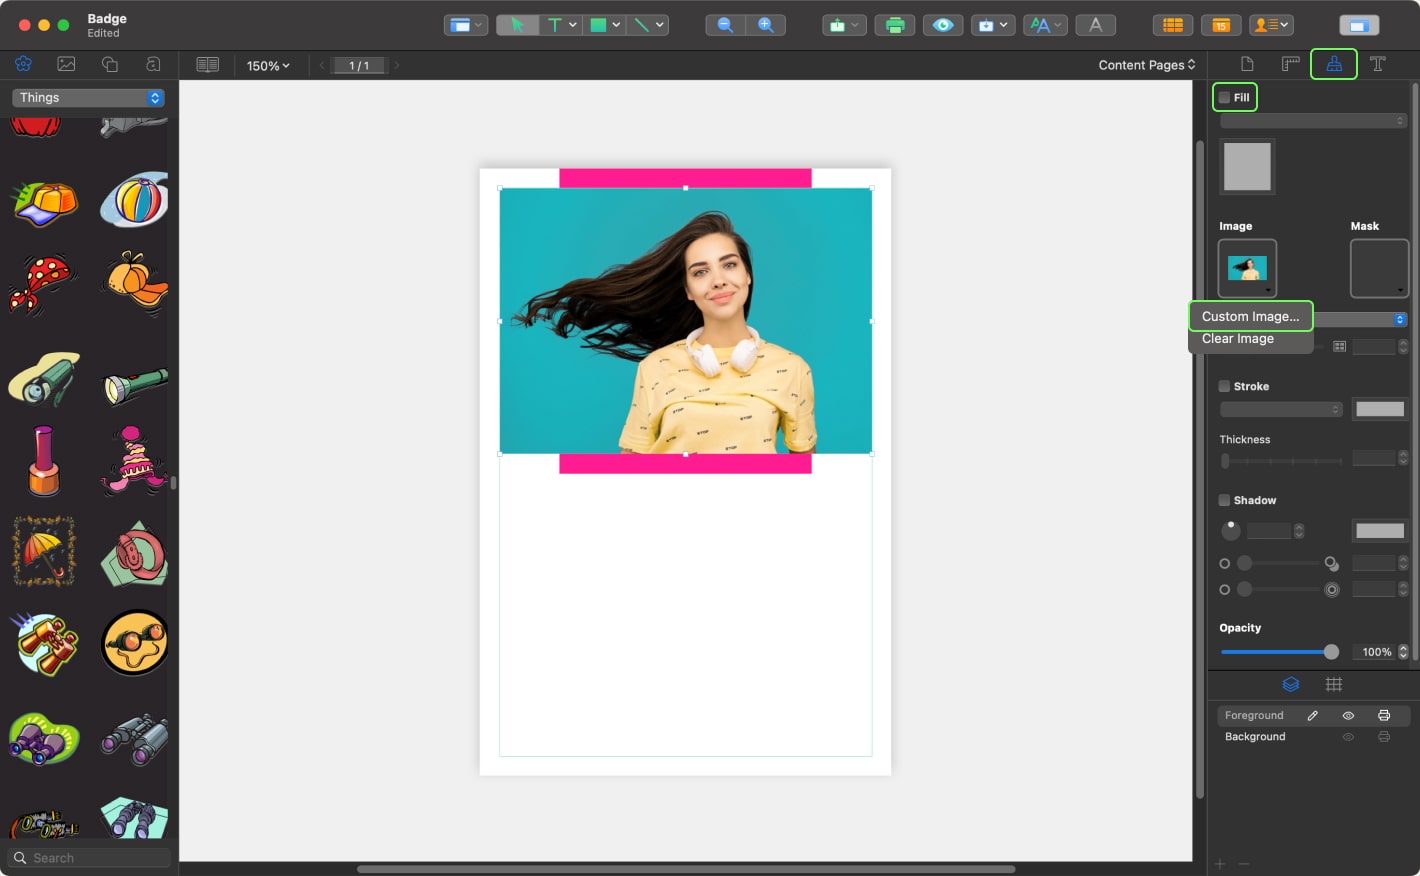
It’s time to add a photo. Go to Inspector > Appearance. Uncheck the checkbox Fill. Click the “Image” button and choose “Custom image” in the dropdown menu. Find the photo that you will use in your badge and add it.
Tip: In order to make the design more clean, we are going to choose the photo with a solid background.
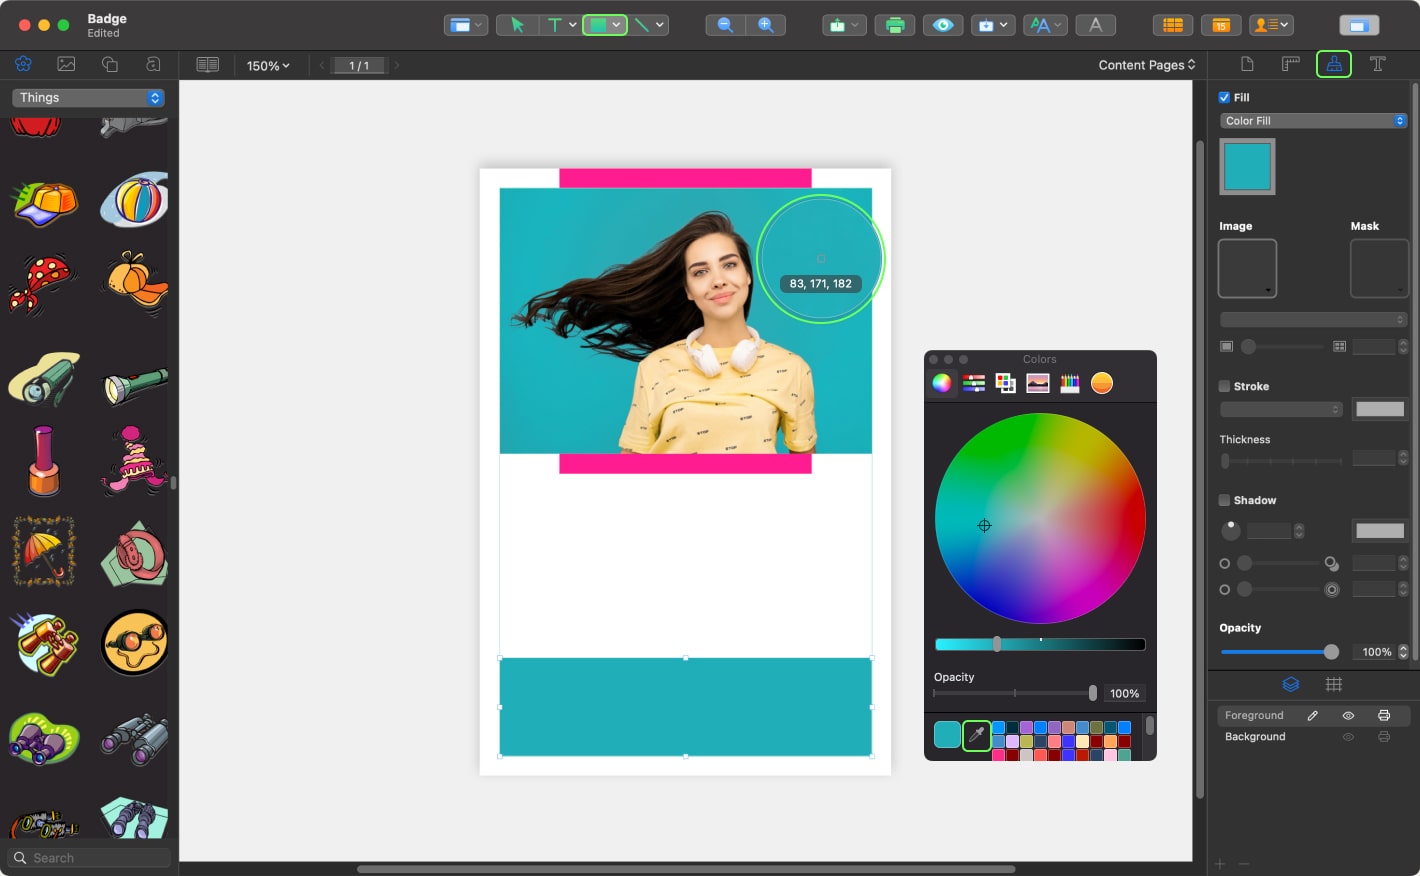
Create one more rectangle with the dimensions 2.38″ × 0.63″ and place it in the same position as on the screenshot. Be sure that the rectangle is selected. Go to the Inspector > Appearance and press the color button. Using the Eyedropper tool from the pop-up menu, select the background color of your image.
Right click on the bottom rectangle. Select from the context menu Move to Layer > Background.
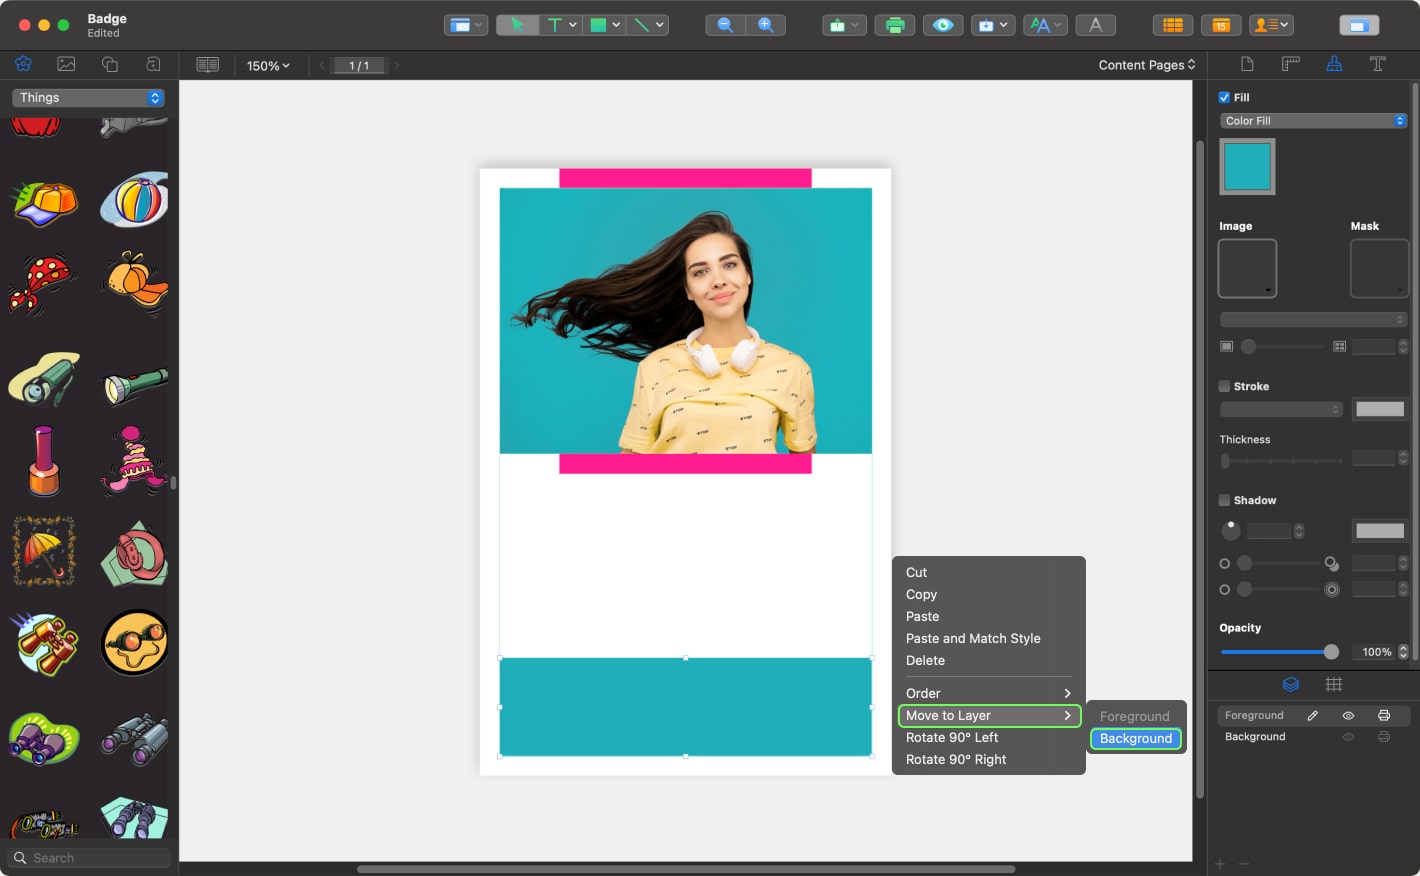
It’s time to add the image of our logo. There are two ways to do that. The easiest way is to drag and drop the logo directly onto the canvas. Another way is to use the Insert > Image > From File menu.
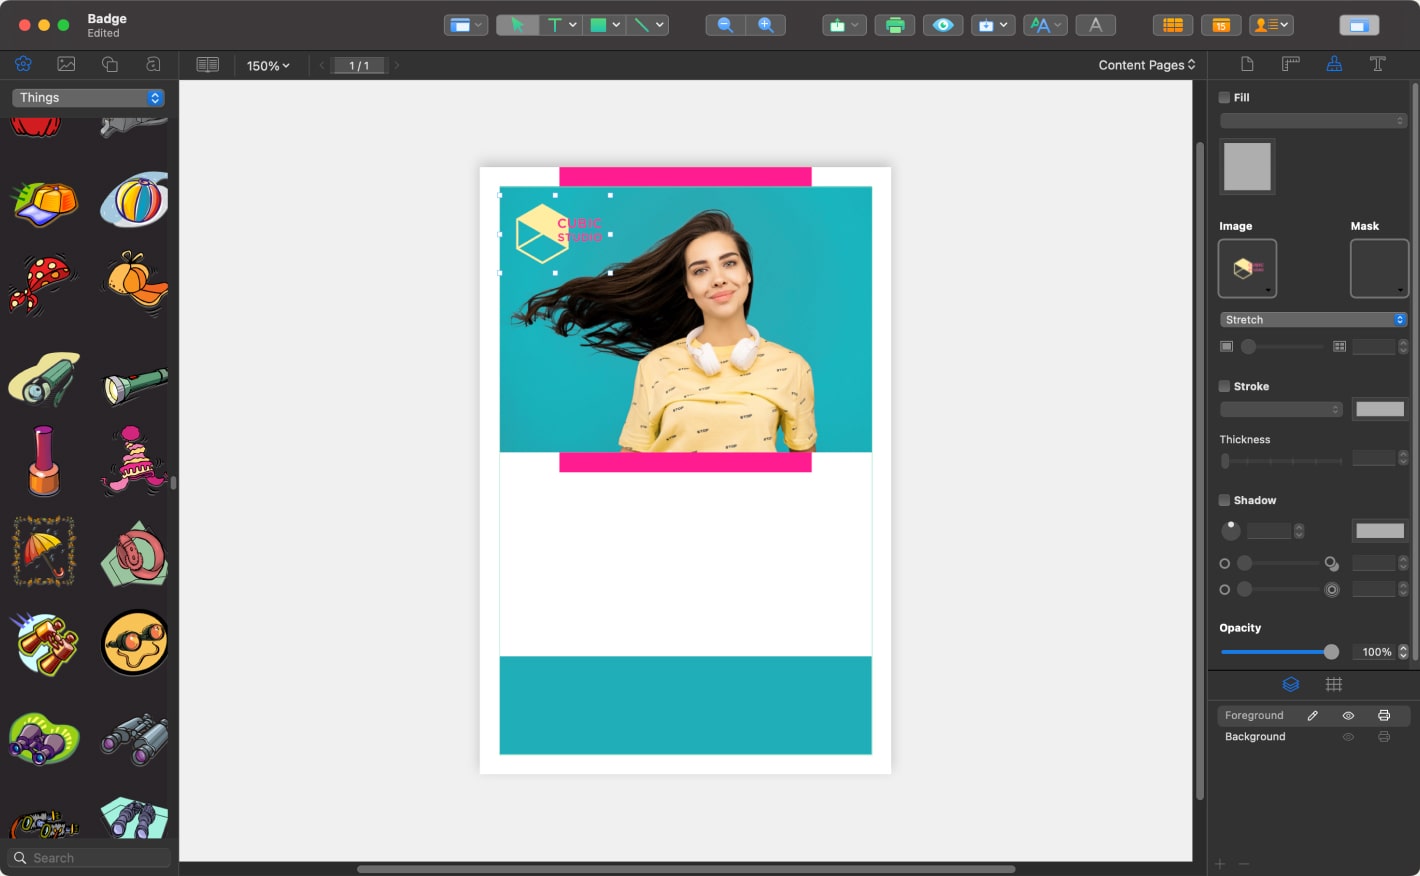
Now let’s add the name and last name of the badge owner. Click the Text icon on the Toolbar. On the canvas, click and drag to create a text box. Then go to Inspector > Text and press the “A” button. Set the font size to 26 pt. The typeface in the template is Montserrat Alternates (SemiBold font), which can be downloaded from Google Fonts. Use black color and Center Alignment to center the text in the bound box.
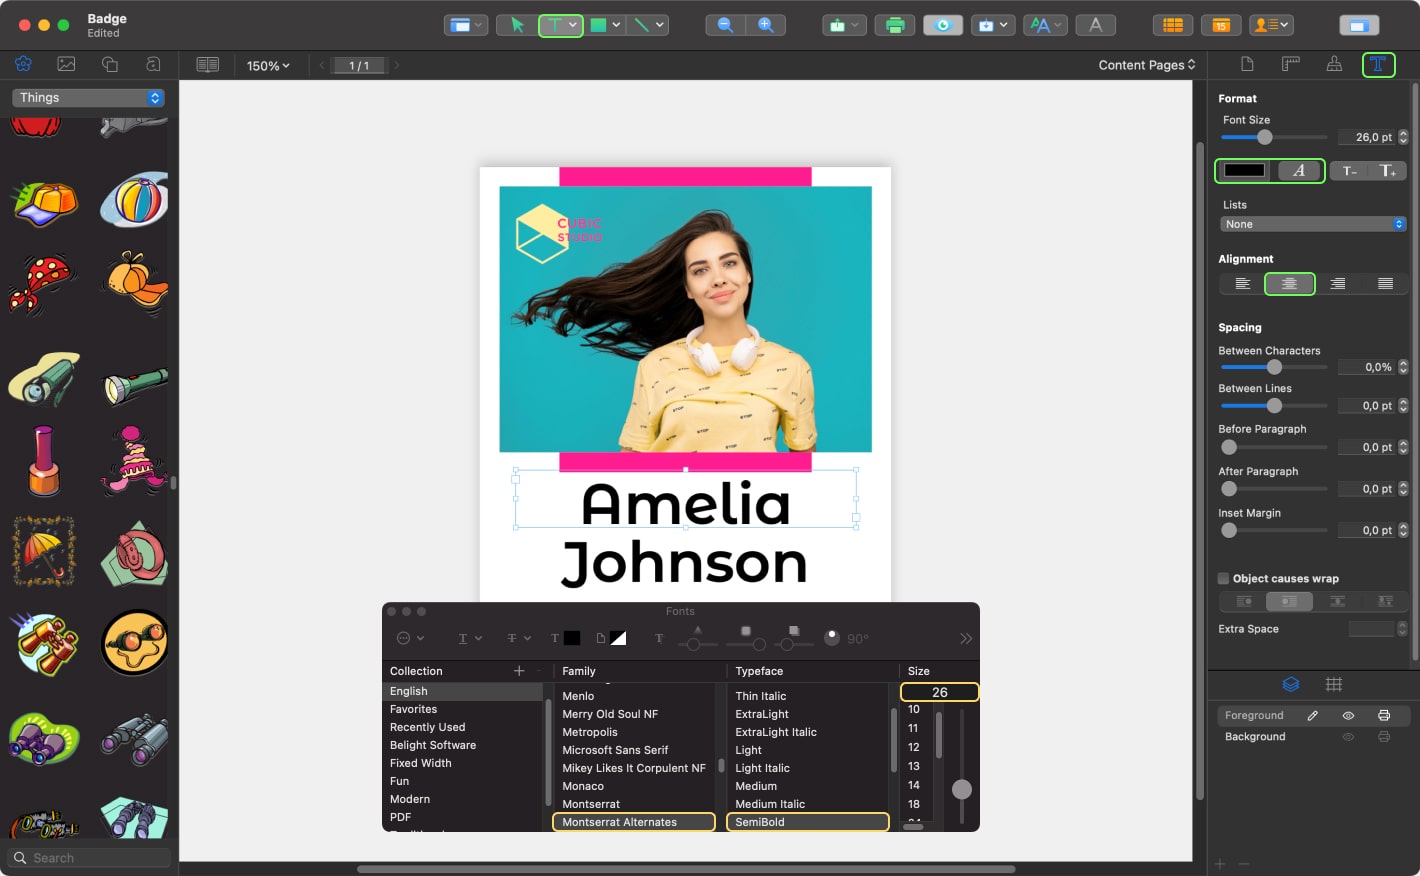
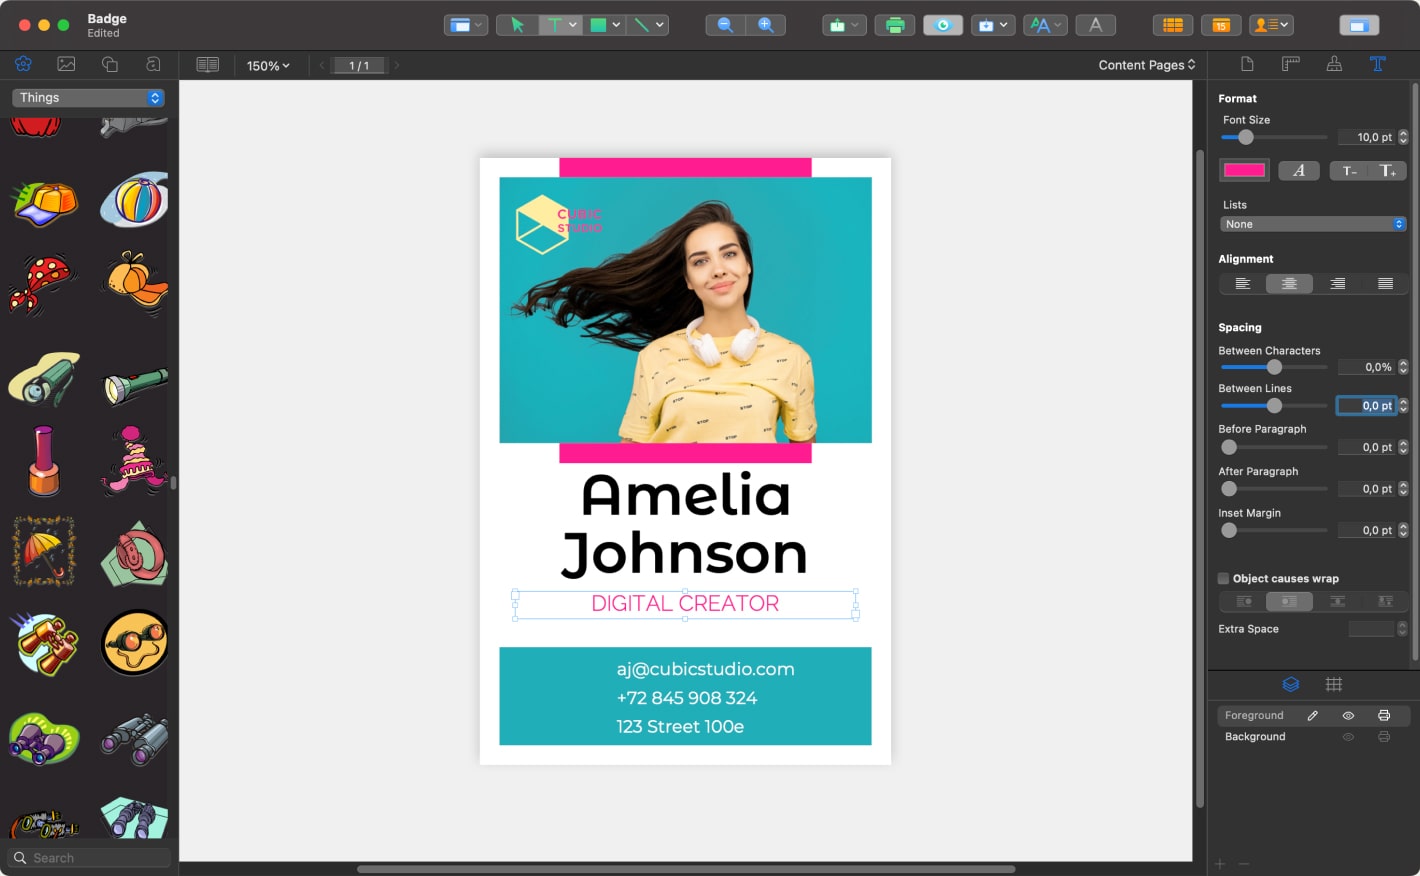
Don’t forget to add a job title and contact information. It’s very important. Using the same method as described in the previous step, choose the following parameters for the text:
- DIGITAL CREATOR—font Raleway Light 10 pt, vibrant pink color (#FE408F), center alignment;
- lock with contact information—font Montserrat Regular 8 pt, white color (#FFFFFF), left alignment.
To finish the block with the contact information, let’s add some icons. Using the same method as described in Step 6, add 3 icons (mail, phone, location). Go to Inspector > Appearance and check the checkbox Fill. Press the color button, and choose a vibrant pink color (#FE408F) the same as other pink design elements in your badge.
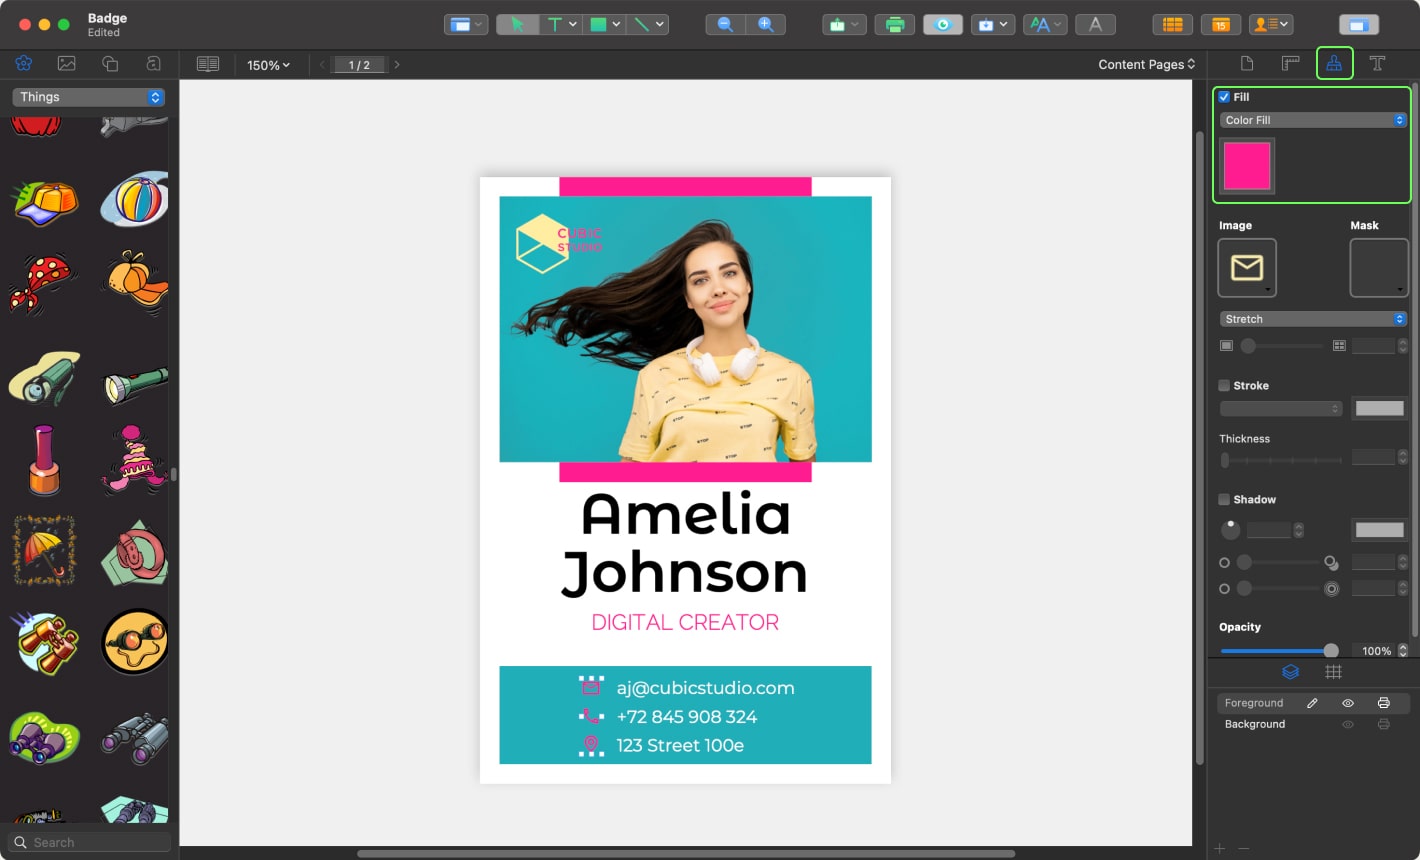
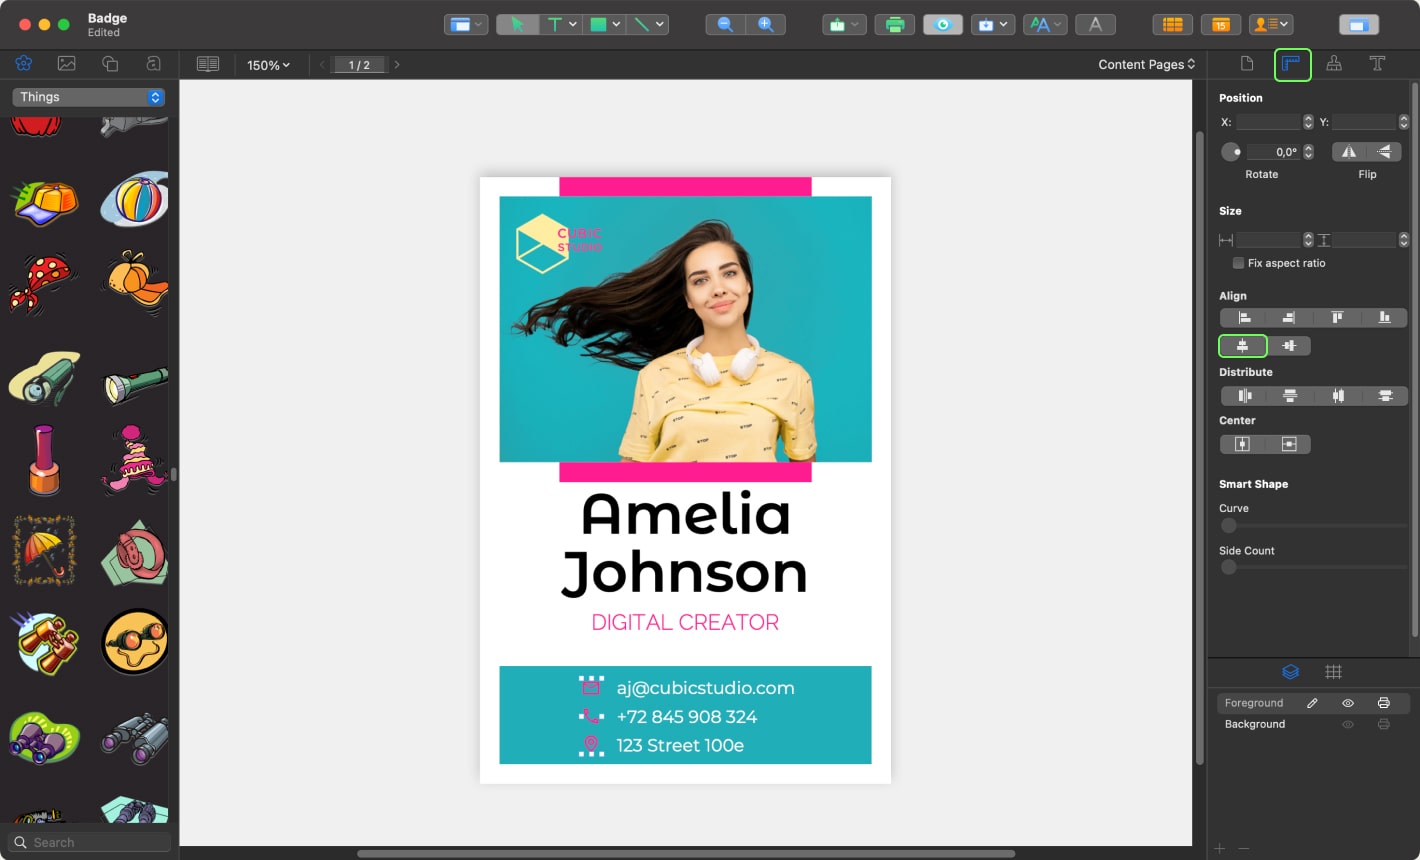
If your icons don’t look exactly relative to each other, then go to Inspector > Geometry, select them all and press the button “Vertically align the centers of selected objects to their common center”.
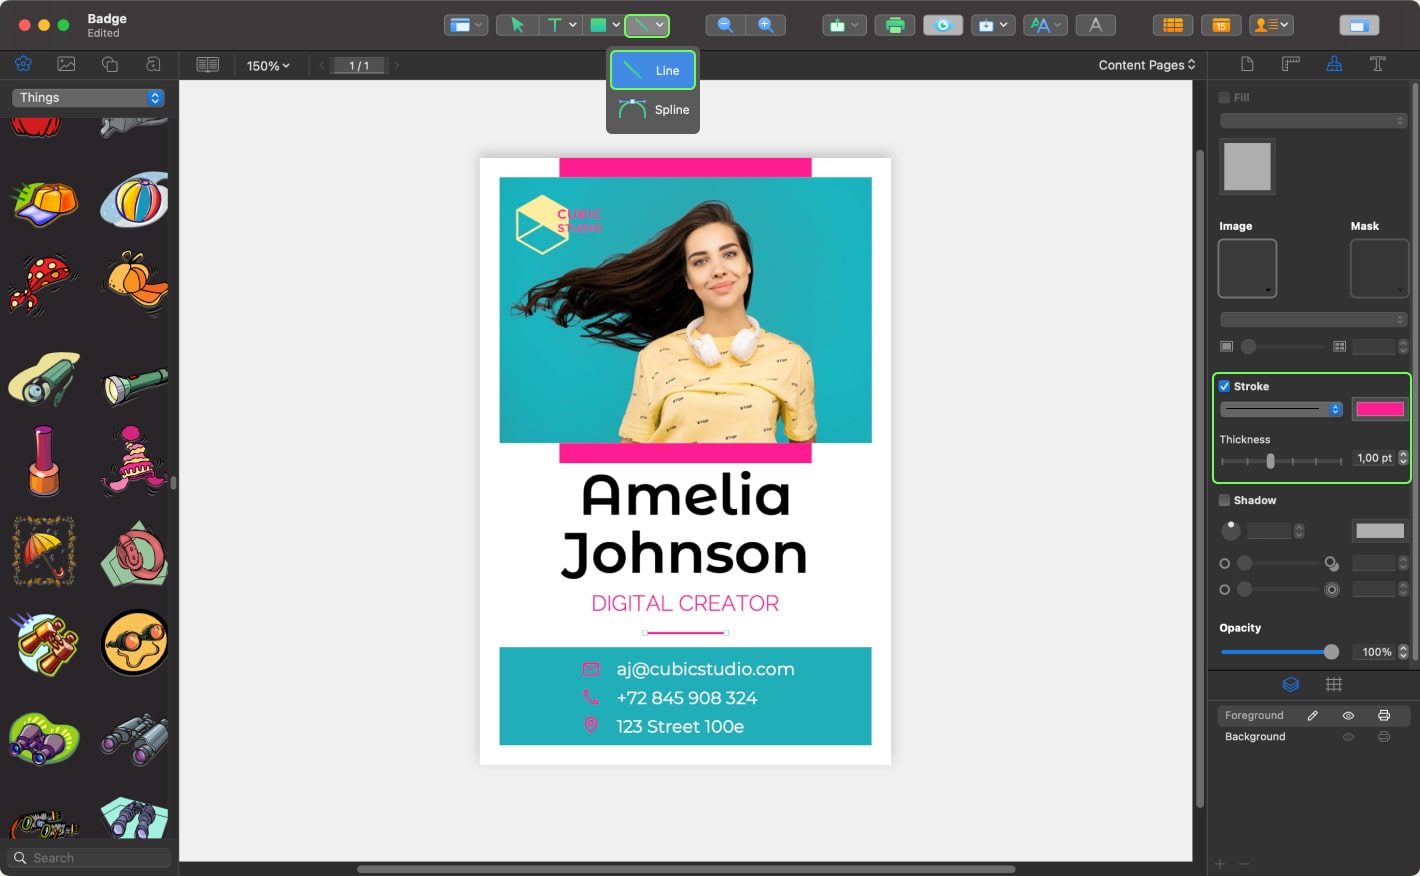
To finish the front side, add the last design element. In the Toolbar, select the Line tool, create a straight line and place it in the same place as on the screenshot. In the Inspector > Appearance, choose the vibrant pink color (#FE408F) and select 1 pt stroke thickness.
Tip: To make your line straight, press and hold the Shift key while drawing the line.
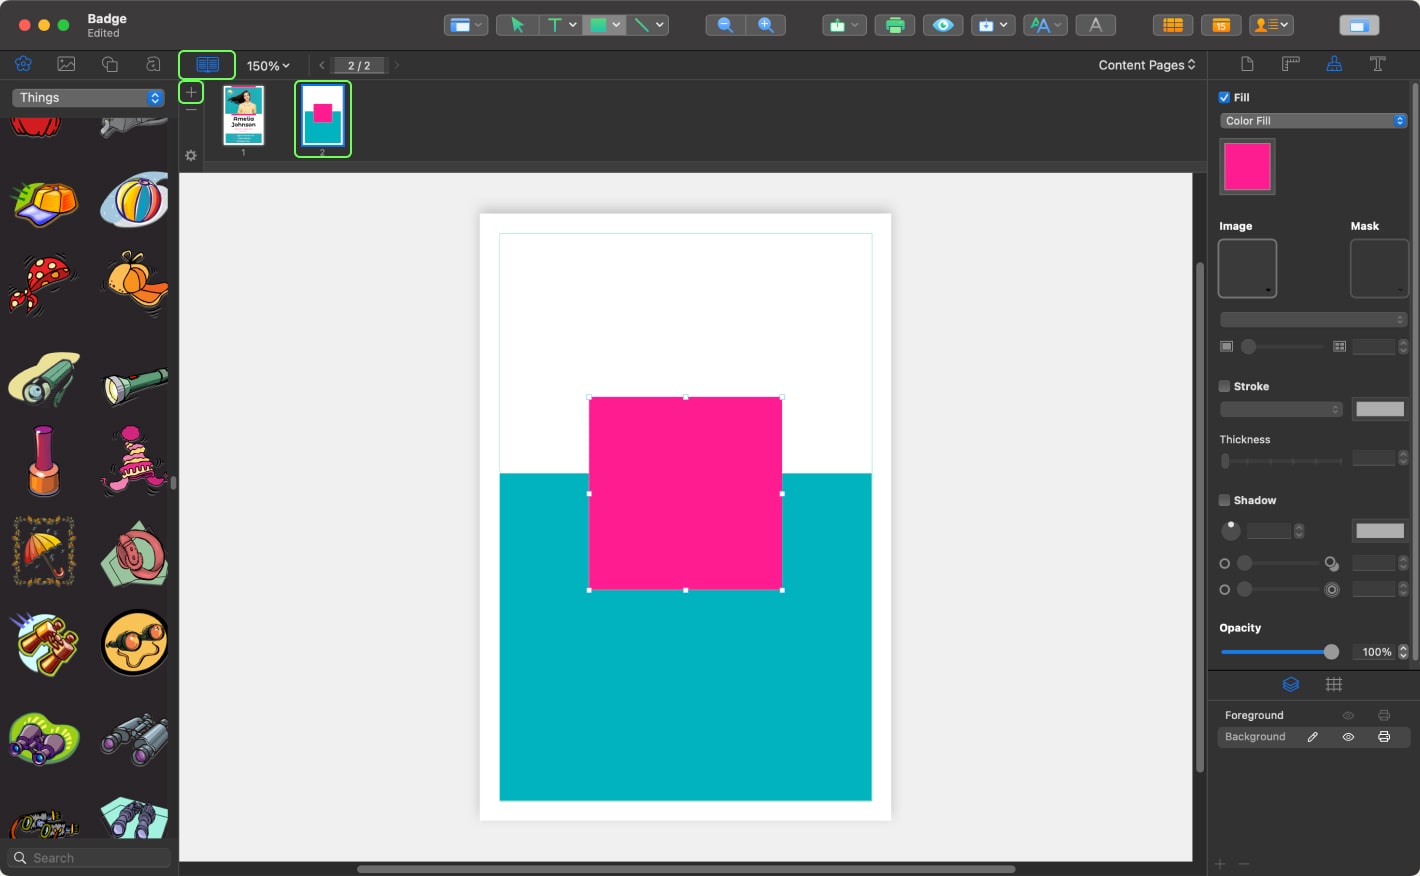
Hooray! You have finished with the front side! Now let’s design the back side of the badge. Click ![]() to open the Pages panel. Press + to add one more page. Select the second page that appeared in the Pages panel. Using the same method as described in Steps 3 and 4, create two rectangles and place them as on the screenshot.
to open the Pages panel. Press + to add one more page. Select the second page that appeared in the Pages panel. Using the same method as described in Steps 3 and 4, create two rectangles and place them as on the screenshot.
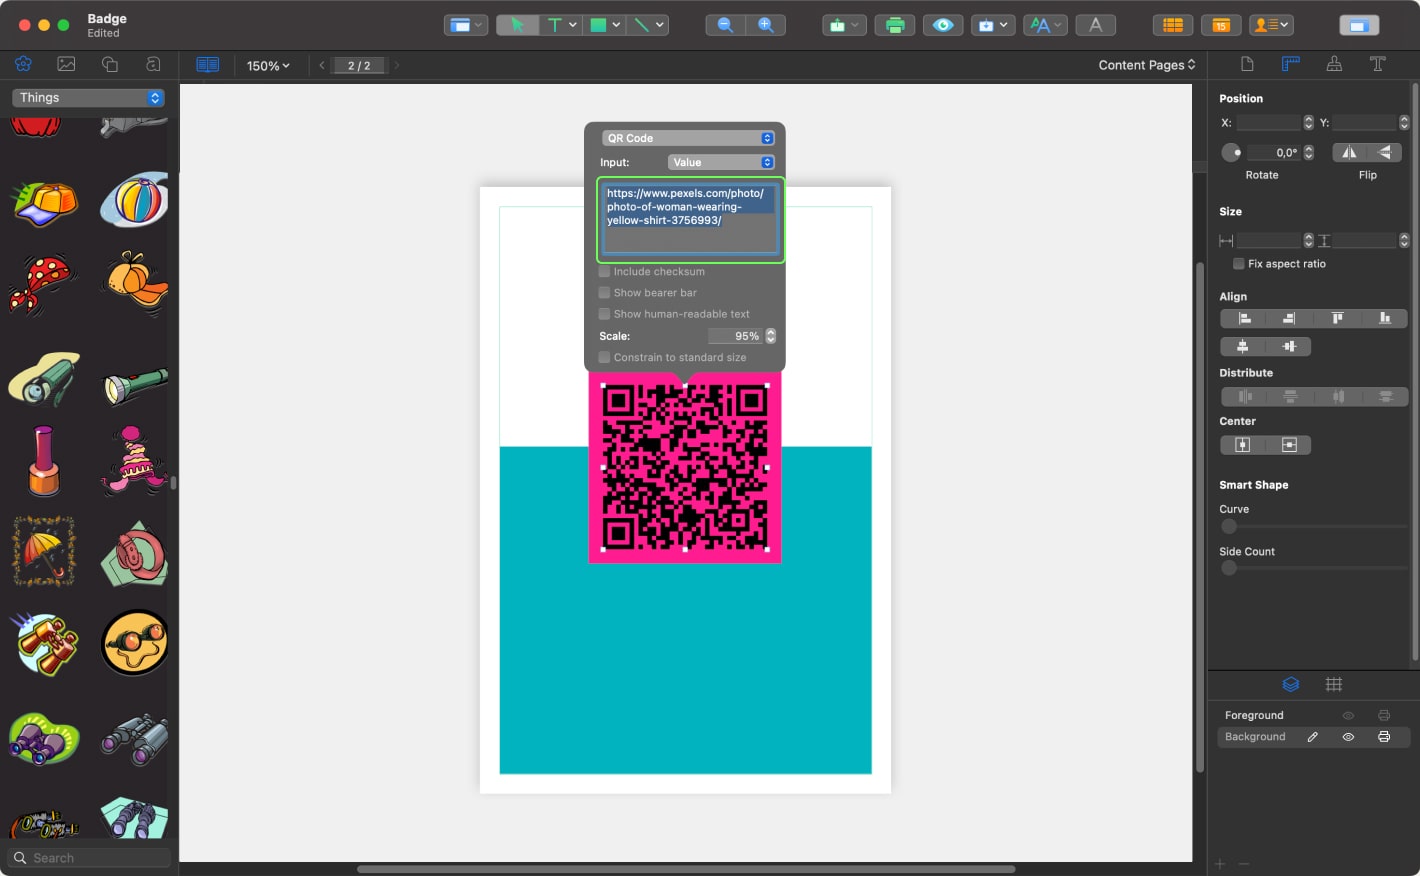
Now we are going to create a QR code that offers an efficient way to access your websites, videos and promotional content by scanning a code. It is very easy. Go to Insert > Barcode > QR code. Then double click on the QR code that appeared. Place the link to your website/social media/presentation to help your customers quickly access the information.
To finish your badge, you can add any information that is important for you and your customers: expirational date, ID number, social media identifiers, etc.
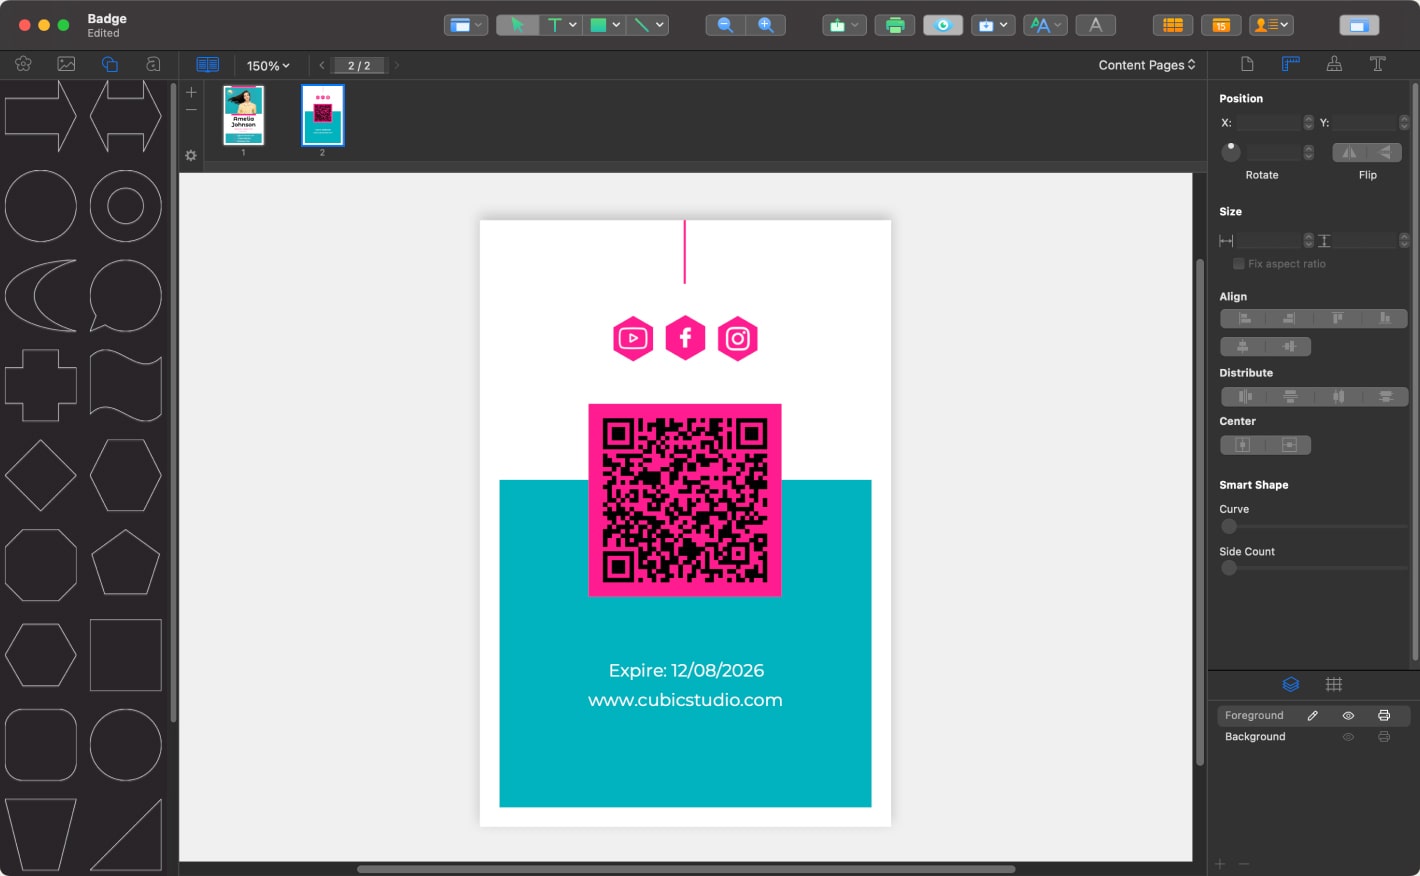
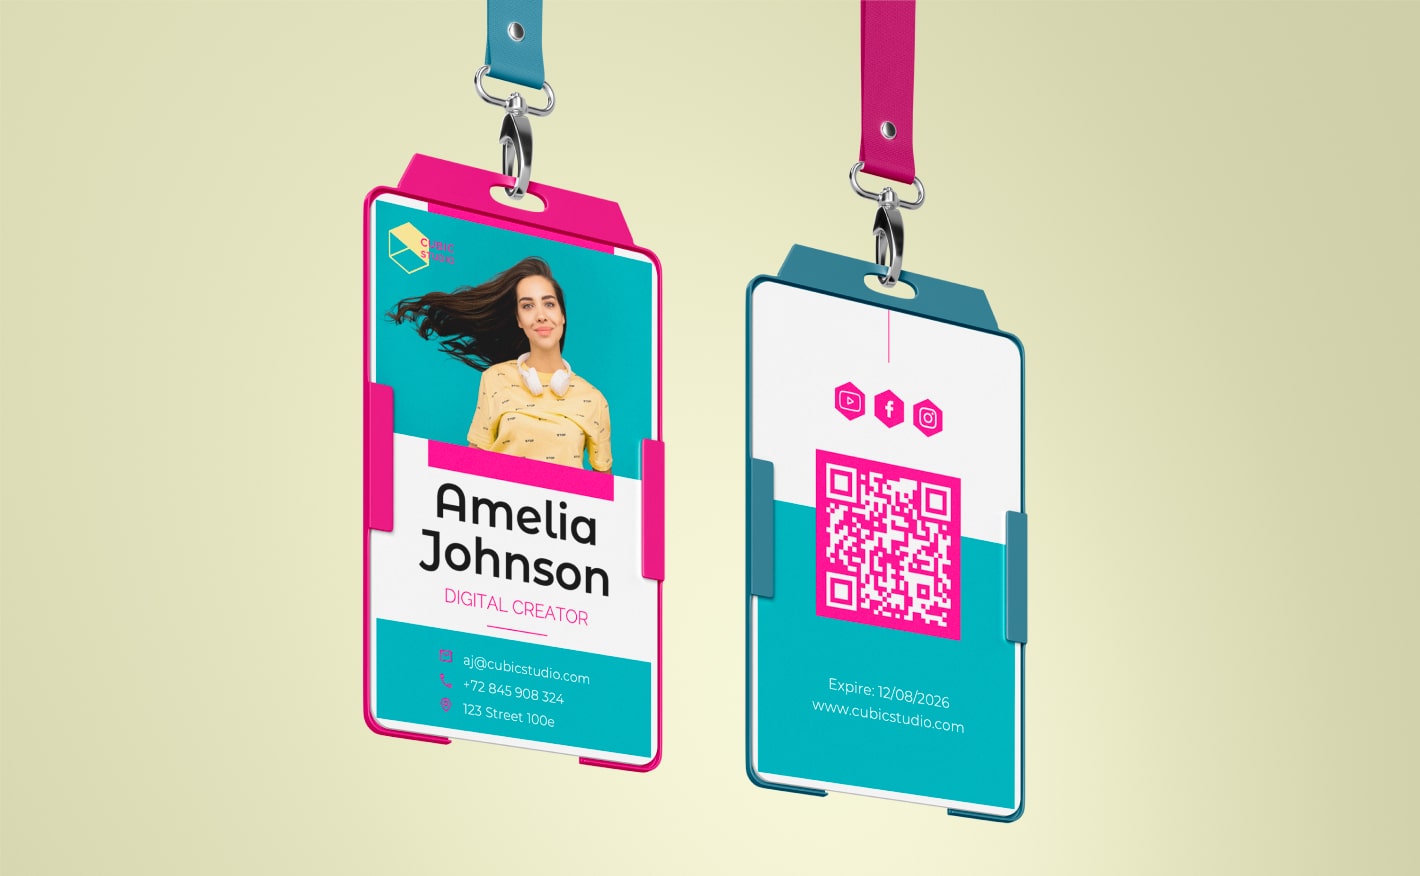
Completed project.
