Editing Documents
Working with Images
The program allows you to use either images supplied with it, or import them from graphic files or Photos. You can access images using the Source panel.
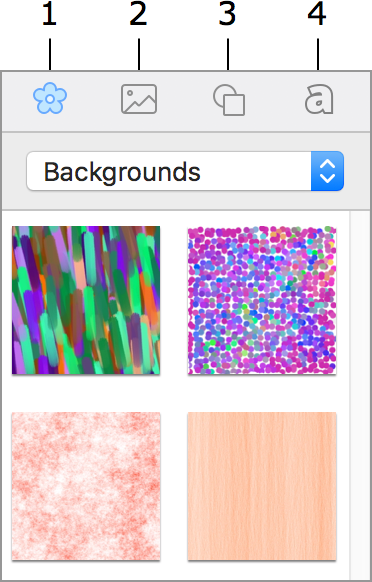
1 – Built-in clipart.
2 – Import images from your Photos library or from a folder on your disk.
3 – Built-in Smart Shape library.
4 – Collection of heading designs.
In order to find an image in the clipart, use the search tool at the bottom of the clipart tab.
To search on the Internet, use the Insert > Image > Search on the Internet… menu command. The search result will be displayed in your web browser. To add an image to your document, drag it from the browser onto the canvas.
Some operations common for different types of objects are described in the related sections:
- Selecting Objects
- Changing the Object Size
- Rotating Objects
- Grouping Objects
- Filling Objects with Colors
- Applying the Stroke Settings
- Applying the Shadow Effect
Adding an Image to the Document
From the clipart:
- Open the clipart in the Source panel.
- Select an image category in the pop-up menu.
- Click on an image thumbnail or drag and drop it to the canvas.
From Photos library:
- Open the Photos library in the Source panel.
- Click on an image or drag and drop it to the canvas.
From a file:
- Choose Insert > Image > From File… in the main menu.
- Or drag an image from a folder into your document.
To display images from a folder in the Source panel:
- Open the tab with the Photos library in the Source panel.
- Click on the Custom Folder item.
- Click on an arrow icon and navigate to the folder containing images.
Inserting Generated Images
The built-in image generator can create images for backgrounds and decoration. See Using Image Generators for more information.
Image Properties
Image properties are located in the Appearance tab of the Inspector.
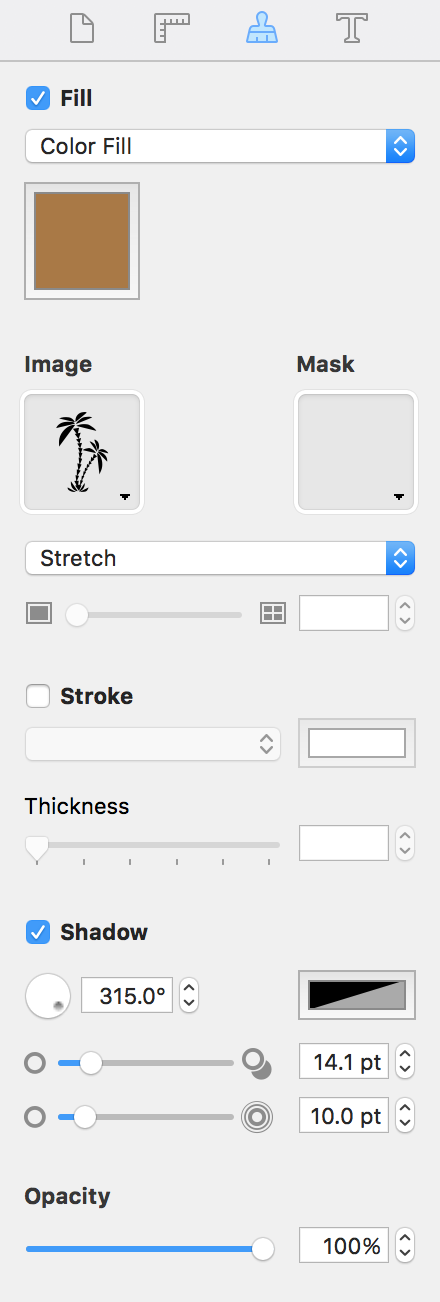
To tint an image, select the Fill check box. Then click the color button to choose a color.
To change the image transparency, use the Opacity tool.
You can drop an image inside a selected smart shape or another image. The way the new image fits inside is defined by one of the Fill, Stretch and Fit options. This is described in Working with Smart Shapes.
The image tiling tool creates multiple down-scaled copies of the image in the area taken by the original image. This feature can be used to create backgrounds. The meaning of the numeric value is easier to understand when the image has its original size (Format > Image > Original Size). By setting 1, you make the image fit the frame exactly. Setting 2 makes the image twice as smaller (that is 4 copies per frame). A value smaller than 1, makes the image bigger than the frame. Resizing the frame itself doesn't scale the image inside it.
To tile an image, select it and choose Format > Image > Tile in the menu or click on Stretch drop-down menu in the Inspector and select Tile. Use the Tile slide bar to adjust the number of tiles and their size.
Masking Images


Click on the Mask image well in the Inspector and select a mask in the library. To use a custom mask, click on Custom Mask… below the library and select a graphic file.
Cropping Images
The Crop tool lets you use a part of an image in your design.
To crop an image, right-click on it and choose Crop. The red handles on the image frame indicate that you are in the crop mode. Move these handles to show the desired part of the image. To exit the crop mode, click once again on Crop in the context menu.
You can move the image inside its frame when the crop mode is activated.
Editing Images
To edit an image using the built-in image editor, double-click on the image.