Editing Documents
Working with Text
Most of the text formatting tools are located in the Text tab of the Inspector.
- Adding and Editing Text
- Adding and Editing Vertical Text
- Adding and Editing Circular Text
- Removing Text
- Formatting Text
- Text Wrapping
- Checking Spelling
- Finding and Replacing Text
- Adding Hyperlinks
Some operations common for different types of objects are described in:
- Selecting Objects
- Changing the Object Size
- Rotating Objects
- Grouping Objects
- Filling Objects with Colors
- Applying the Stroke Settings
- Applying the Shadow Effect
Adding and Editing Text
Several text tools are stacked within the same button in the toolbar. To show all of them, click and hold the mouse button and you'll see the popup menu. Then choose the necessary tool. In the toolbar, the icon shown here is typically the one that was last used. You can activate that particular text tool by just clicking the icon.
To type text, you should add a text box, a container for your text.
To add a text box, activate the Text tool in the toolbar. Then click on the canvas.
To add a text box:
- Click on the Text tool in the toolbar.
- Click on the canvas.
To draw a text box of a particular size:
- Activate the Text tool in the toolbar.
- Place the mouse cursor where the corner of the new text box should be.
- Press the left mouse button and, while holding it down, move the mouse to draw a text box.
- Release the mouse button.
To edit text, double-click on it.
To exit the text editing mode, click outside the text box or press Cmd-Return.
Adding and Editing Vertical Text
- With the Vertical Text tool, click on the canvas.
- Type your text.
- Resize the added text box if necessary.
To edit vertical text, double-click on it.
To exit the text editing mode, click outside the text box or press Cmd-Return.
While editing vertical text it is displayed horizontally.
Some text formatting tools (for instance, bulleted lists or spacing between lines) don't work with vertical text.
Adding and Editing Circular Text
- Activate the Circular Text tool, and click on the canvas.
- Type your text into the floating text editor, and apply any necessary formatting. Close the text editor.
- Resize the added text box if needed.
To edit circular text, double-click on it.
To reverse the direction of a circular text, use the Clockwise Direction check box in the text editor.
Some text formatting tools (for instance, bulleted lists or inset margin) don't work with circular text.
Removing Text
To remove a text box, select it and press the Delete key.
Formatting Text
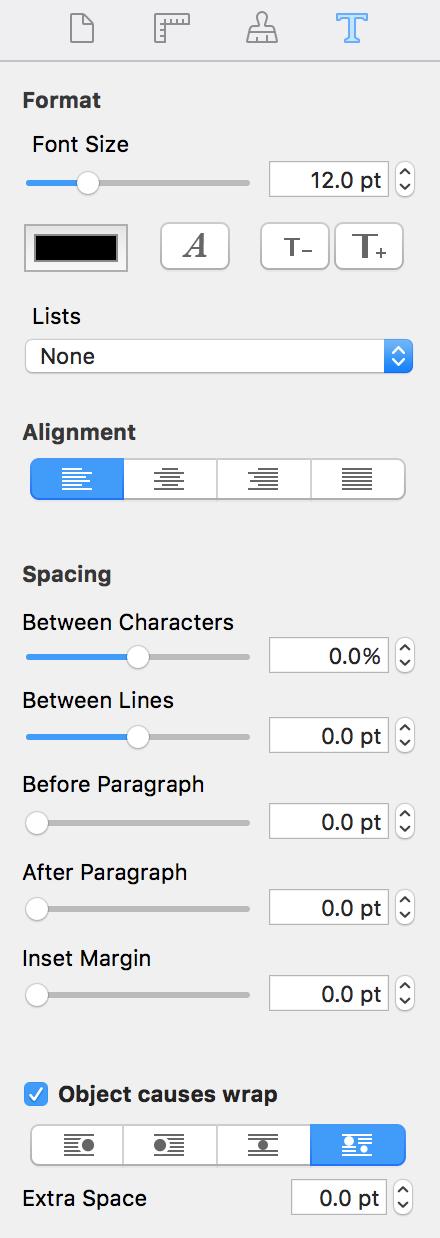
Text formatting tools are located in the Text tab of the Inspector window.
Changing Text Font and Color
To change the font, select the text box or highlight a portion of the text, and click the Fonts button in the Inspector. Or, press Cmd-T.
To change the color, select the text box or highlight a portion of the text, and click the color button in the Inspector. Or, press Cmd-Shift-C.
Changing the Font Size
To change the font size, use the Font Size slide bar or the "T" buttons. Alternatively, type the font size in the edit box.
Alignment
To align text within the text box, use the Alignment buttons in the Text tab of the Inspector.
Changing the Color, Width and Pattern of the Text Box Frame
To outline a text box, select the Stroke check box in the Appearance tab of the Inspector. Here you can set up the line thickness, color, and choose a pattern.
Changing the Background Color of a Text Box
To change the background color of a text box:
- Select the text box.
- In the Appearance tab of the Inspector, select the Fill check box.
- Click the Color button and choose a new color.
Applying Shadows
To add a shadow to text:
- Select the text box.
- In the Appearance tab of the Inspector, select the Shadow check box.
- Set up parameters of the shadow.
The shadow effect is applied to the entire text box.
Spacing Settings
You can change the default text spacing settings by using the Spacing parameters in the Text tab of the Inspector.
Between Characters – changes the distance between characters. This tool can be applied to the whole selected text box or to a selected part of the text.
Between Lines – the distance between lines. This tool can be applied to the whole selected text box or to a selected part of the text.
Before Paragraph – the space before the current paragraph (where the text cursor is).
After Paragraph – the space after the selected paragraph (where the text cursor is).
Inset Margin lets you control the spacing between the text and text box border. By increasing this value, you increase the distance between the text and its borders on all sides.
Creating Lists
To create a list, select a part of your text or an entire text box. Then, in the Text tab of the Inspector, click on the Lists pop-up menu to select the list type (numbered, with bullets, etc.).
Text Wrapping
You can wrap text around images or text box frames. Only regular text can wrap around objects.
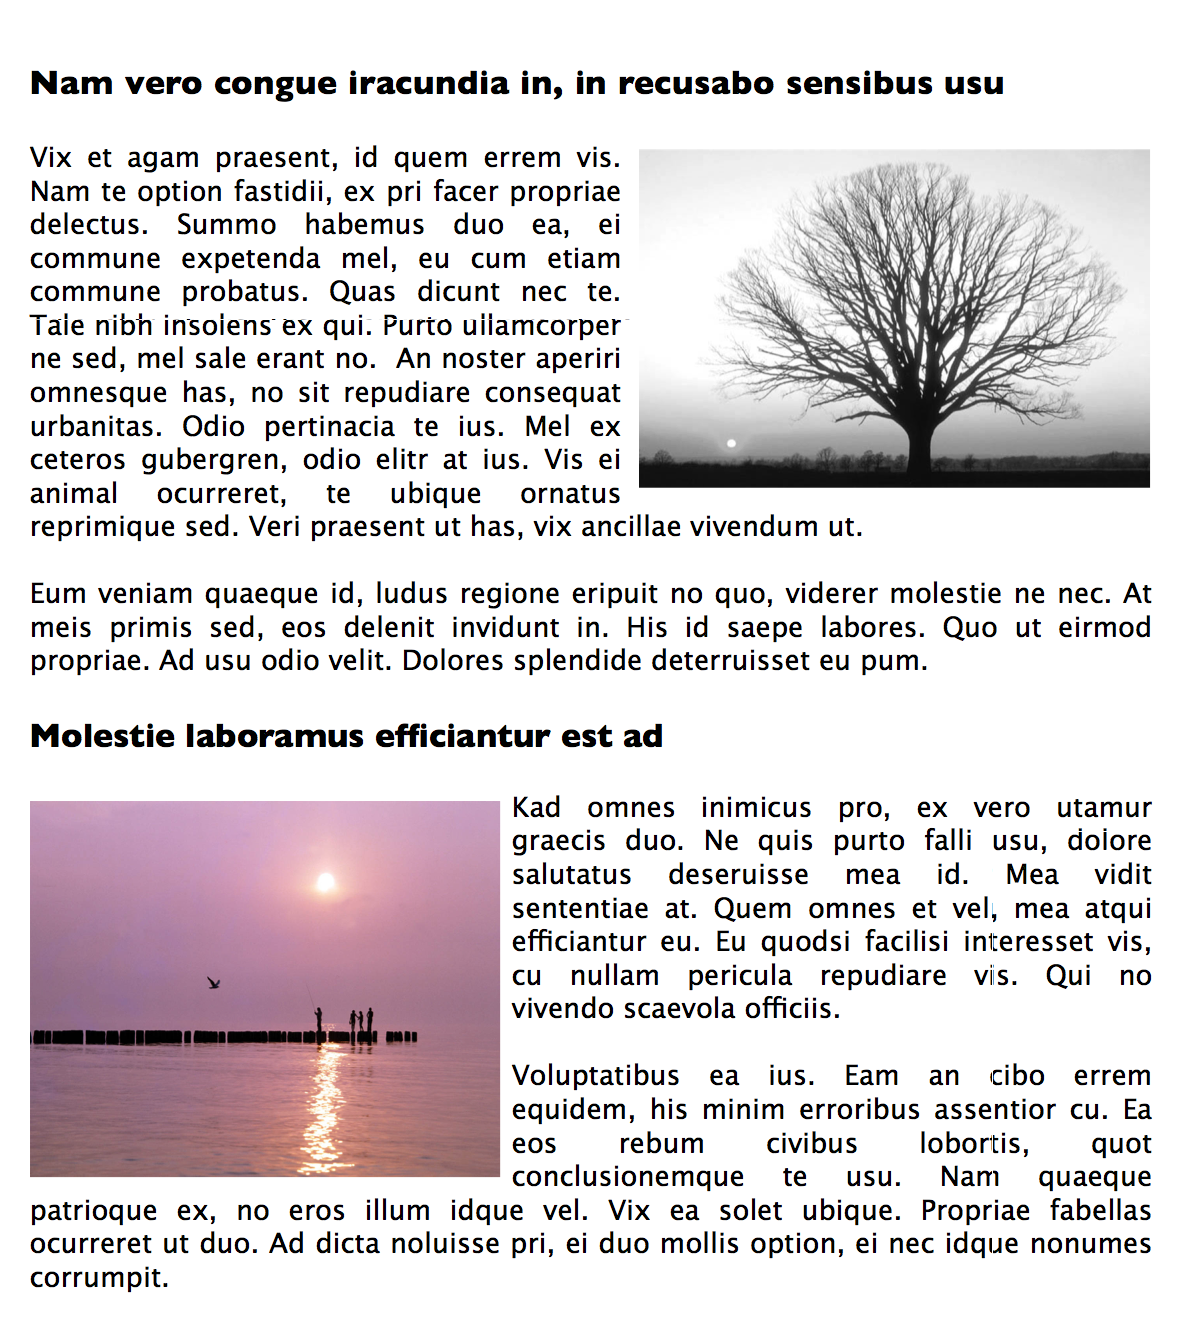
To make text flow around an object:
- Select the object, right-click on it and select Bring to Front in the context menu. This is necessary because the text must be behind the object.
- Activate the Object causes wrap option in the Text tab of the Inspector.
- Click one of four buttons to select the way text flows around the object.
- If necessary, change the space between the object and text by changing Extra Space in the Inspector.
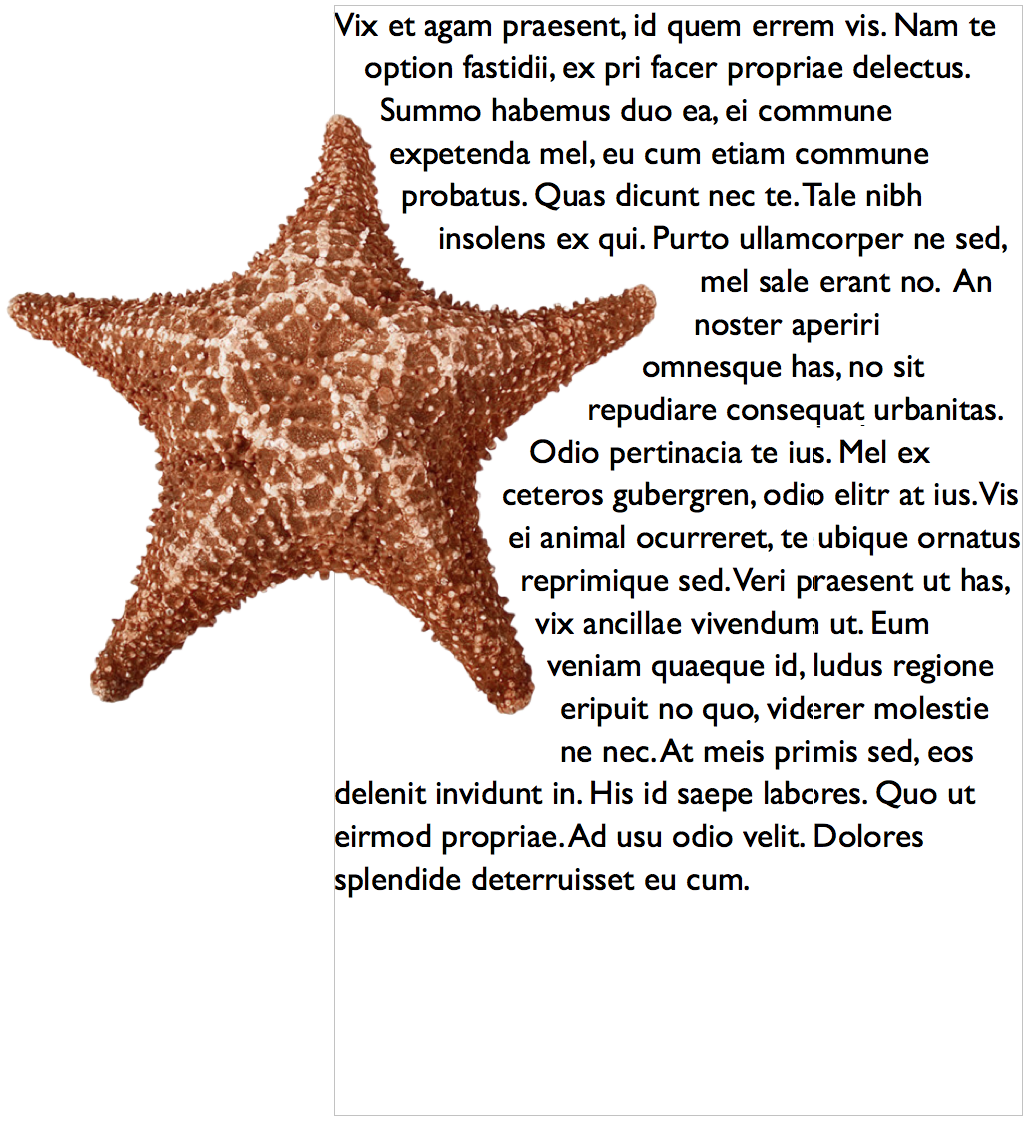
You may need to wrap text around an image with the transparent background. Since the program doesn't take transparency in account, the text would still wrap around the image border not around the visible part.

In such cases you need to outline the image using the Spline tool, and make the text wrap not around the image itself but around the created contour.
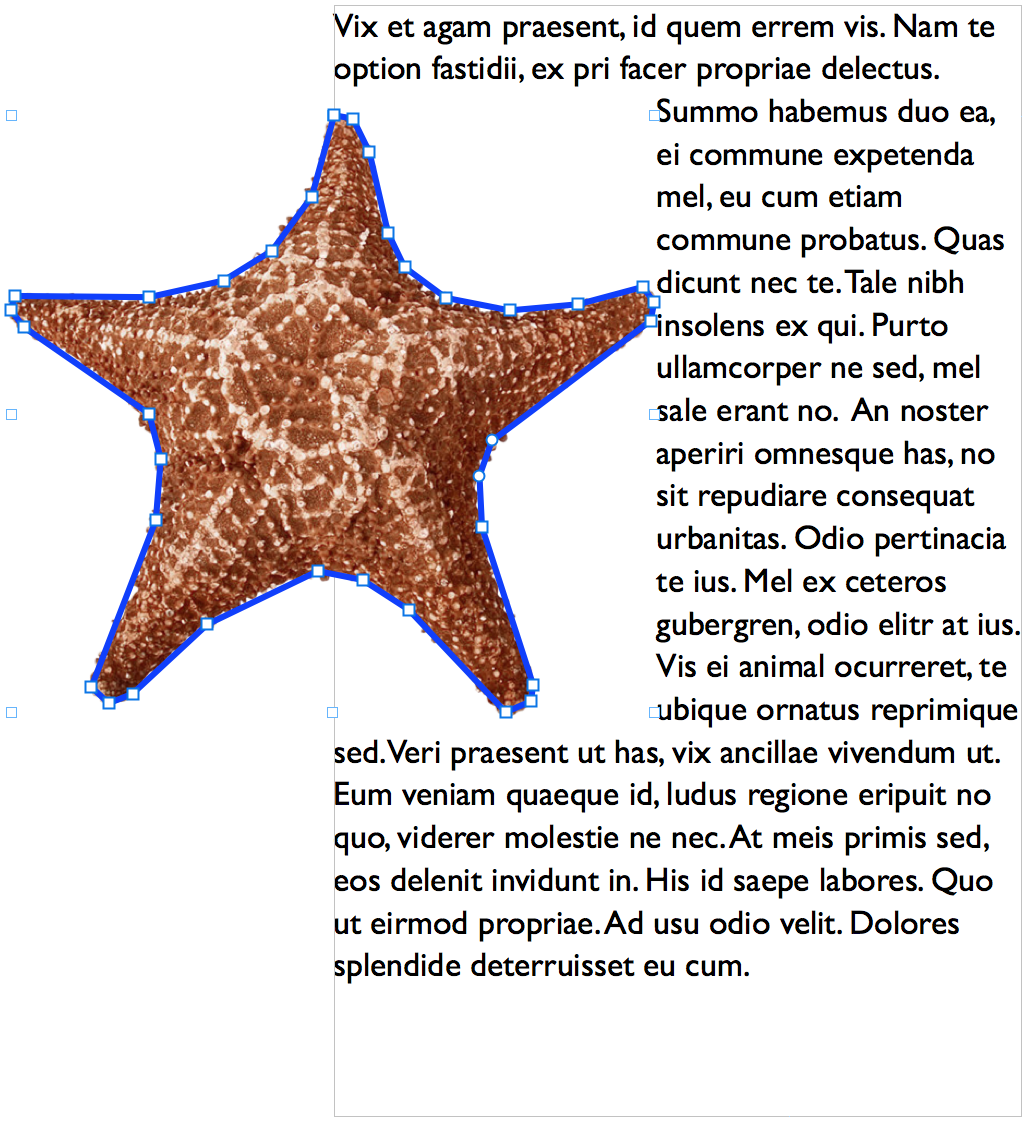
Once you satisfied with the result, turn off the Stroke of the contour to make it invisible.
Checking Spelling
To check the spelling and grammar, select Edit > Spelling and Grammar > Check Document Now (Cmd-:). If your text has misspelled words, the program will mark the first one with a red dotted line. Repeat this command to display misspelled words one after another.
To show possible corrections to a misspelled word, select Edit > Spelling and Grammar > Show Spelling and Grammar (Cmd-:).
To have misspelled words underlined when you type, select Edit > Spelling and Grammar > Check Spelling While Typing.
Finding and Replacing Text
The program lets you find and replace a word, number or phrase.
Double click on a text box to enter the text editing mode and select Edit > Find > Find in the menu. Enter the word you are looking for in the Find text box and click Next.
If you need to replace the word, enter the new word in the Replace text box and click Next and Replace.
Select a word and choose Edit > Find > Use Selection for Find and the selected word will become the criterion for the search.
If you have selected a part of text, the option Jump to Selection will scroll down (if needed) to make the selection visible.
Adding Hyperlinks
It is possible to create a PDF file with links to web pages. To do this:
- Add a URL address to a text box. It can be typed in any of the formats below:
https://www.belightsoft.com
https://www.belightsoft.com/products/swiftpublisher/downloads.php
www.belightsoft.com
belightsoft.com
It is important to use valid site and domain names. Test your link in a web browser to make sure that it works. - Select the URL, right-click on it and choose Make Link from the context menu. Be careful, don’t select any space characters before or after the URL.
- Now, you can edit and format the visible text without affecting the link. Select the text related to the link and type anything you need, change the color or font. To make the link look in the standard way (blue and underlined), you should change the text color to blue and enable the Format > Font > Underline option in the main menu.
To remove a link, right-click on it in the text editing mode and choose Remove Link.
Also, you can add an email address in this format:
mailto:support@belightsoft.com
The "mailto:" prefix must be in the beginning if you want a mail program open upon clicking the link.