
Creating Effects
The Mask Effect
You can apply a raster mask to an object to make parts of the object transparent. Areas in the mask that are transparent or semitransparent make the underlying image parts transparent or semitransparent. If the image has no transparency, the app takes the brightness of pixels in the mask into account. White area in the mask keeps the image as is. Black area in the mask makes the image transparent.
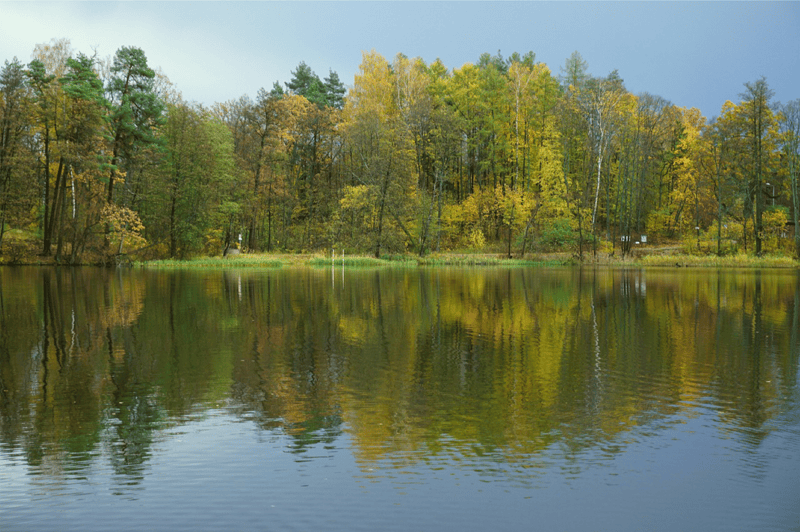
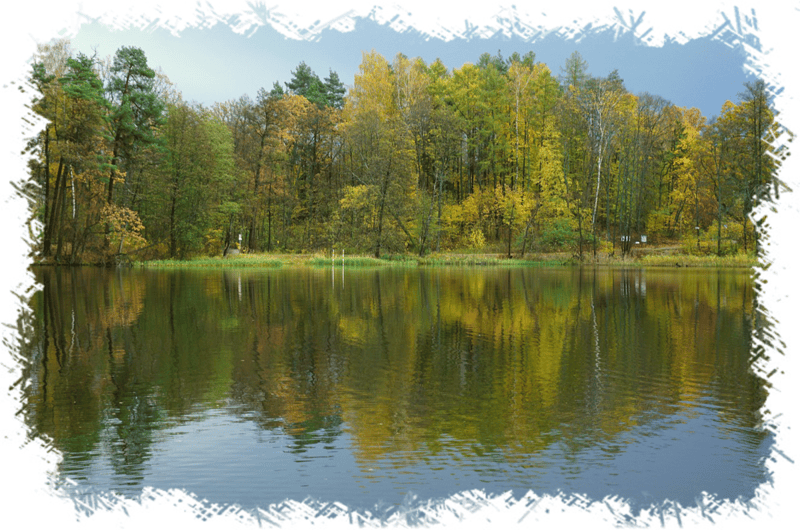
The Appearance panel is used to add and adjust the effects.
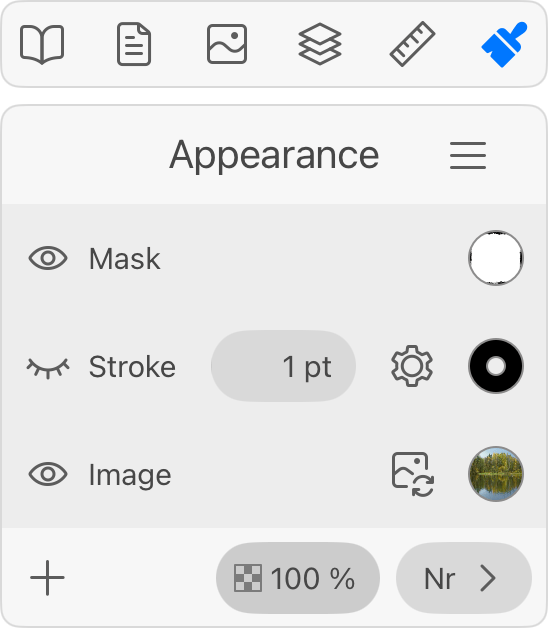
In order to apply a mask to an image, tap the plus button in the Appearance panel. Select Mask. Then tap the circular button. It opens the mask effect settings which are similar to image fill. In addition to that, masks have the Invert Mask which swaps transparent and non-transparent areas.
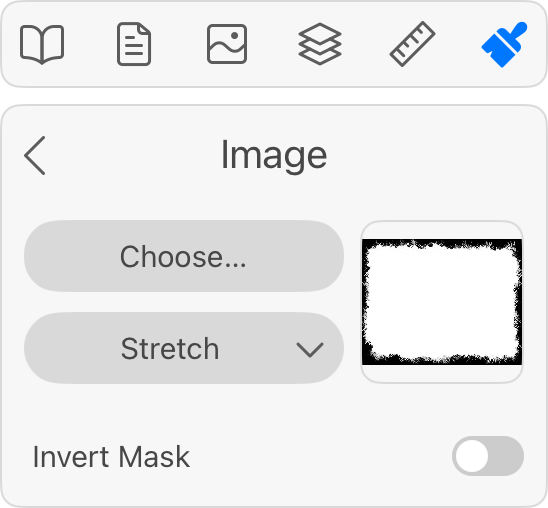
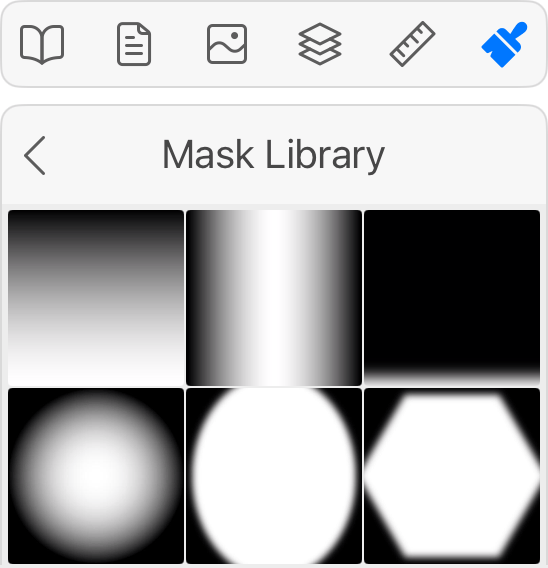
To create a mask, tap the Choose button to select an image. You can import an image from the Photos app, open a graphic file or use a mask from the built-in library.
To delete a Mask effect, slide over it in the Appearance panel to the left. Then tap the trash bin icon.
The Mask effect creates raster graphics. If you plan to export a high-resolution image, or, if the exported image might be enlarged in other software, make sure that your export settings are sufficient for that.