
Layout
Custom Paper Layout
If a layout that you want to print on is not present in the list of predefined layouts, you can create a new one. Custom layouts are saved in the Custom section of the Select Layout dialog. It is empty by default.
To open the dialog, tap the Change Layout button in the Document panel. Then open the Custom section.
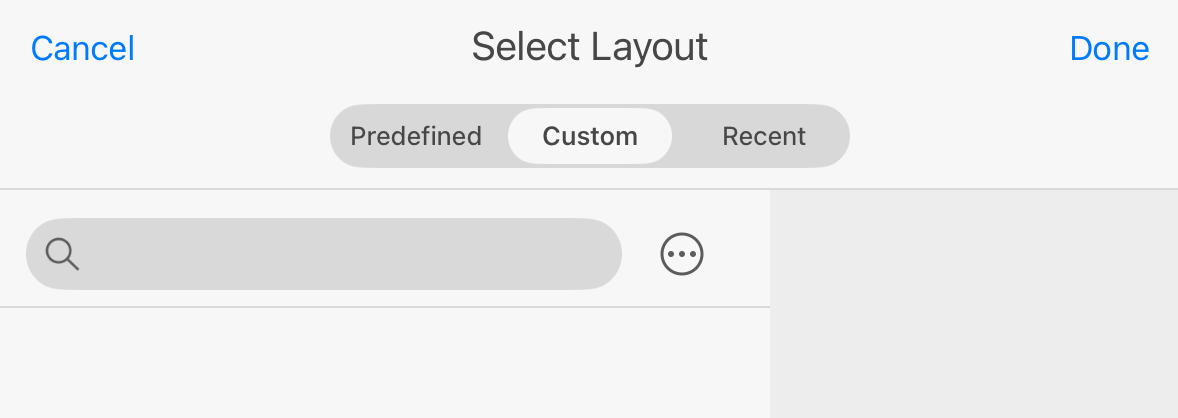
Tapping the  icon opens a menu with the following commands:
Add New… creates a new layout.
Duplicate creates a copy of the selected layout.
Edit… opens the selected layout in the editor.
Delete removes the selected layout.
Import… lets you import custom layouts created in version 5 of the app on macOS. The path to a file that you can import:
~/Library/Group Containers/7TJZ7EZWM6.com.belightsoft.PrintProducts/Library/Application Support/Swift Publisher 5/CustomPapers.plist
Create a Custom Layout
There are two ways to create a custom layout: create a new one from scratch and customize an existing layout.
To create a new layout, choose the Add New… command in the menu .
In order to customize a standard layout, select it. Then choose the Customize command in the menu .
Edit a Layout
The Customize, Add New… and Edit… commands in the menu open the Edit Layout dialog. This dialog has three different views with various properties, depending on the type of the layout you are about to edit:
- Multiple identical elements such as mailing labels or business cards. They are placed in a grid so you can specify the element size and gaps.
- Multiple elements of different types. This is supported only for disc-related projects. The layout editor is provided with the library of standard elements. You can combine them on the page. Each element lets you set its coordinates individually.
- Individual elements, such as envelopes and postcards. Here you can only set the layout name and size. Optionally, you can define the size and location of a transparent window in the envelope.
Business Cards, Mailing Labels and Postcards
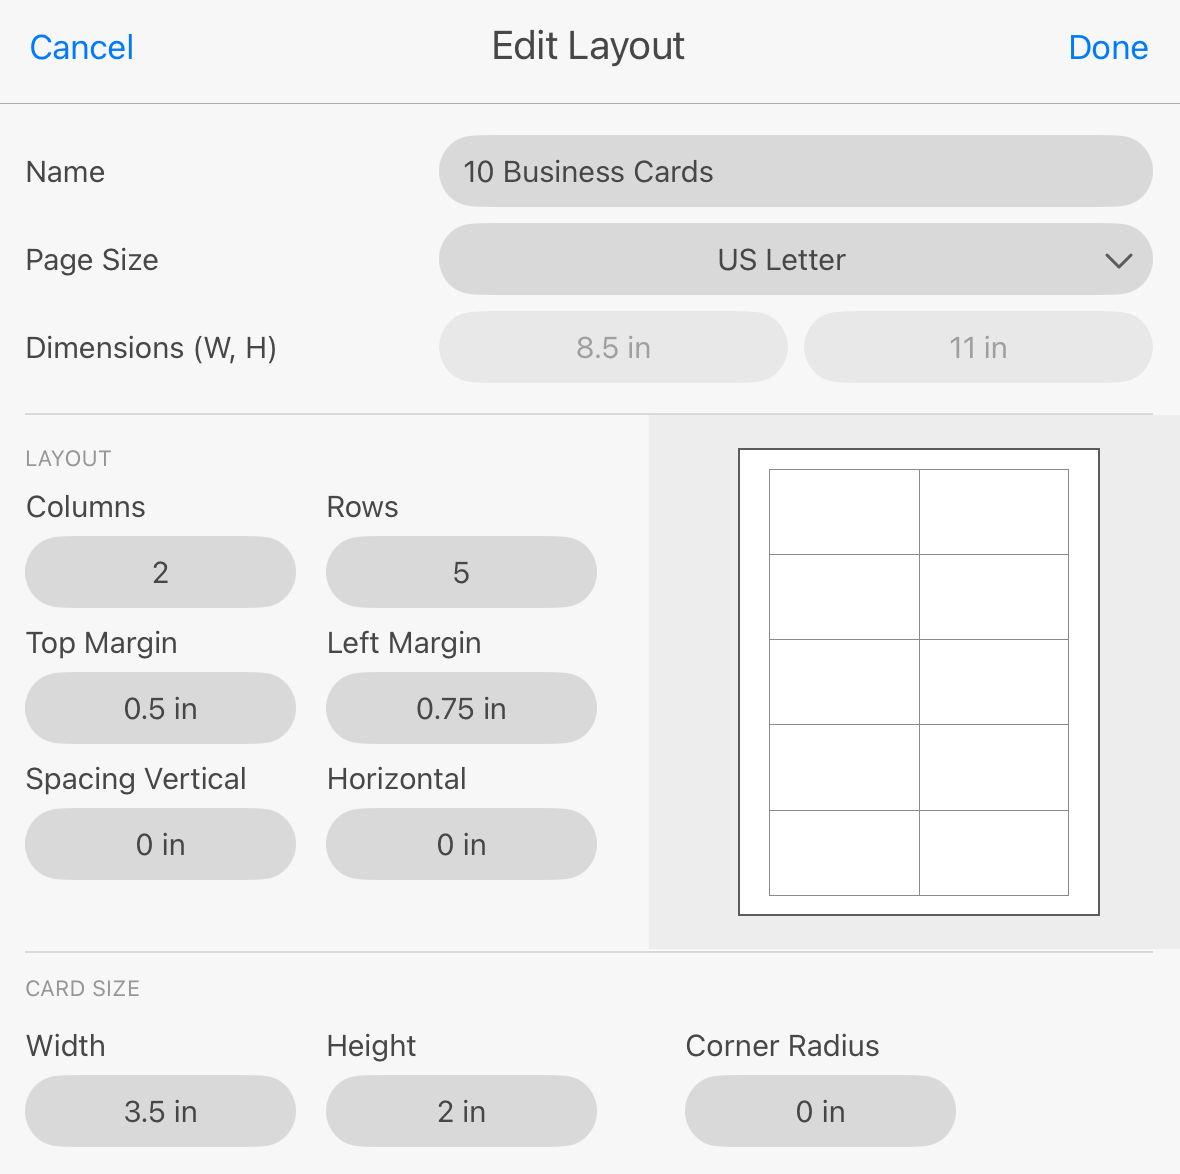
Set up the page size. Then set the card or label size. Set up the number of columns and rows. Finally, define the margins and spacing.
CD, DVD and Blu-ray Media
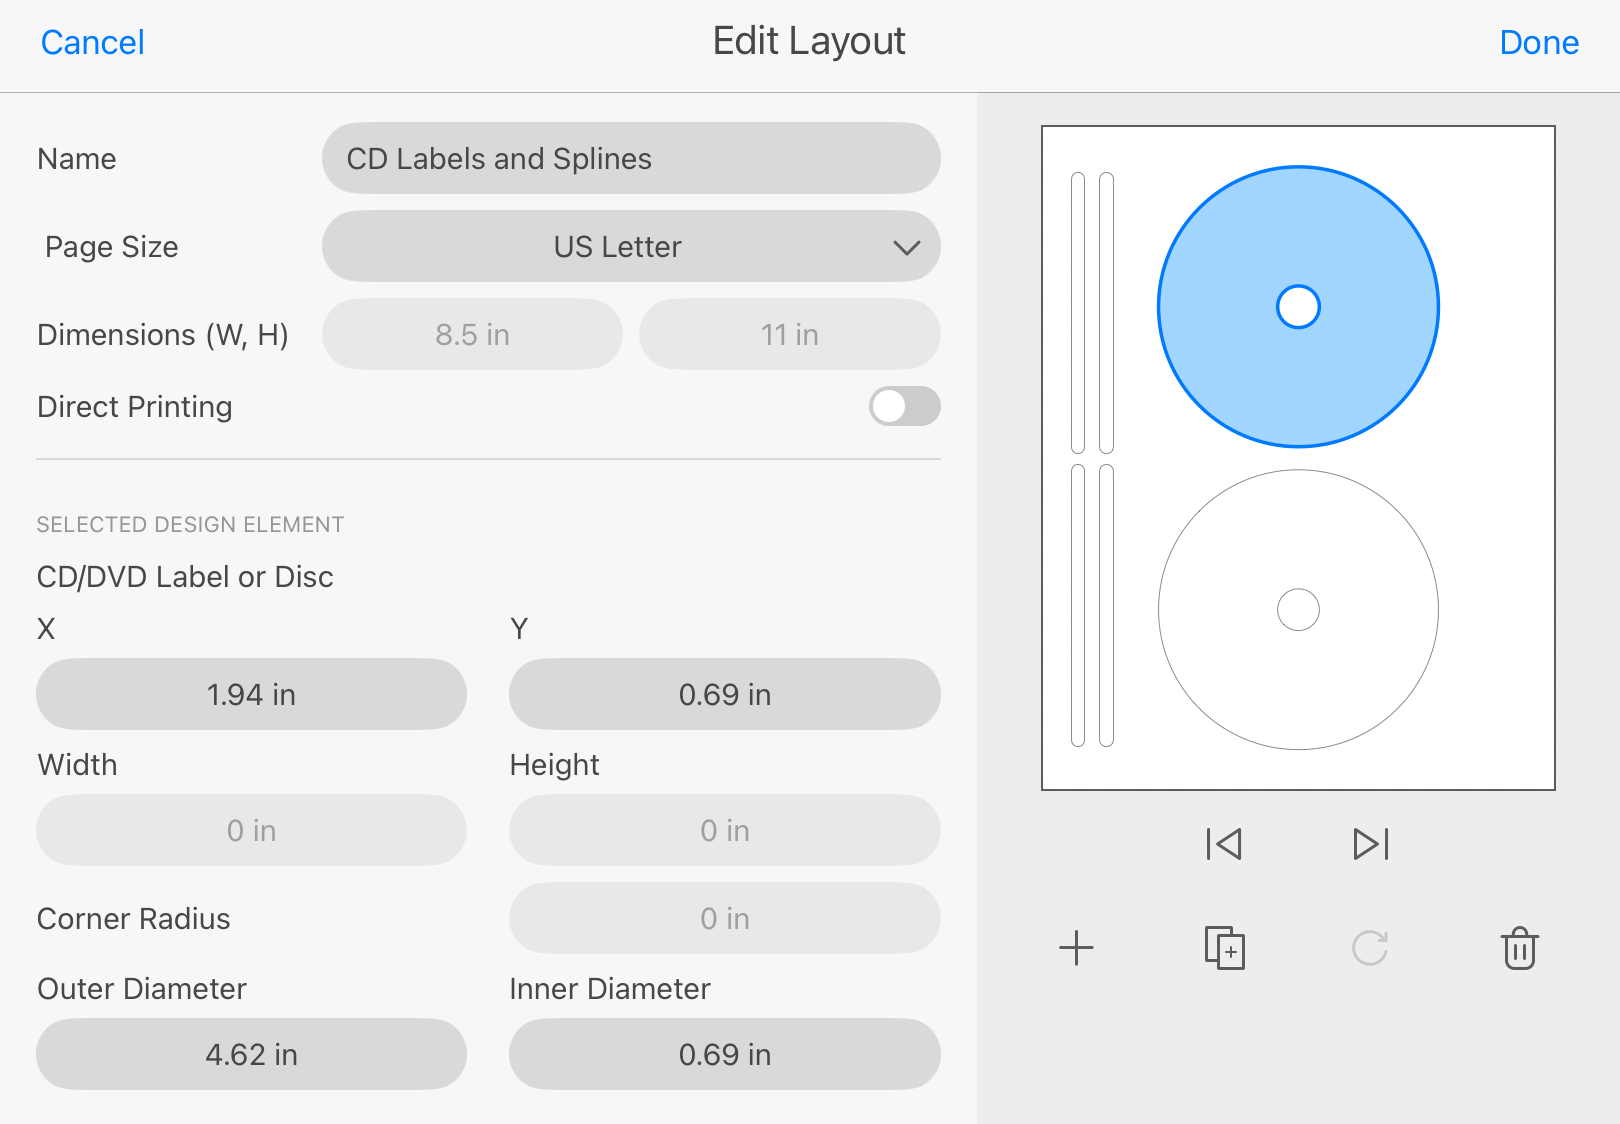
Set up the page size. If you are going to use your printer tray to print on a disc, enable the Direct Printing option.
Disc, label, cover and so on are called design elements in the app. So, to add a design element, tap the  button and choose an element from the popup menu. Adjust the position and size of the element using the corresponding edit boxes.
Buttons near the preview have these functions:
 and
 select the previous and next design element. You can also tap design elements in the preview to select them.
Adds a design element to the layout.
 Duplicates a selected design element.
 rotates a selected design element.
 removes a selected design element.