
Working with Documents
Creating Documents
To create a new blank document, tap the plus icon in the Template Gallery. The New Document dialog will open up. You should set up document properties and tap the Create button to have the document created.
Another way to create a blank document is to choose one of the templates in the Blank section of the Template Gallery.
In order to create your document from a predesigned template, choose one you like in the Template Gallery.
Document Media
The type of the document is obviously defined by its purpose. But it also depends on the media associated with this kind of documents. For instance, Desktop Publishing documents are either printed on plain paper or exported as a PDF. They may consist of one or multiple pages. Labels, on the other hand, are printed on one side of paper or plastic, the other side is adhesive, and therefore such documents have one page by definition. Another example are media related to CD and DVD discs. A single document may contain multiple designs to be printed on a disc, disc box cover and so on.
The app lets you define the type of a document by choosing it in the Category popup menu when you create a new document.
These types of documents are often printed on plain paper or exported as images:
- Desktop Publishing
- Social Media and Web
- Devices
Other documents are primarily used with a predefined layout:
- Discs and Media
- Business Cards
- Labels
- Cookies
- Cards
- Envelopes
The New Document Dialog
The New Document dialog lets you review and change the main document settings. The document type selected in the Category popup menu defines which settings are available.
Plain Paper or Images
Categories:
- Desktop Publishing
- Social Media and Web
- Devices
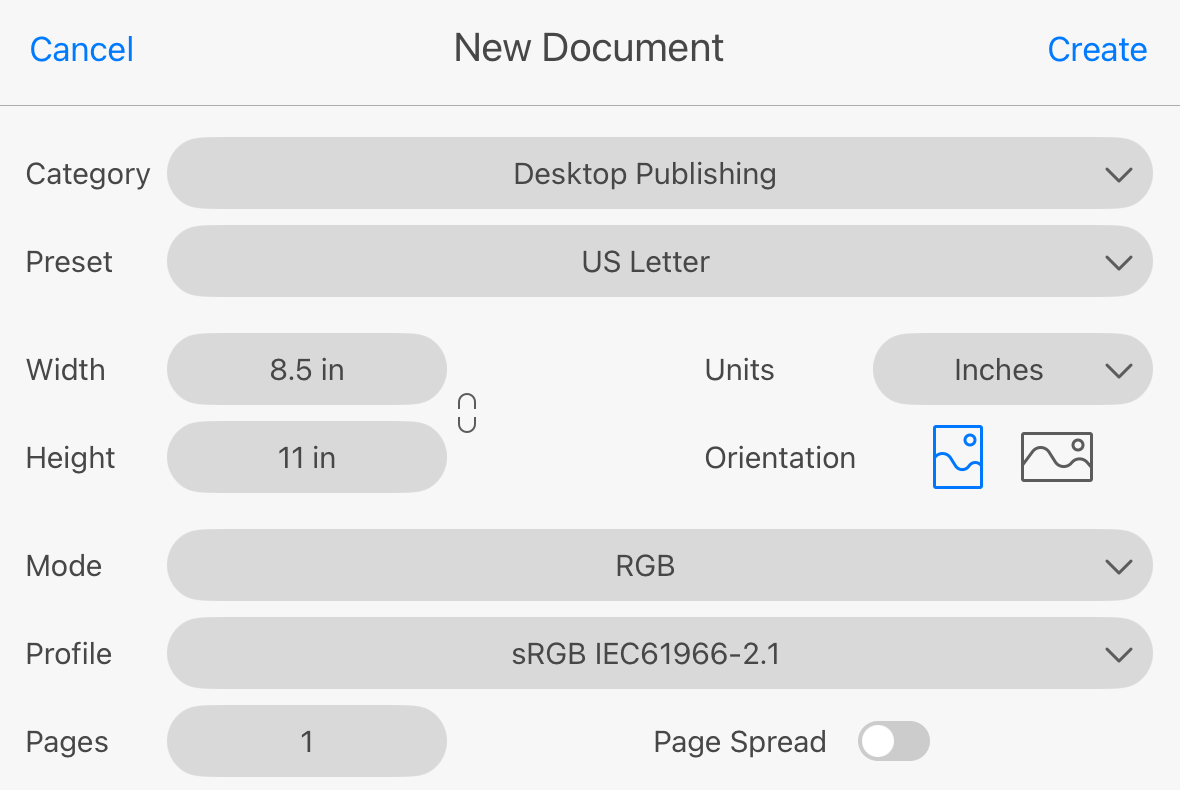
The Category popup menu lists document types by usage.
The Preset lets you select a document size as a paper format, image size or the name of a device.
The combination of the Category and Preset sets the rest of the settings to the corresponding default values.
The Width and Height lets you customize the document size.
The Units popup menu lets you select measurement units to show the Width and Height. The same measurement units will be used for sizes and distances when you edit your document. You can change the units any time later.
The Orientation buttons let you choose either horizontal or vertical orientation of the document by swapping the Width and Height values.
The Mode popup menu lets you choose between the RGB and CMYK color models.
The Profile popup menu defines the color profile for the document.
Two more settings are available for the Desktop Publishing documents.
Using the Pages field, you can set the default number of pages in a new document. You can add and remove pages while you are editing a document.
The Page Spread switch lets you create a document with facing pages such as booklets. The editor displays two facing pages together. Once a document is created, you will not be able to switch from separate pages to page spreads or vice versa.
Predefined Layout
Categories:
- Discs and Media
- Business Cards
- Labels
- Cookies
- Cards
- Envelopes
Each document of these types is based on a layout defined by a particular label paper, disc tray, envelope and so on. Such a layout often has multiple elements (slots). The app prints your design into those slots. For example, a sheet of self-adhesive labels contains 30 of them. You can create a document with a mailing label and print from 1 to 30 of its copies on the sheet.
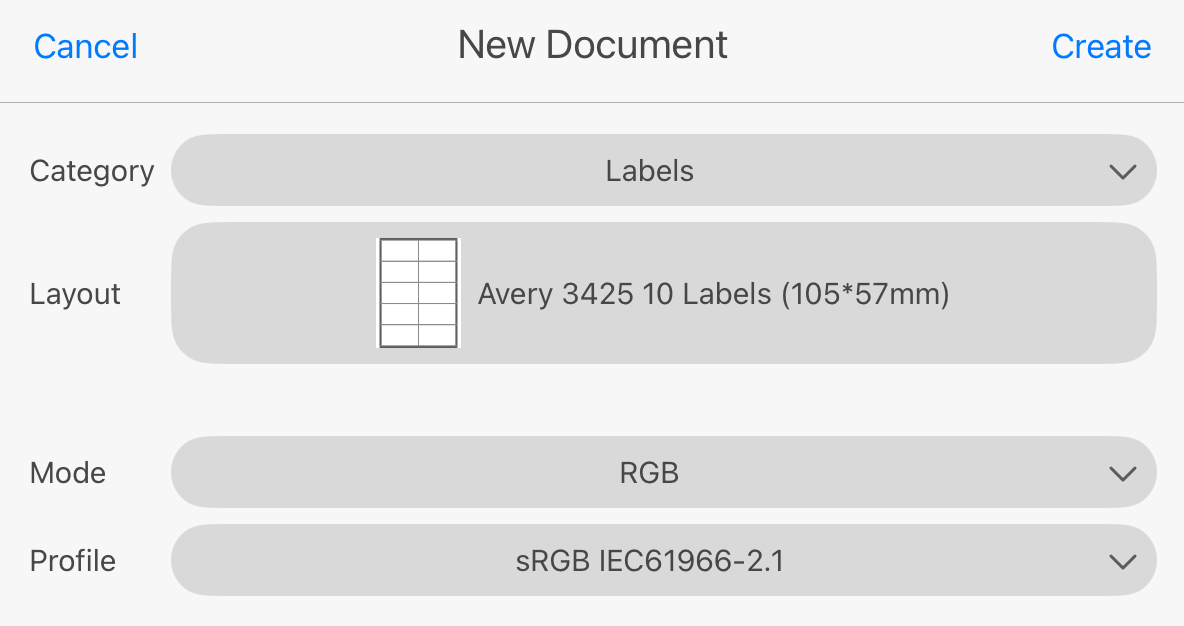
The Layout button brings up the Select Layout dialog where you can select either a stock paper or a custom paper layout.
The Mode popup menu lets you choose between the RGB and CMYK color models.
The Profile popup menu defines the color profile for the document.