Working with Multipage Documents
Master Pages
Master pages help you create uniform pages in an efficient way. For example, with their help, you can create a background once and apply it to all of the pages of your project. The master page then acts as a background and you just need to add elements specific to each page. Likewise, if you later want to change something on this universal background, the changes are applied to all of the pages that have that master applied.
To distinguish master pages and ordinary pages in this documentation, the latter are called "content pages".
A new document contains one master page that isn't applied to any content page. You can add as many master pages as you need.
When you add a new content page, no master page is applied to it by default.
To use the same master pages in several documents, create a template document containing these master pages and then create your new document using this template.
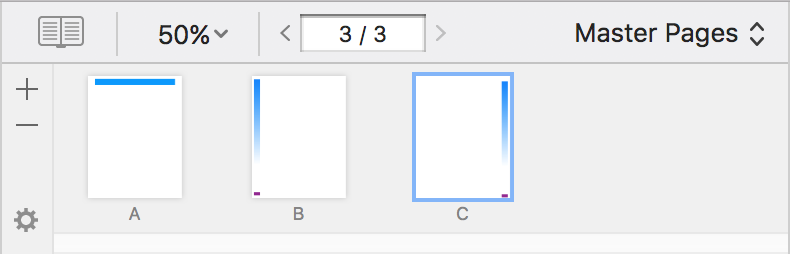
Previewing and Editing Master Pages
To preview or edit master pages, click on Content Pages below the toolbar and select Master Pages. Then click the ![]() button to open the Pages panel, and select the necessary master page.
button to open the Pages panel, and select the necessary master page.
Also, you can switch between content and master pages using the View > Content Pages and View > Master Pages menu commands. The color of the main window background changes to blue to indicate that you have switched from content pages to master pages.
Once you have activated the master pages mode, the Pages panel shows thumbnails of masters. The tools on this panel switch to working with master pages.
You can edit master pages the same way as content pages.
Adding and Removing Master Pages
Click on Content Pages below the toolbar and select Master Pages. Then click the ![]() button to open the Pages panel. In the Pages panel, click the "+" button to add a new master page. To delete a master page, select it in the Pages panel and click the "–" button.
button to open the Pages panel. In the Pages panel, click the "+" button to add a new master page. To delete a master page, select it in the Pages panel and click the "–" button.
A document must have at least one master page, thus removing a single master page is impossible.
New master pages are automatically named using letters "B", "C", and so on. If you delete master B, all the following masters are renamed: C to B, D to C, and so on.
Applying Master Pages
To apply a master, select one or multiple content pages in the Pages panel. Then right-click on the selected page. Choose Apply Master Page in the context menu and specify the master page you wish to apply.
The name of the applied master is indicated in the Pages panel near the top left corner of the page thumbnail.
If a page doesn't need to have a master, choose No Master in the list of master pages.
Master Page Layout
You can set up page margins individually for any master page in the Document tab of the Inspector. A content page automatically displays the page margins of the applied master.
Guide lines added to a master appear on all content pages based on this master. To move, lock or delete these guide lines, open the corresponding master page.
Masters Pages and Page Spreads
If your document is organized as page spreads in contrast to separate pages, its master pages will also be organized as page spreads. Applying or changing a master page of a page spread will affect both pages of this spread.