How to Design and Print Christmas Envelopes on a Mac
When merry winter holidays are just around the corner, it is high time to think about what and how to prepare to celebrate these occasions. To create a shiny and elegant or classic and modest Christmas envelope is a unique way to express yourselves and please your loved ones.
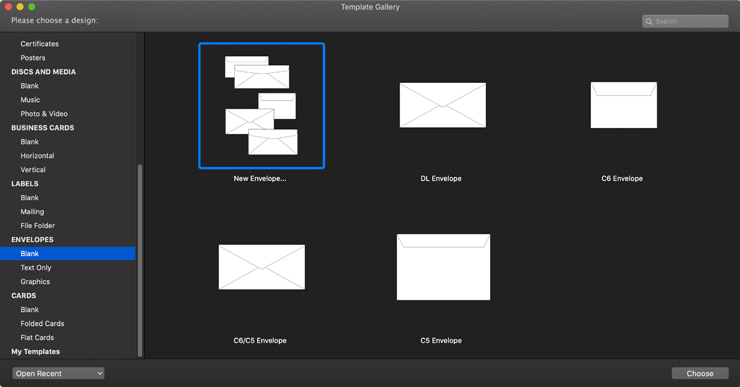
Create a New Project
In the era of email marketing and pop-up messages, creating personalized Christmas card envelopes with your sincerest words written in is definitely appreciated.
One of the first things to do is to define the required size of the envelope. Depending on what kind of card you are going to put inside, the dimensions of the final project may differ to suit holiday cards, announcements, Christmas party invitations, etc. Popular options for your printable layouts include 4 × 5.5 inches, 4 × 8 inches, 4.6 × 7.2 inches, 4.1 × 10.6 inches, and 6 × 9 inches.
Of course, there are many other envelope sizes available, so take into account your preferred flap type or the presence of a window and start performing winter magic on your Mac!
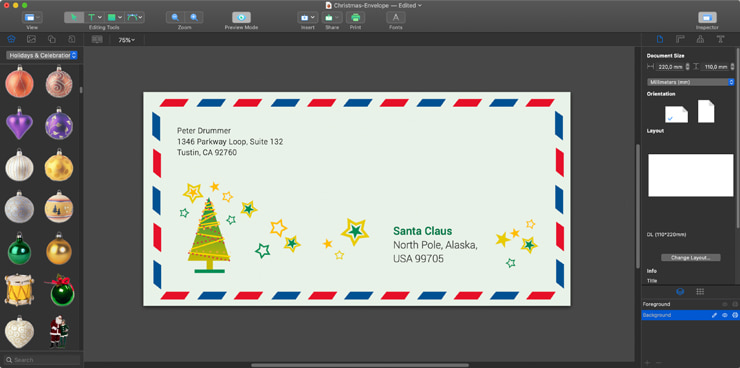
Prepare a Design
When it comes to creating a Santa envelope, blank white pages with simple letterhead won’t cut it. North Pole envelopes from Santa are expected to be bright and shiny, even though some standards have to be followed.
The design template that you choose depends on whether you are going to mail it or personally present it. If you choose the first option, don’t forget to leave enough space for writing the sender’s and recipient’s addresses. Consider their location in accordance with your general layout for printable envelopes. In the upper lefthand corner of the piece, include the information about the sender. Make sure the data provided is legible. If it will be sent internationally, it is critical to include the full first and last names. Of course, proofreading can’t be ignored—you want the letter to find its addressee, don’t you?
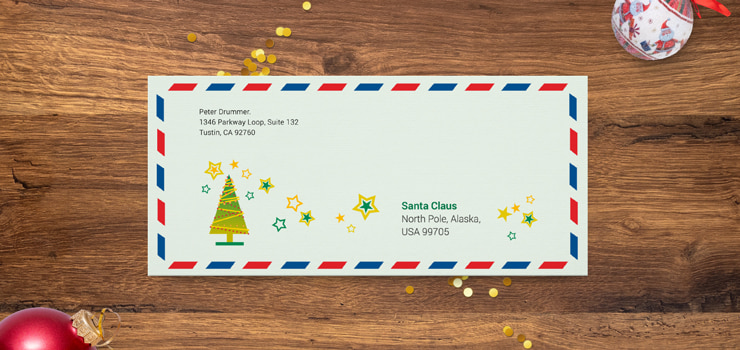
For those who want to prepare “letter to Santa” envelopes for private use, the design options are not as strict. Feel free to use a contrast color palette, combining traditional green and red with unique shades. That will help you create a striking and eye-catching piece.
The correct blend and contrast of colors will also increase the overall readability of your project. For example, it would be a mistake to use a navy blue font on blue Christmas envelopes. From adding a textured look to your letterhead to mixing a few masks and effects—experiment with your project to get unexpected results.
It is a nice idea to add cute Christmas-themed images or photos and corresponding wishes on the front of the envelope. Taking into account that Swift Publisher can boast of its integration with Art Text 4, enthusiasts can select any font to benefit their design’s lettering and typography. With Swift Publisher, the process is simplified─there is no need to switch between different programs to achieve your creative objectives.
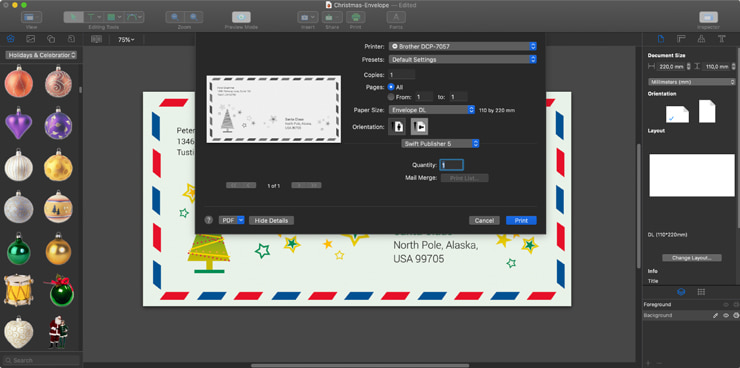
Print Your Project
There is one important thing to bear in mind for everyone who creates printable envelopes—the artwork should cover the entire layout area. In this case, after receiving a printable version of your project, there is no reason to be disappointed by white lines across the letters.
The program will easily export your RGB creation to its CMYK version (which is necessary for publishing centers). Customers can save the layout designed in any desirable format as well.