How to Make a Foldable Greeting Card on Your Mac
This tutorial will guide you through setting up a vertical card template, managing background layers, and adding custom typography to create a professional-looking design.

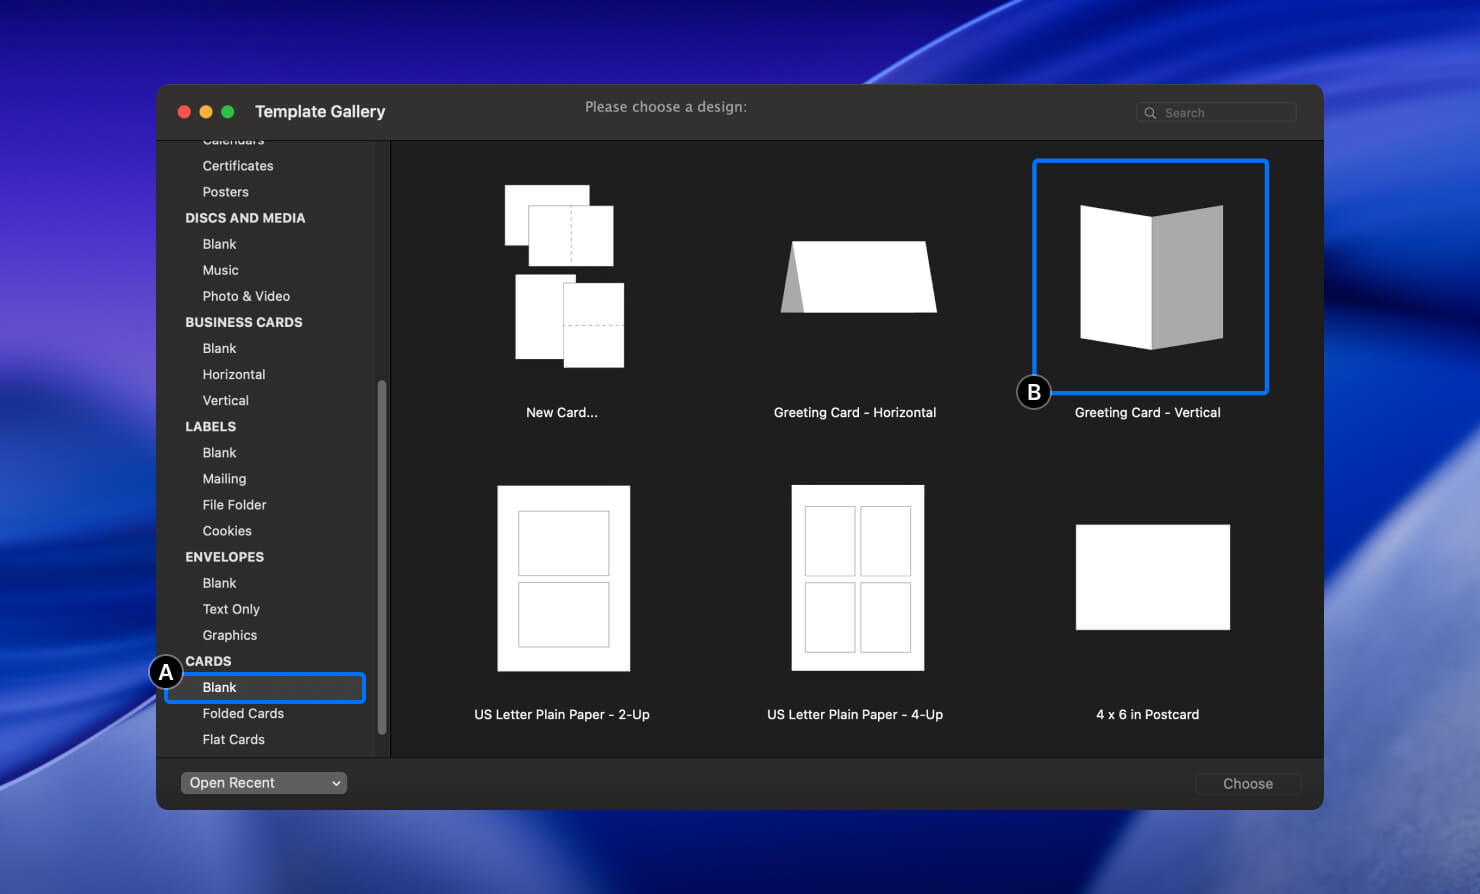
Launch Swift Publisher 5. After the program starts, the Template Gallery window will open. On the left, in the Cards category, select the Blank subcategory, which contains various templates. For the greeting card, I chose the Greeting Card – Vertical template (mark B).
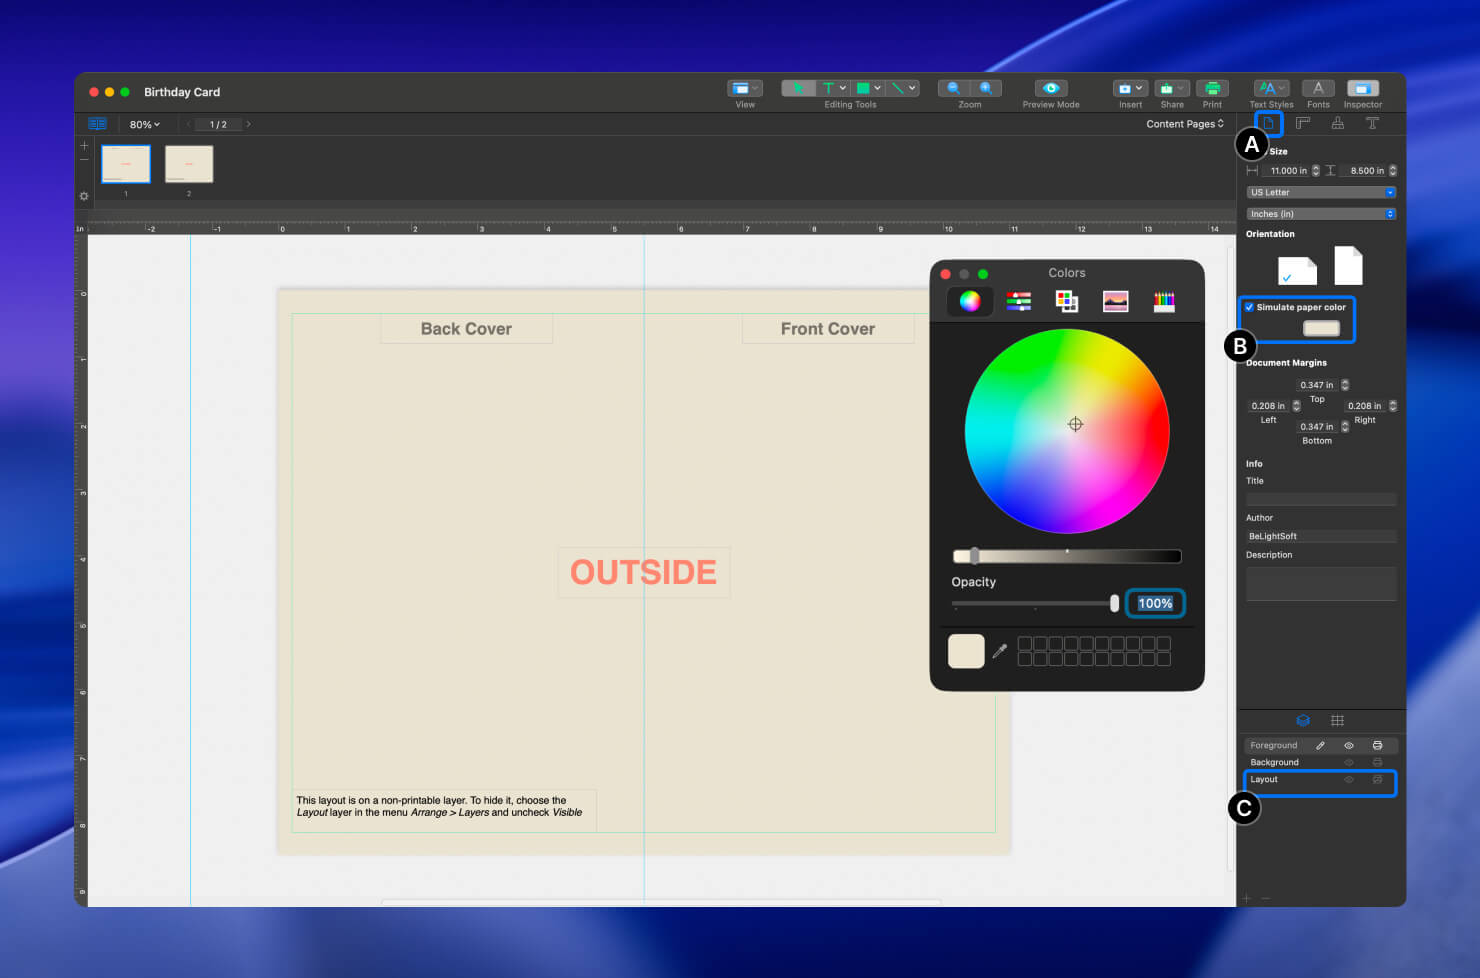
After the document opens, you will see the working area of your layout. First, let’s choose a background color for the card. In the Inspector located on the right, select the Document tab (label A). In the Orientation section, check the Simulate paper color checkbox and click on the colored rectangle directly below the checkbox (label B). In the Color window, I selected the color HEX EAE3D1 or White Coffee color. This color will be applied to all pages of the document.
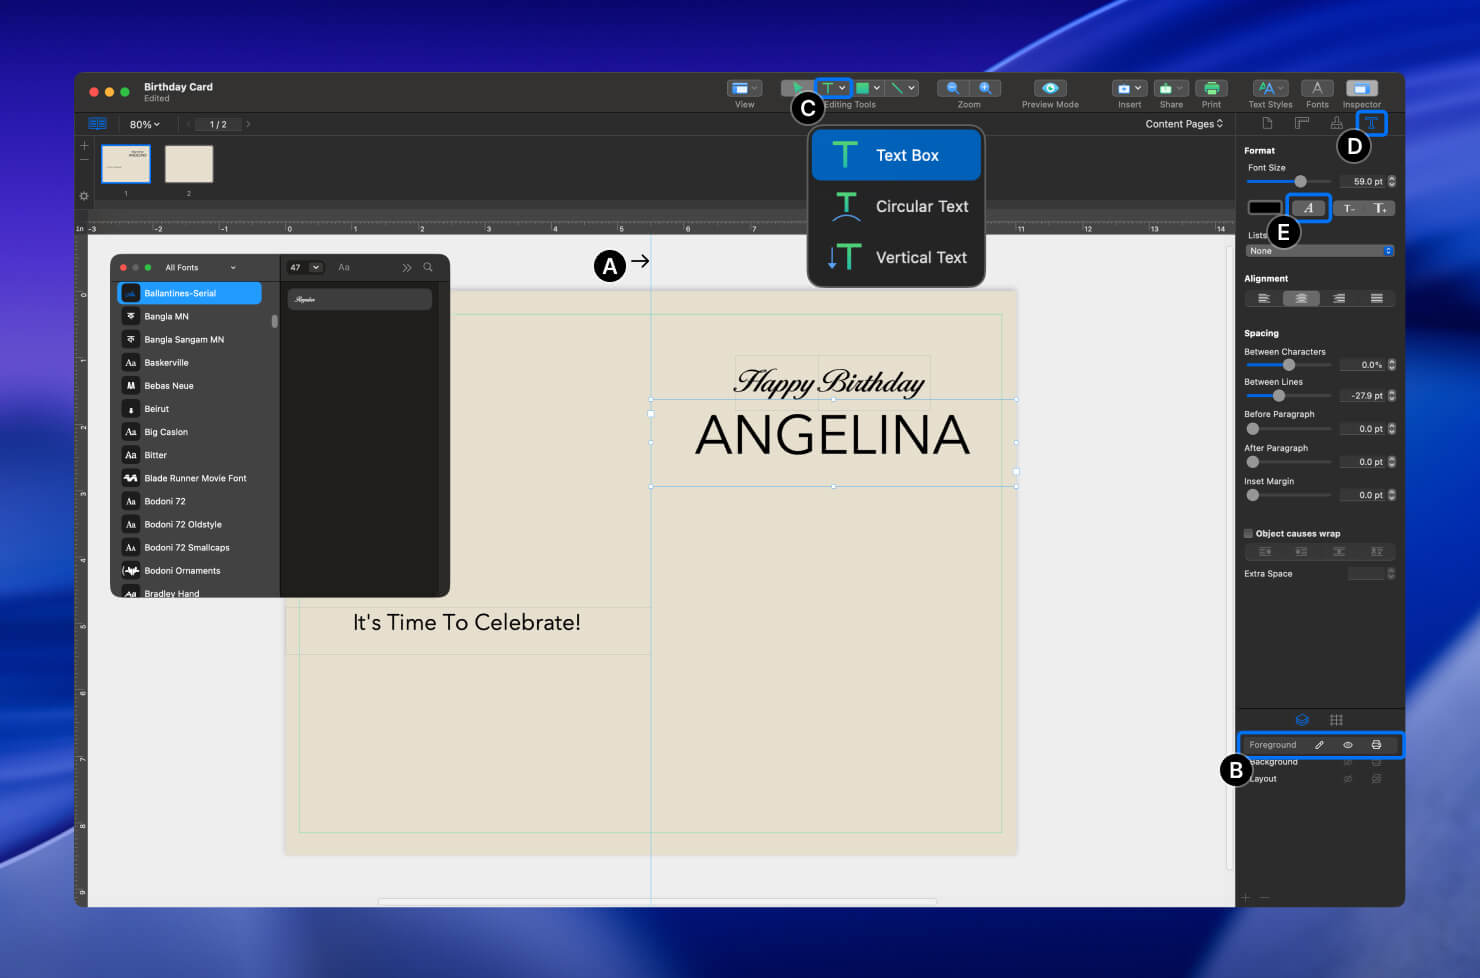
The vertical blue line in the center (label A) represents the card fold. This guide helps us position design elements while taking the fold into account. To keep things organized, we will place all text elements on the Foreground layer (label B).
Let’s add some text. Click the T icon in the top toolbar (label C) and select Text Box. Create a text box and enter your text.
Now that the text is added, feel free to choose a font that suits your style. To do this, open the Inspector panel on the right side (label D), where all text settings are located. Click the A icon (label E) and choose a font from the list.
For the text “Happy Birthday”, I chose the “Ballantines-Serial” font. For “ANGELINA” and “It’s Time To Celebrate!”, I used “Avenir Next”.
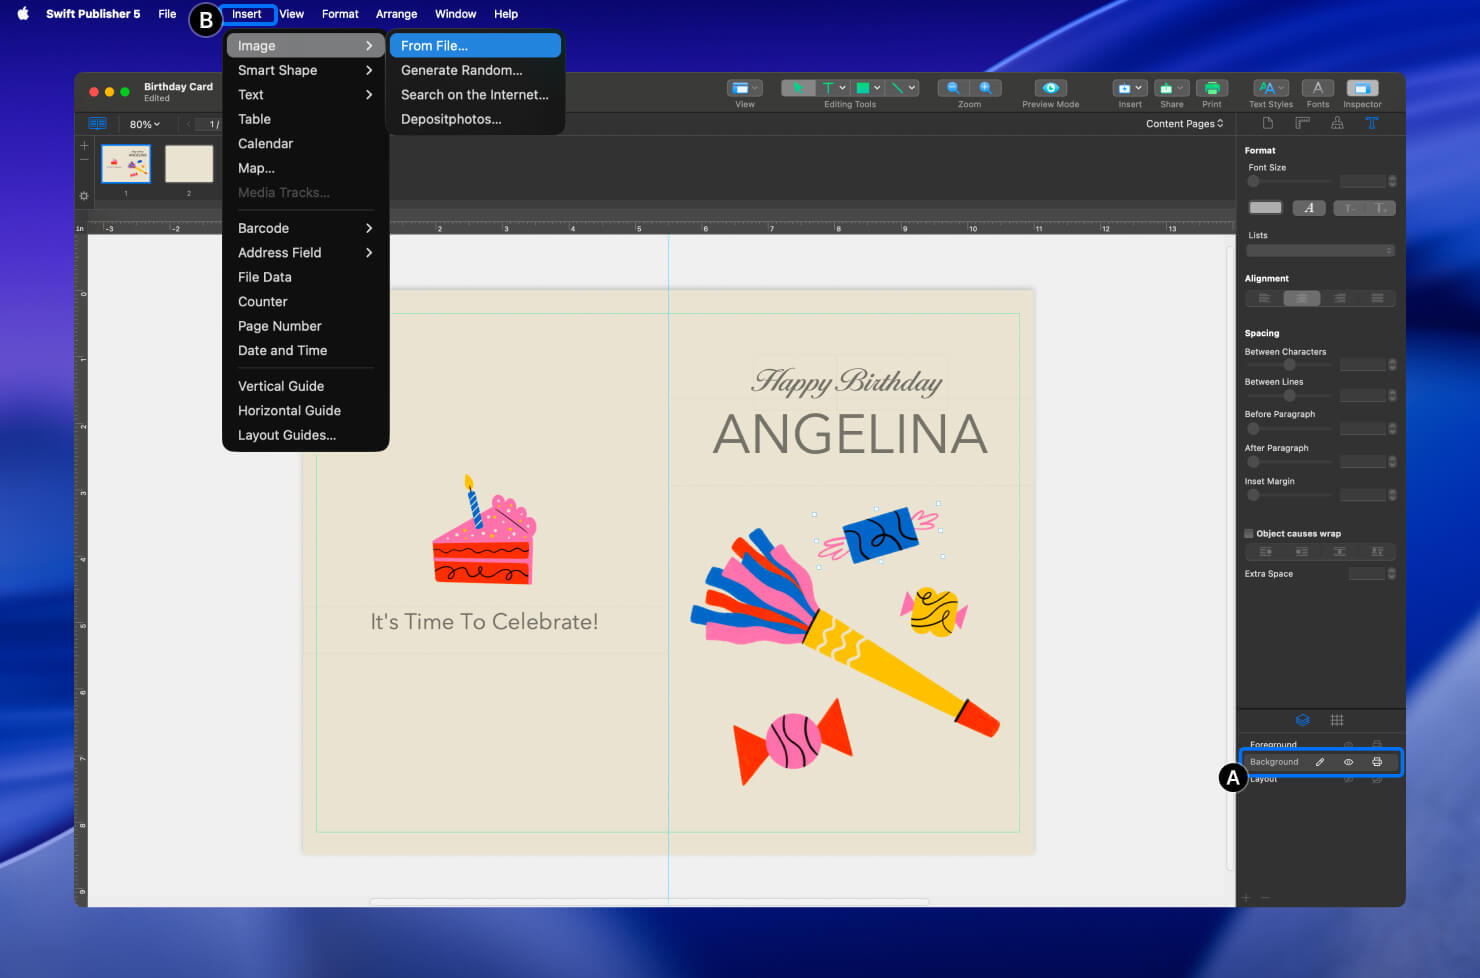
To keep the layout organized, I will add all graphics to the Background layer (label A). Adding graphics is very easy. You can simply drag and drop images directly onto the canvas, or use Menu > Insert > Image > From File… (label B).
Images can be scaled and rotated.
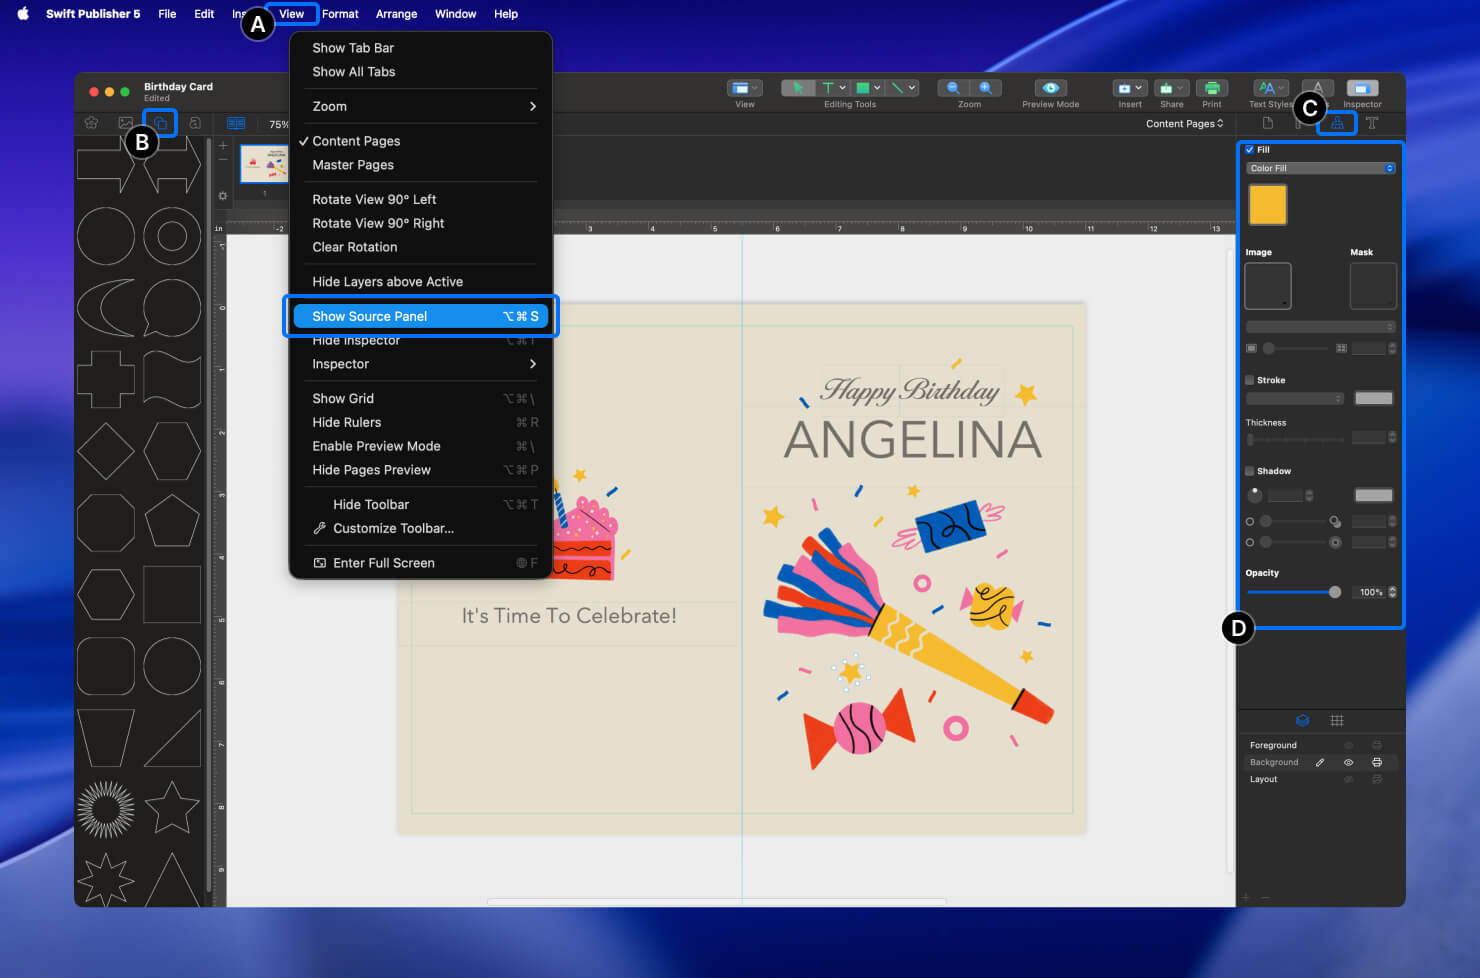
Now let’s add a few shapes from the object library to enhance the design. Go to View > Show Source Panel(label A). Next, click the Smart Shapes icon (label B) and choose the shapes you like. I selected a circle, a star, and a wavy line. Simply drag and drop the shapes from the library onto the canvas.
You can adjust the shape settings in the Inspector > Appearance (label C). Here, you can change the color, add a stroke, apply shadows, and more (label D).
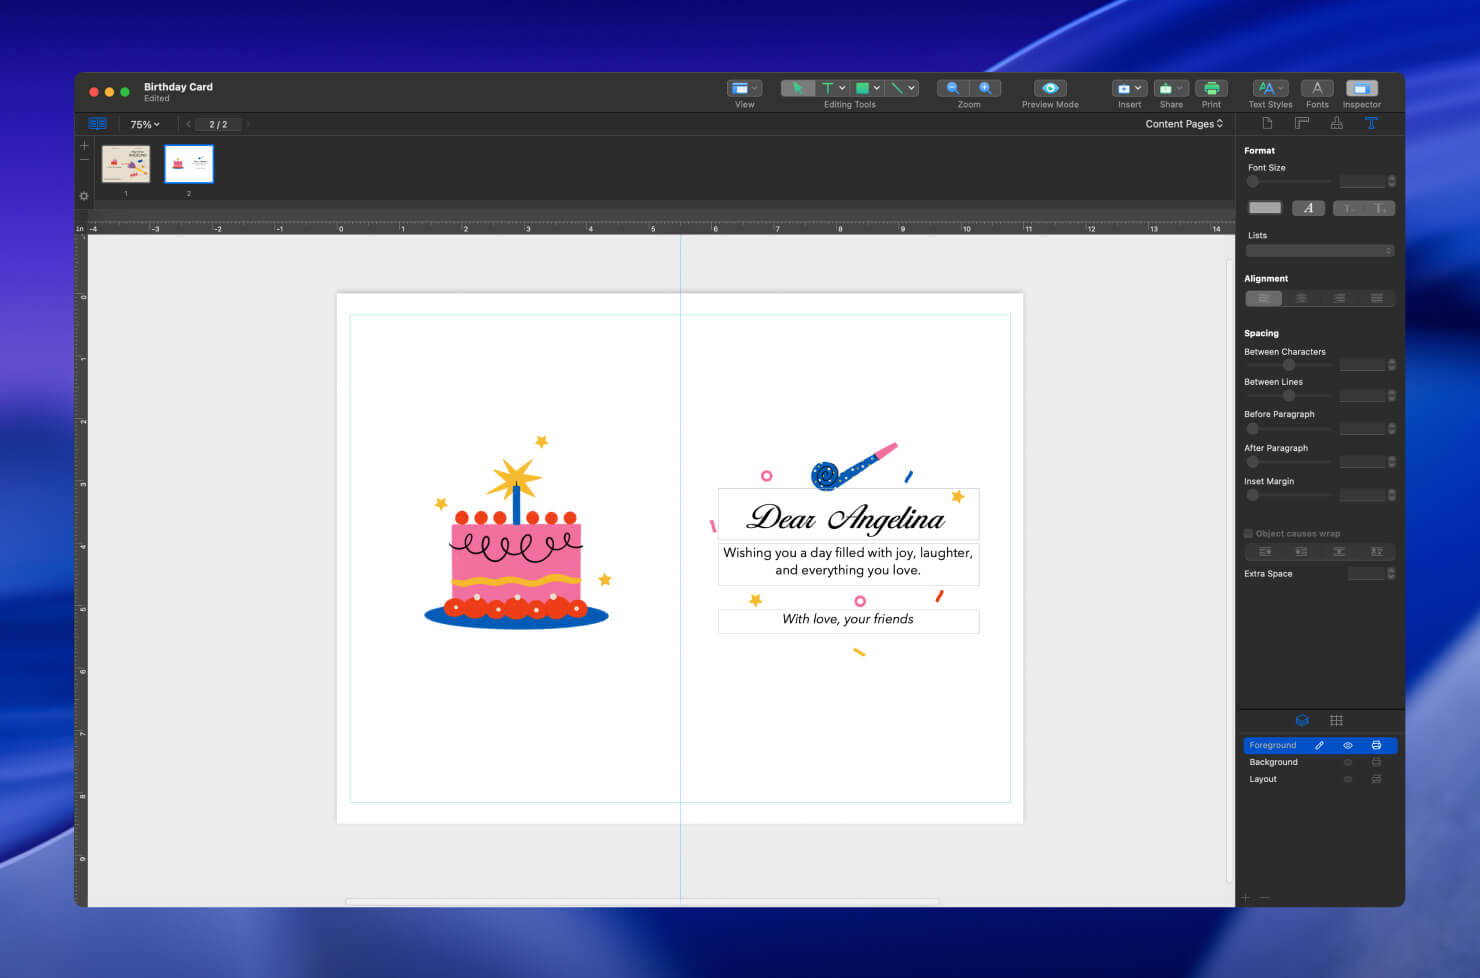
Now that the outside part of the greeting card is finished, we can move on to the inside content.
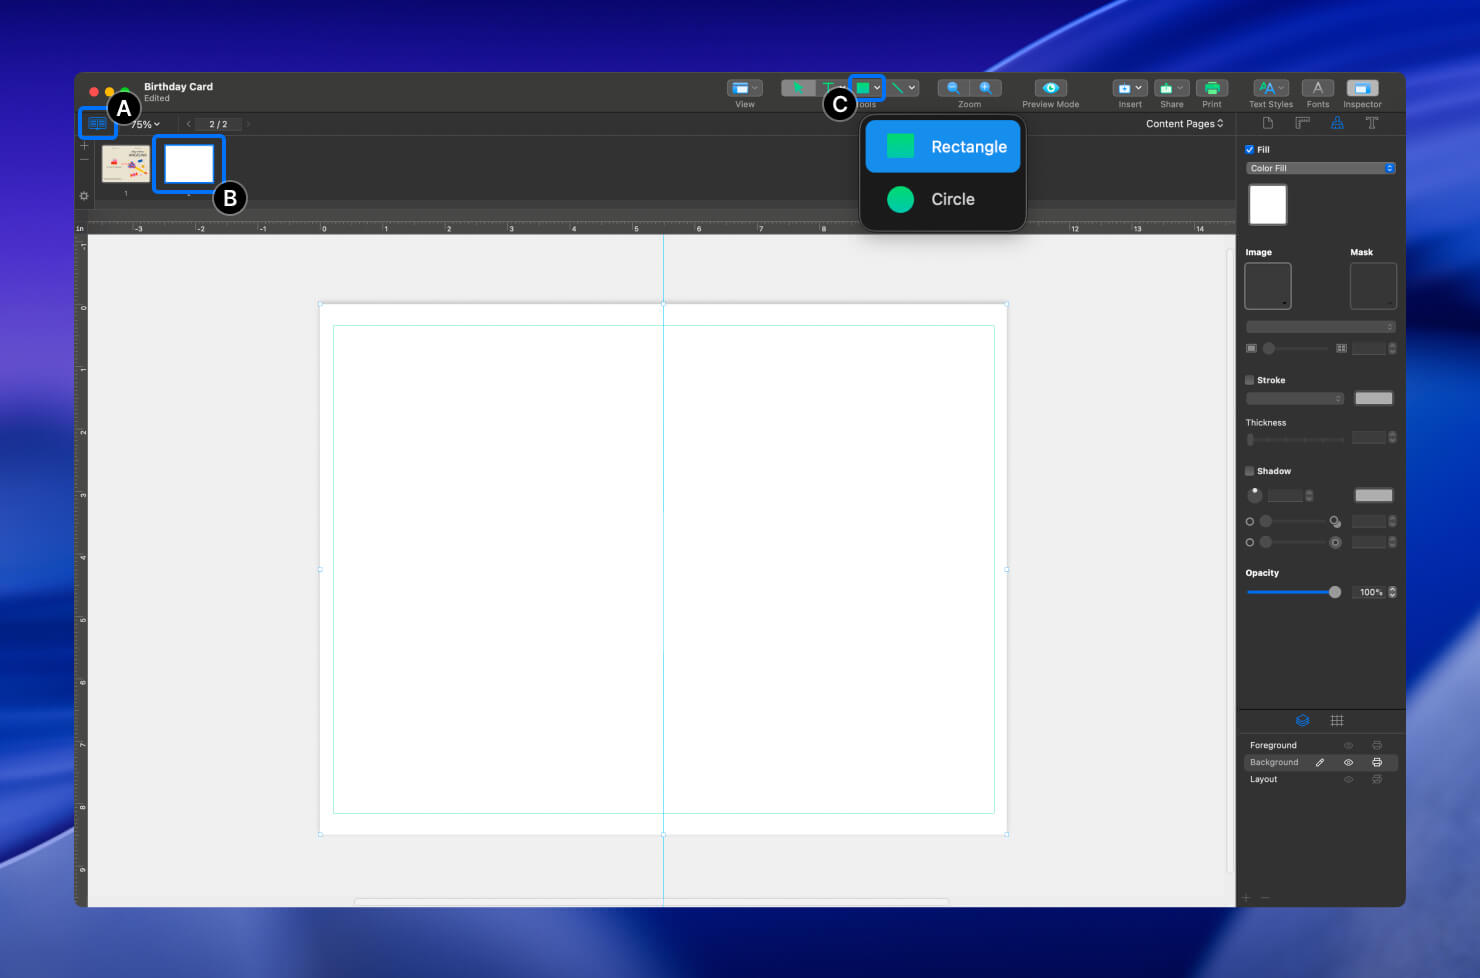
Since our template includes an inner side of the card, simply click the Remove or Arrange Pages icon (label A) if it’s not already enabled, and select page 2 (label B). That’s it—you’ve now switched to the inside of the card.
I want the inside to have a white background. Because we set an automatic background color for all pages earlier, we just need to create a white rectangle to cover it.
Click the Rectangle icon in the toolbar (label C) to select the tool and draw a rectangle.
Add text and images in the same way as in the previous steps.