How to Make a Single-Sided Greeting Card on Your Mac
In this tutorial, you’ll learn how to make a clean, single-sided greeting card using simple tools and clear steps. We’ll walk through the process slowly, so you always know what to do and why.

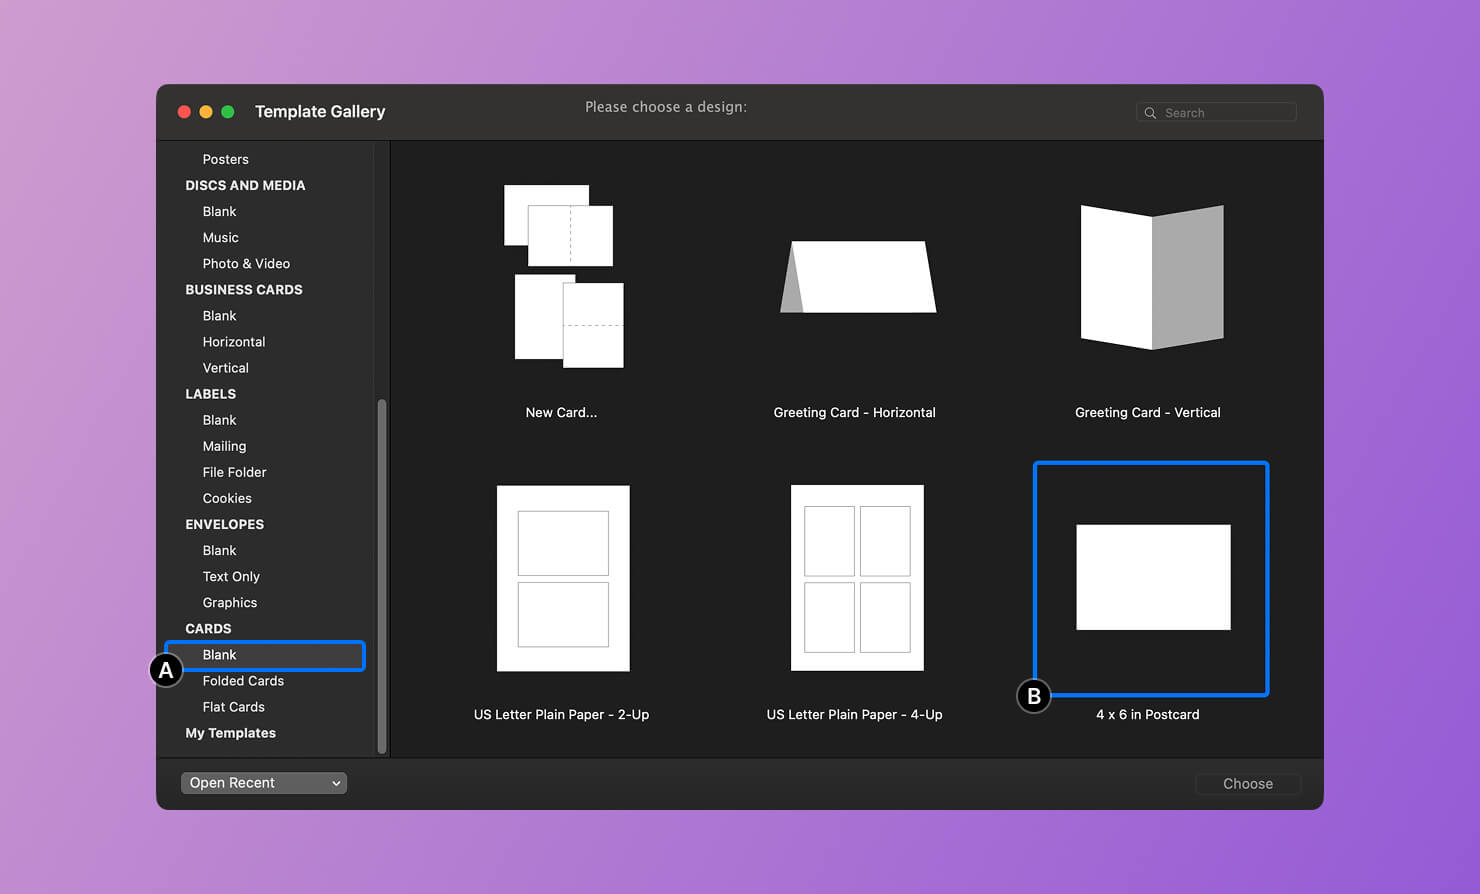
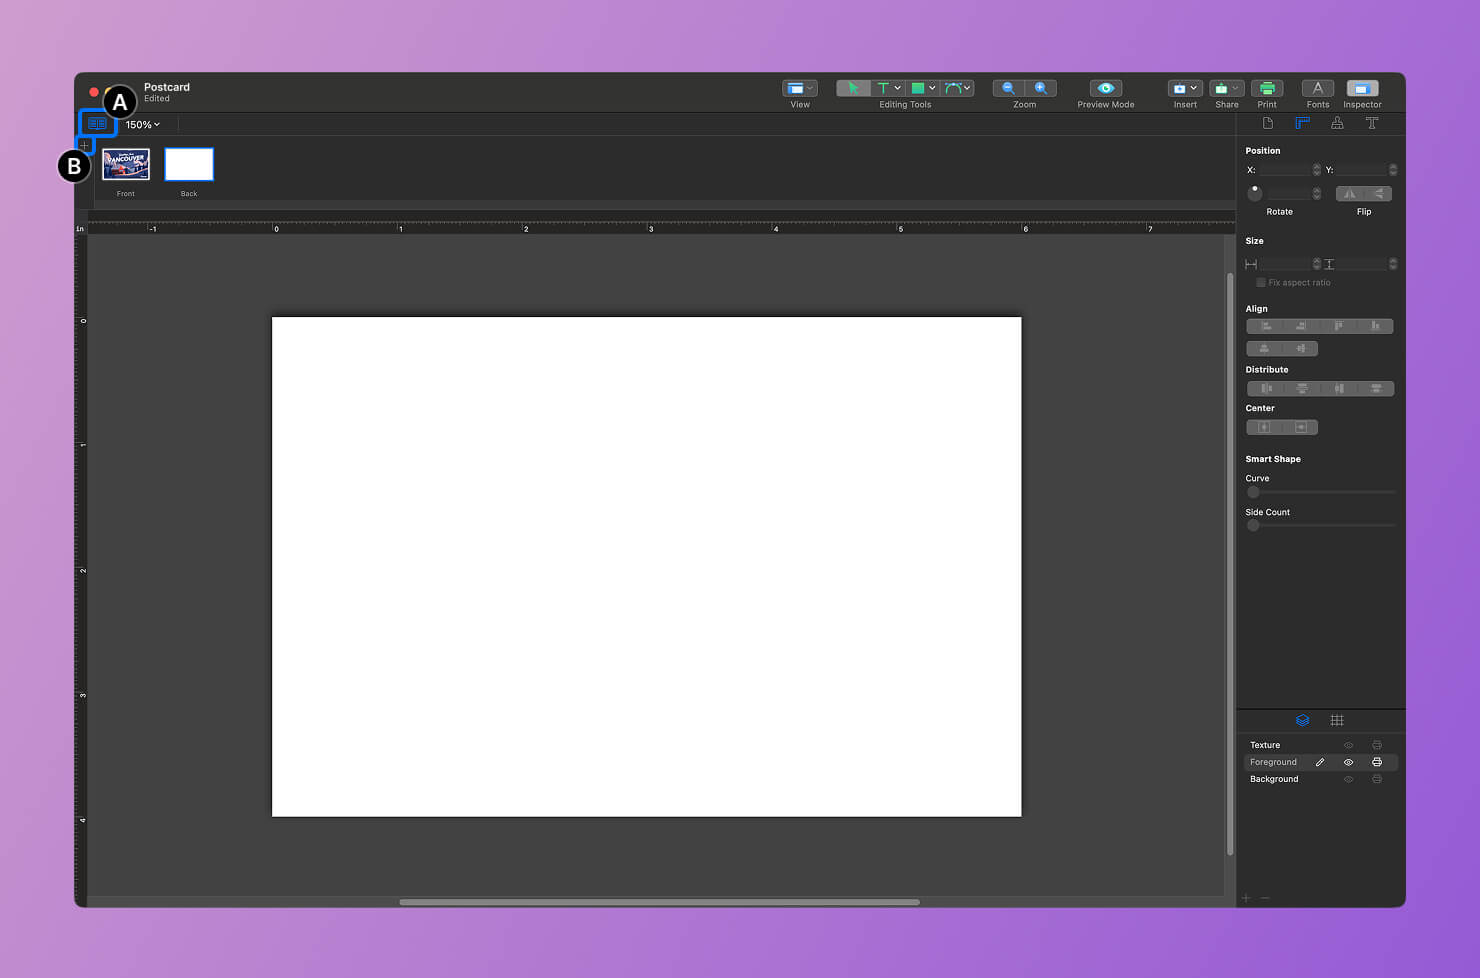
Launch Swift Publisher 5. When the app opens, you’ll see the Template Gallery window. On the left side, under the Cards category, choose the Blank subcategory (label A). This section contains simple, ready-to-use templates.
For this project, I selected the 4″ × 6″ Postcard template (label B).
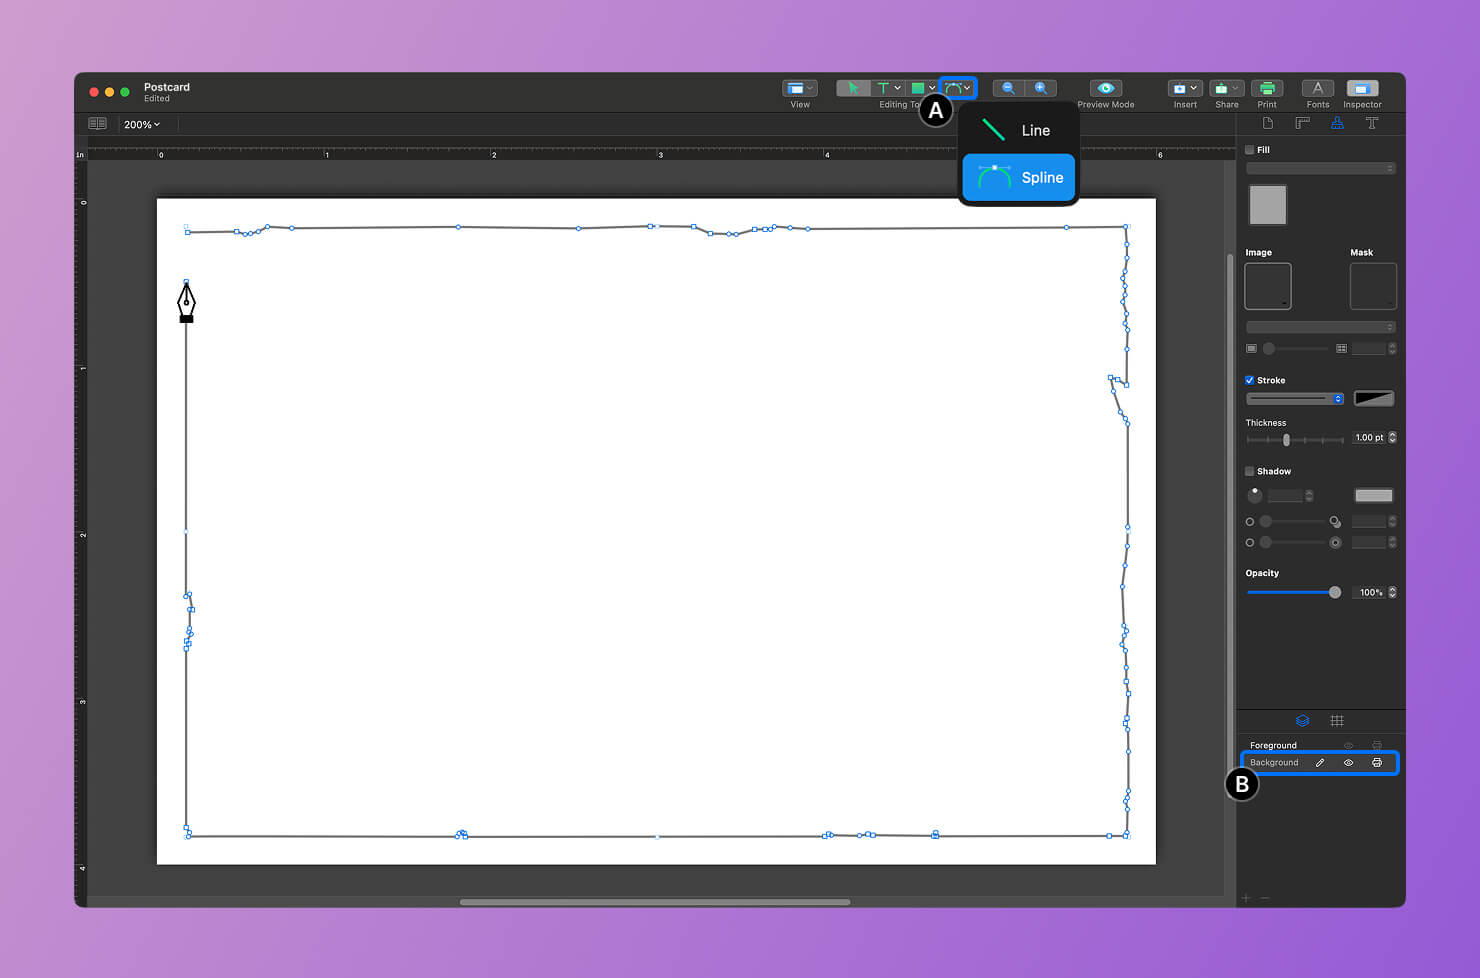
Next, we’ll create a custom shape that will hold an image and give it a torn-edge look. Select the Spline Tool (label A) in the Inspector panel.
Carefully draw the shape by clicking to place points. Make sure the last point connects back to the first one—this closes the shape. Once it’s closed, the shape is ready to contain an image.
To keep things tidy, create this shape on the Background layer (label B).
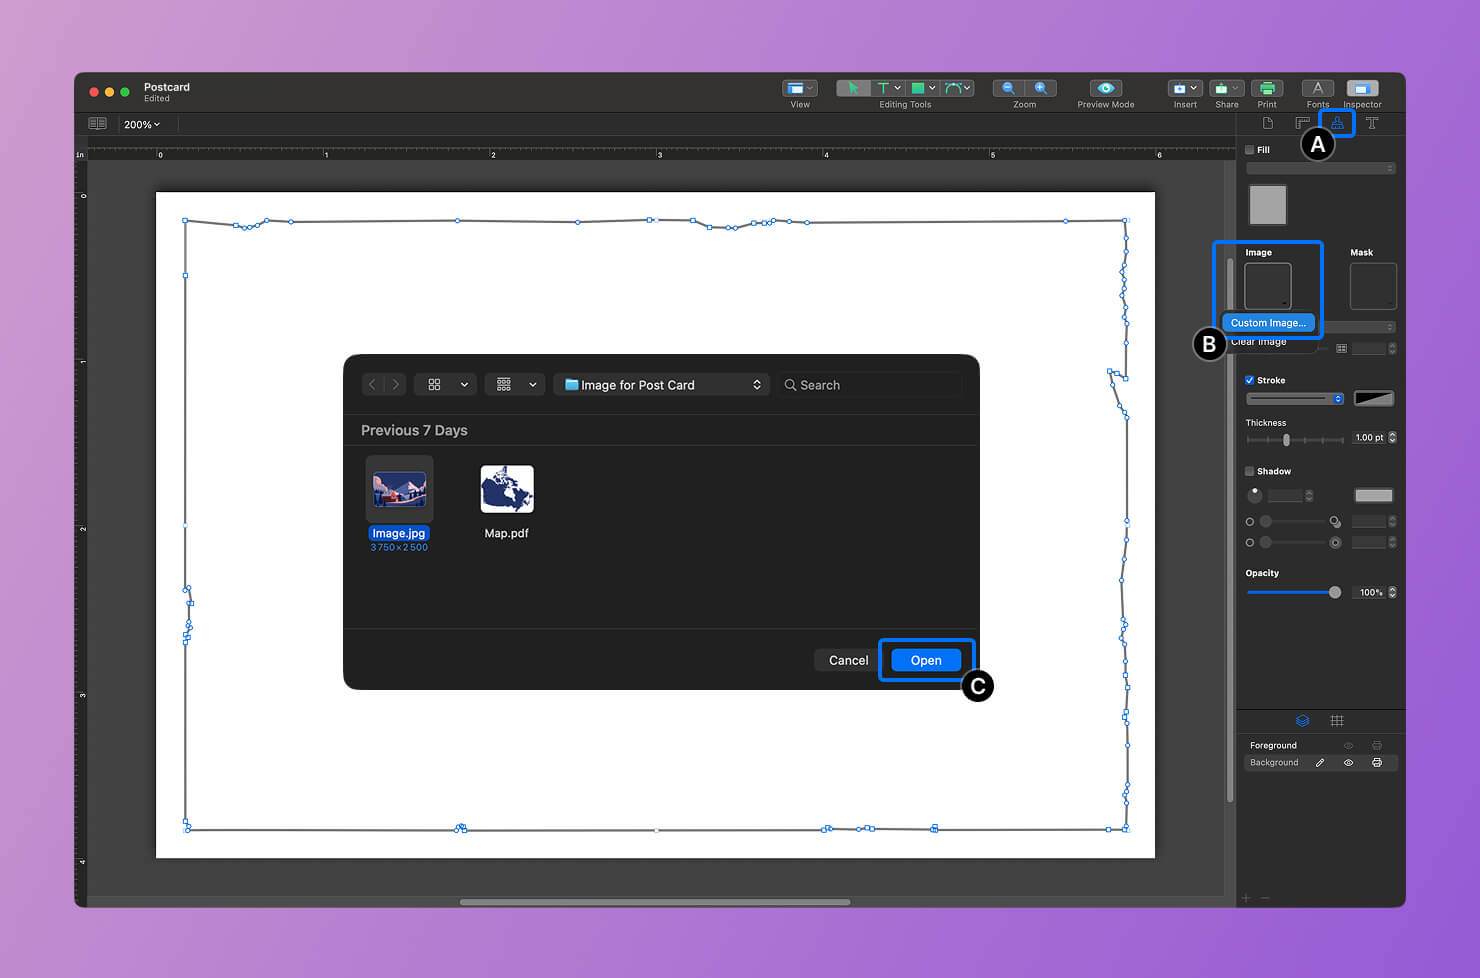
Now it’s time to place an image inside the shape. Click once on the shape to select it. Open the Appearance tab (label A), then choose Image > Custom Image… (label B). When the file window opens, select your image and click Open (label C).
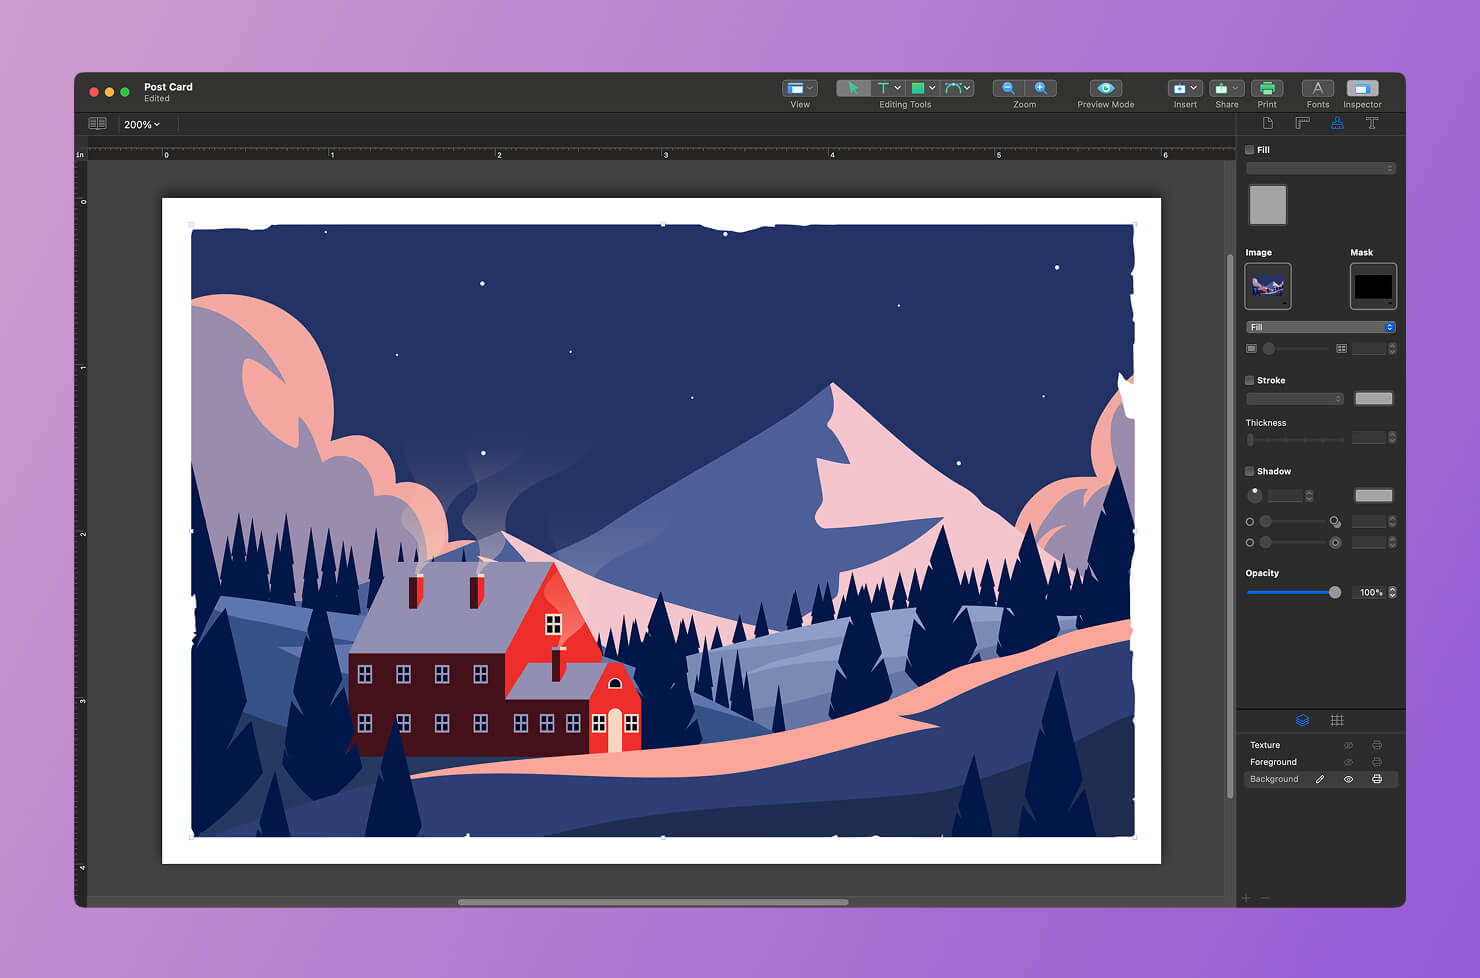
You’ll now see the image clipped to the shape you drew. The edges follow the custom outline perfectly, creating the torn-edge effect. This is exactly what we wanted, so let’s move on.
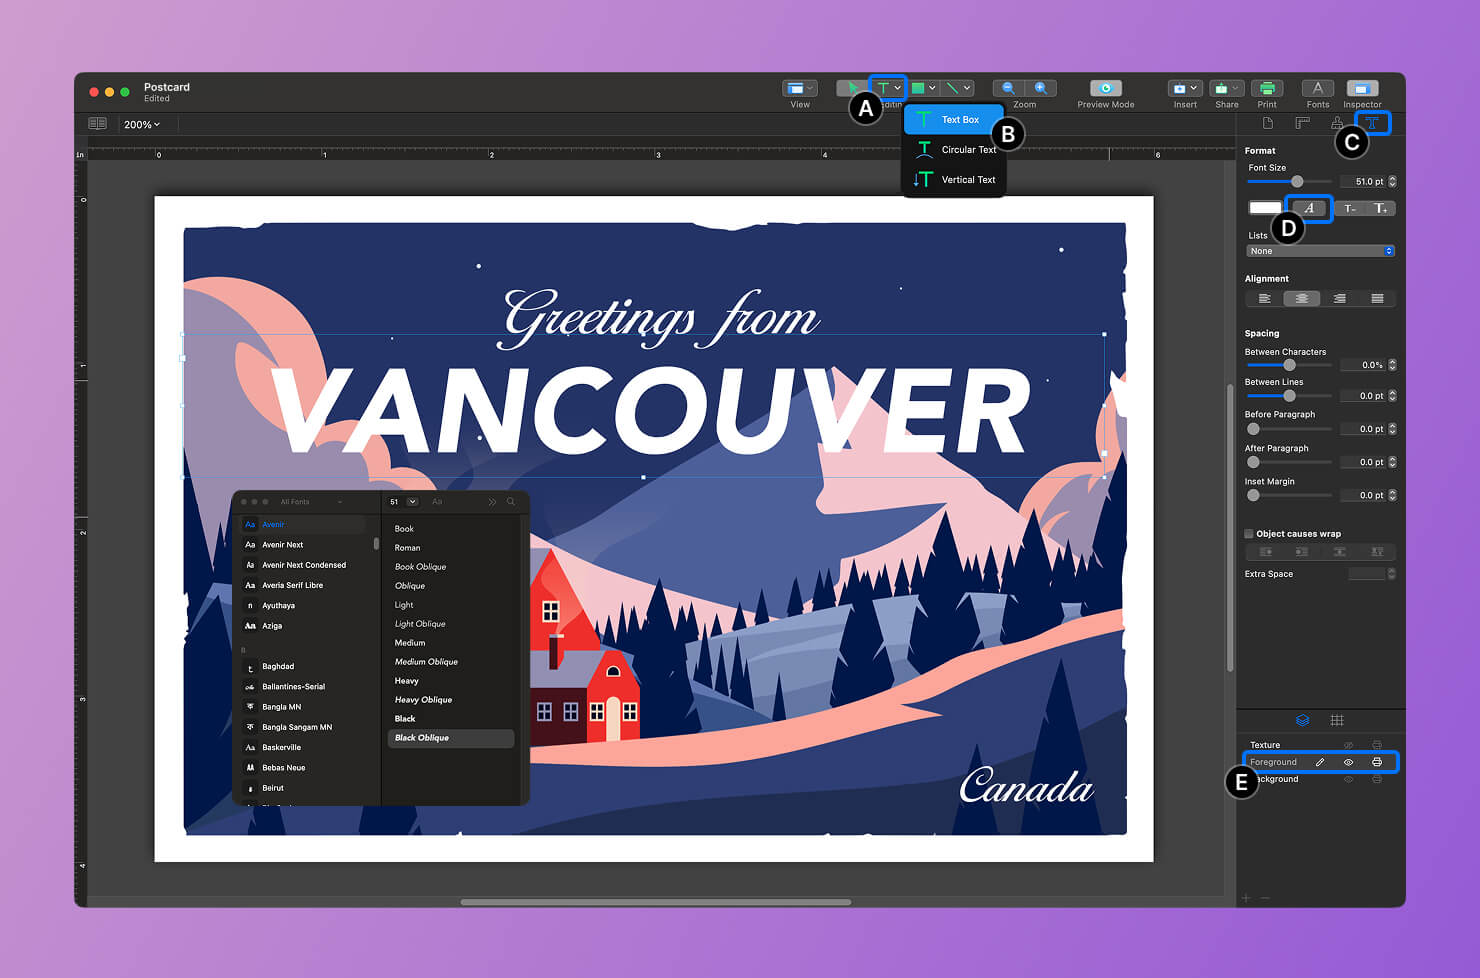
Let’s add some text to the card. Click the T icon in the top toolbar (label A) and choose Text Box (label B). Draw a text box on the canvas and type your text.
To change the font, open the Inspector panel and go to the Text tab (label C).
Click the A icon (label D) and select a font from the list. I used “Ballantines-Serial” for “Greetings from” and “Canada,” and “Avenir” for “Vancouver.”
For better organization, place all text elements on the Foreground layer (label E).
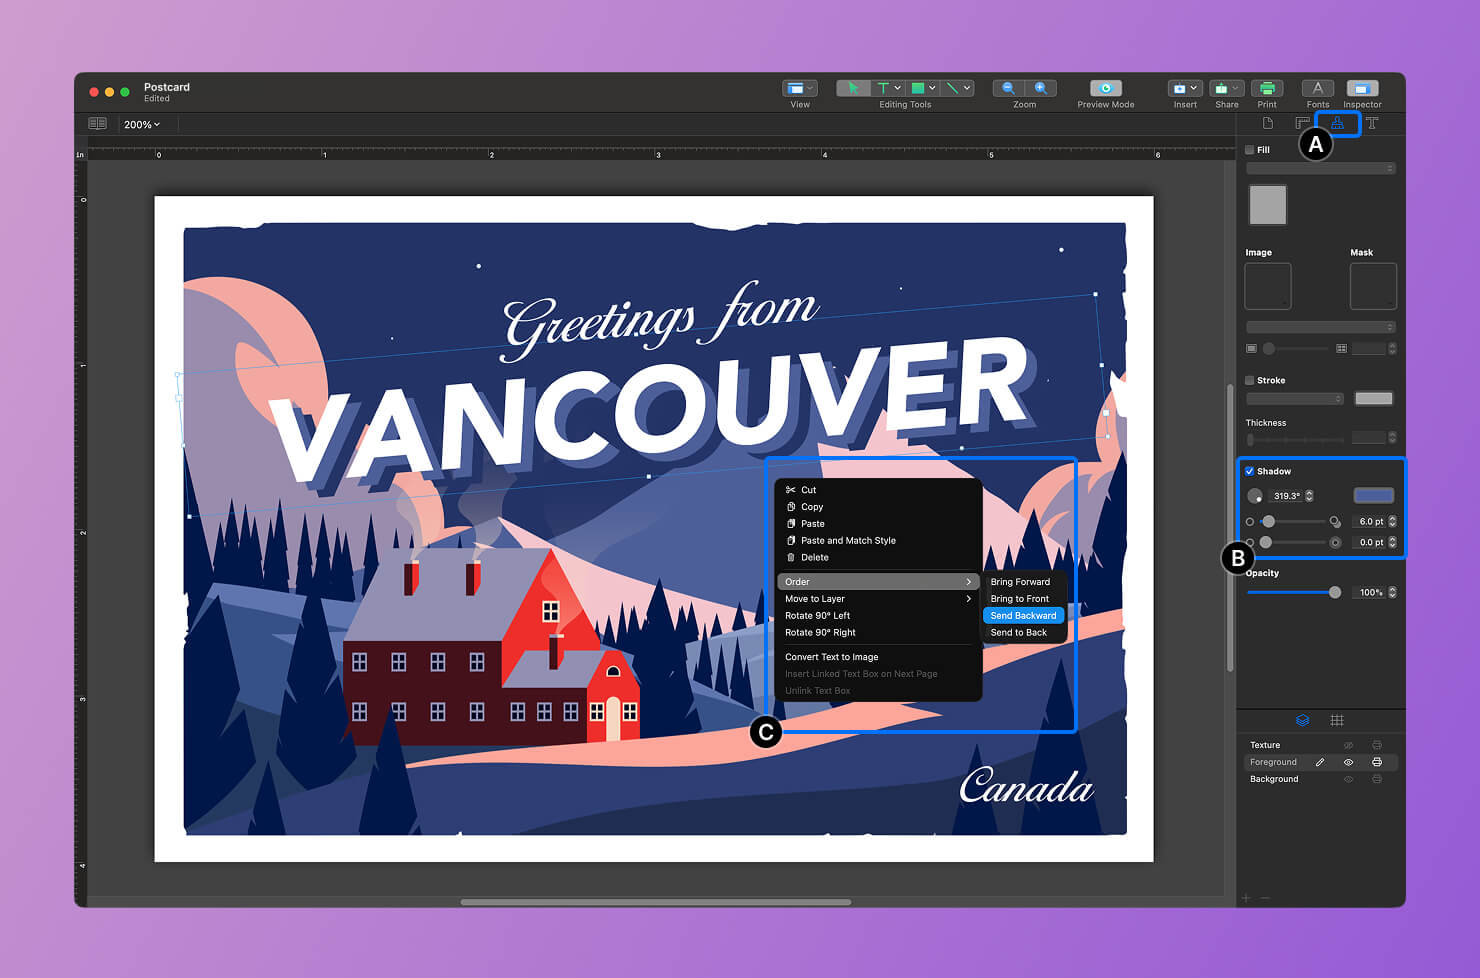
To make the text stand out more, let’s add a shadow. Open the Appearance tab (label A), turn on the Shadow option, and adjust the shadow’s color, position, and blur (label B).
This small detail makes the text much easier to read and more visually appealing. You can repeat this effect by duplicating the text and placing it behind the original.
To move text behind another object, right-click it and choose Order > Send Backward.
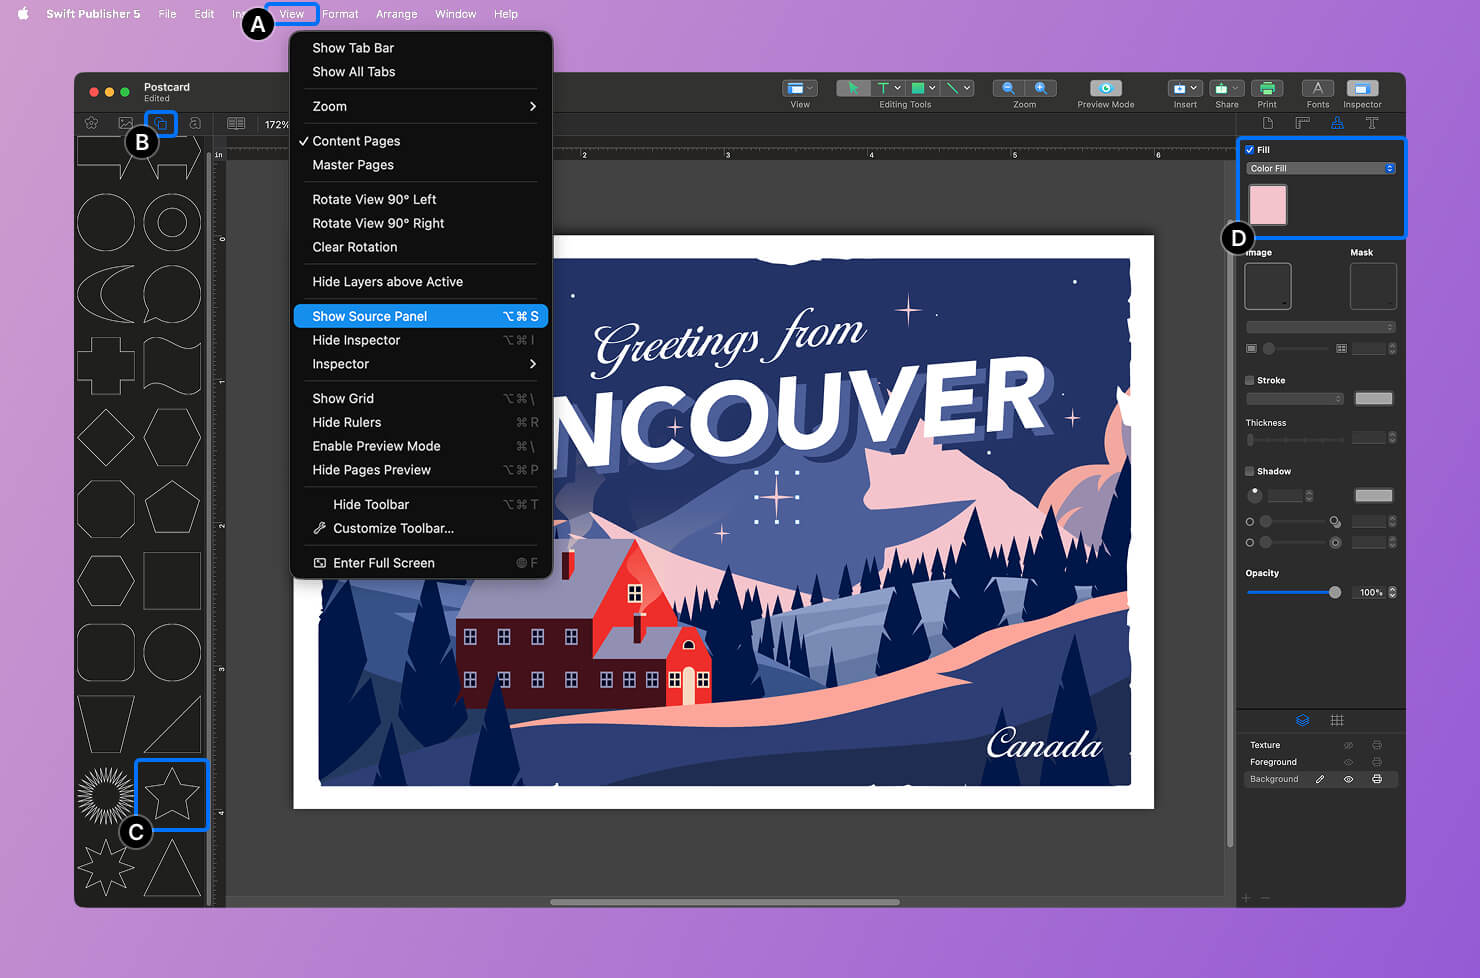
Now let’s decorate the design with shapes. Go to View > Show Source Panel (label A). Click the Smart Shapes icon (label B) and browse through the available shapes. I chose a star to add interest to the sky. Drag the shape directly onto the canvas.
You can customize it in Inspector > Appearance (label C), where you can change colors, add strokes, apply shadows, and more (label D). In the Geometry tab, adjust the Side Count and Curve settings under Smart Shape to fine-tune its look.
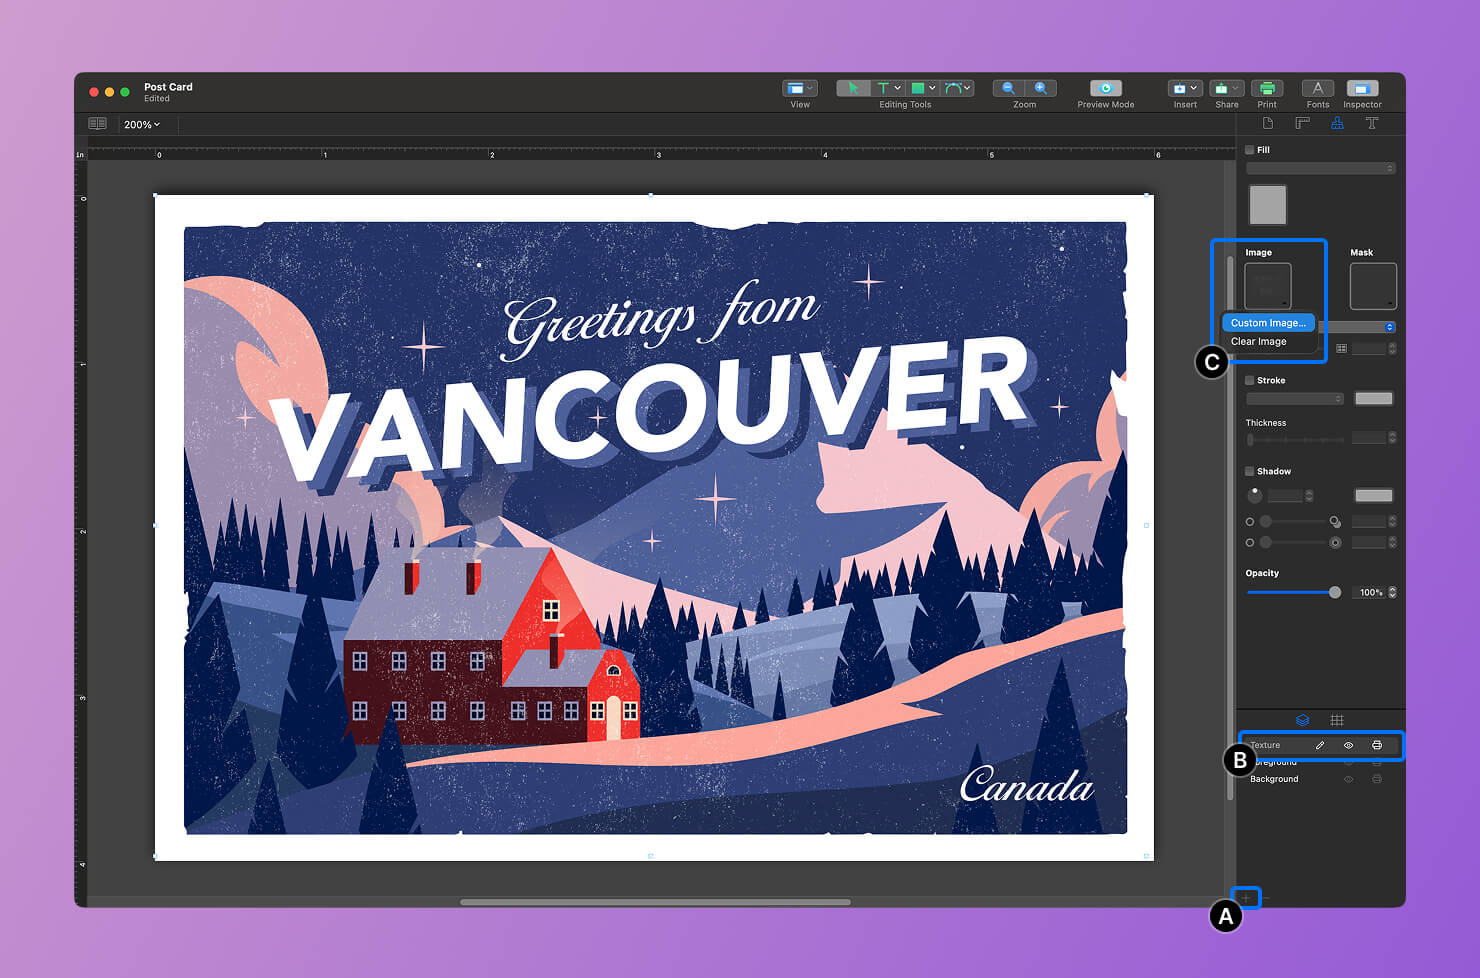
To give the postcard a slightly aged texture, we’ll add a new layer. Click the + button (label A) in the Appearance panel to create a layer. Double-click the new layer and rename it “Texture” (label B).
Then go to Image > Custom Image (label C) and choose a texture image to apply to this layer.
With the front finished, let’s work on the back of the card. Click the Remove or Arrange Pages icon (label A) if it’s not already active, then click the + button (label B) to add a new page. You’re now working on the back side of the postcard.
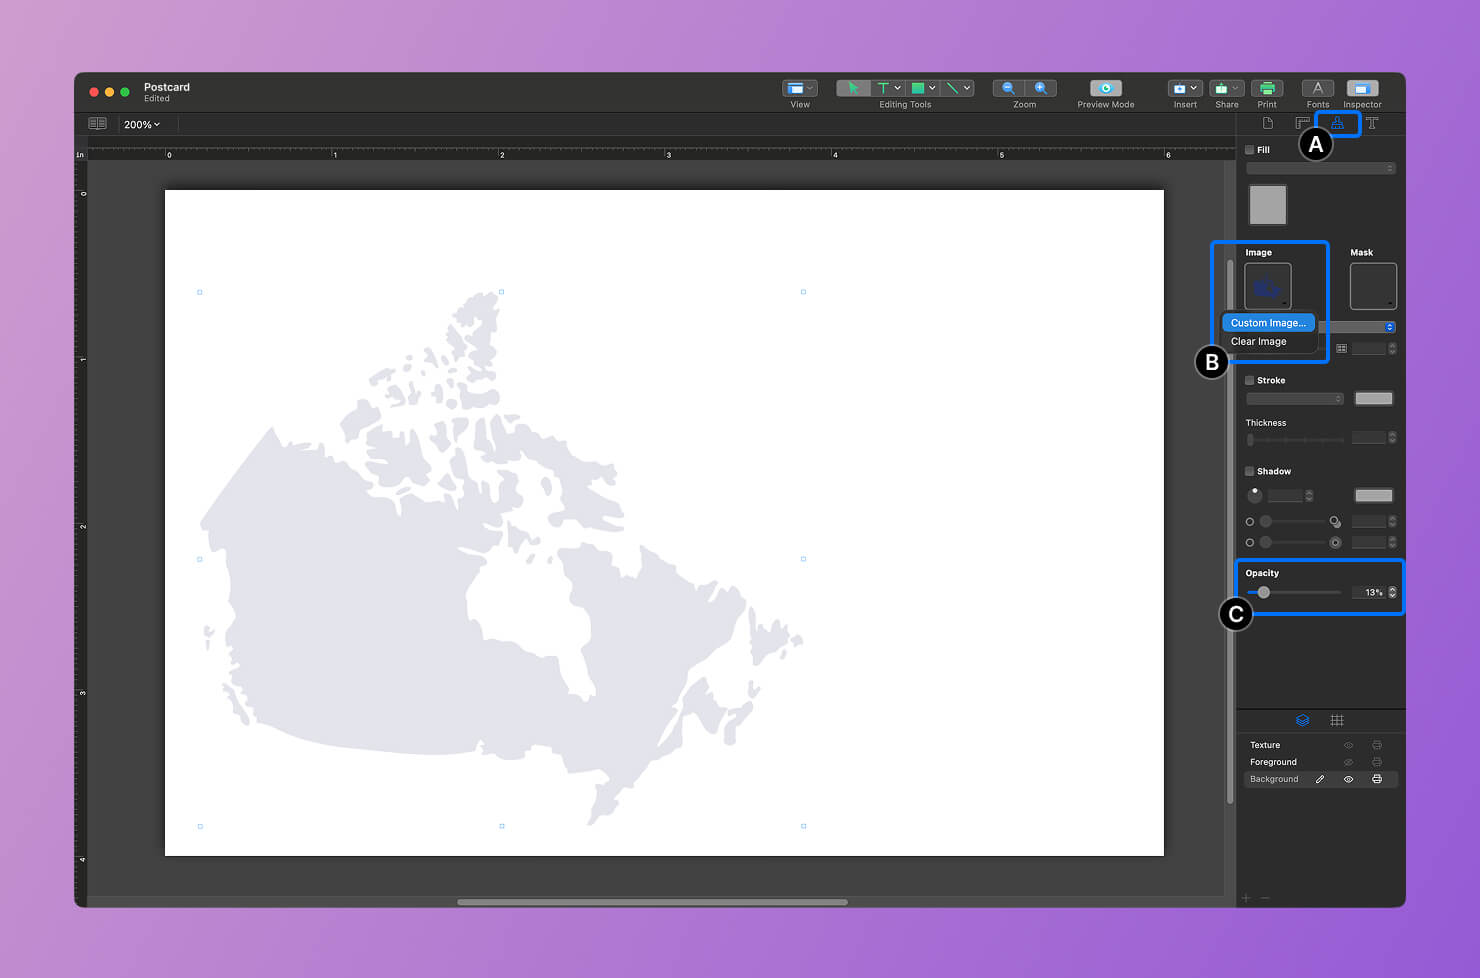
Open the Appearance tab (label A) and select Image > Custom Image… (label B). Choose an image—such as a map of Canada or a nature photo—and click Open.
Position the image where you like, then lower its opacity to 13% (label C) so it stays subtle in the background.
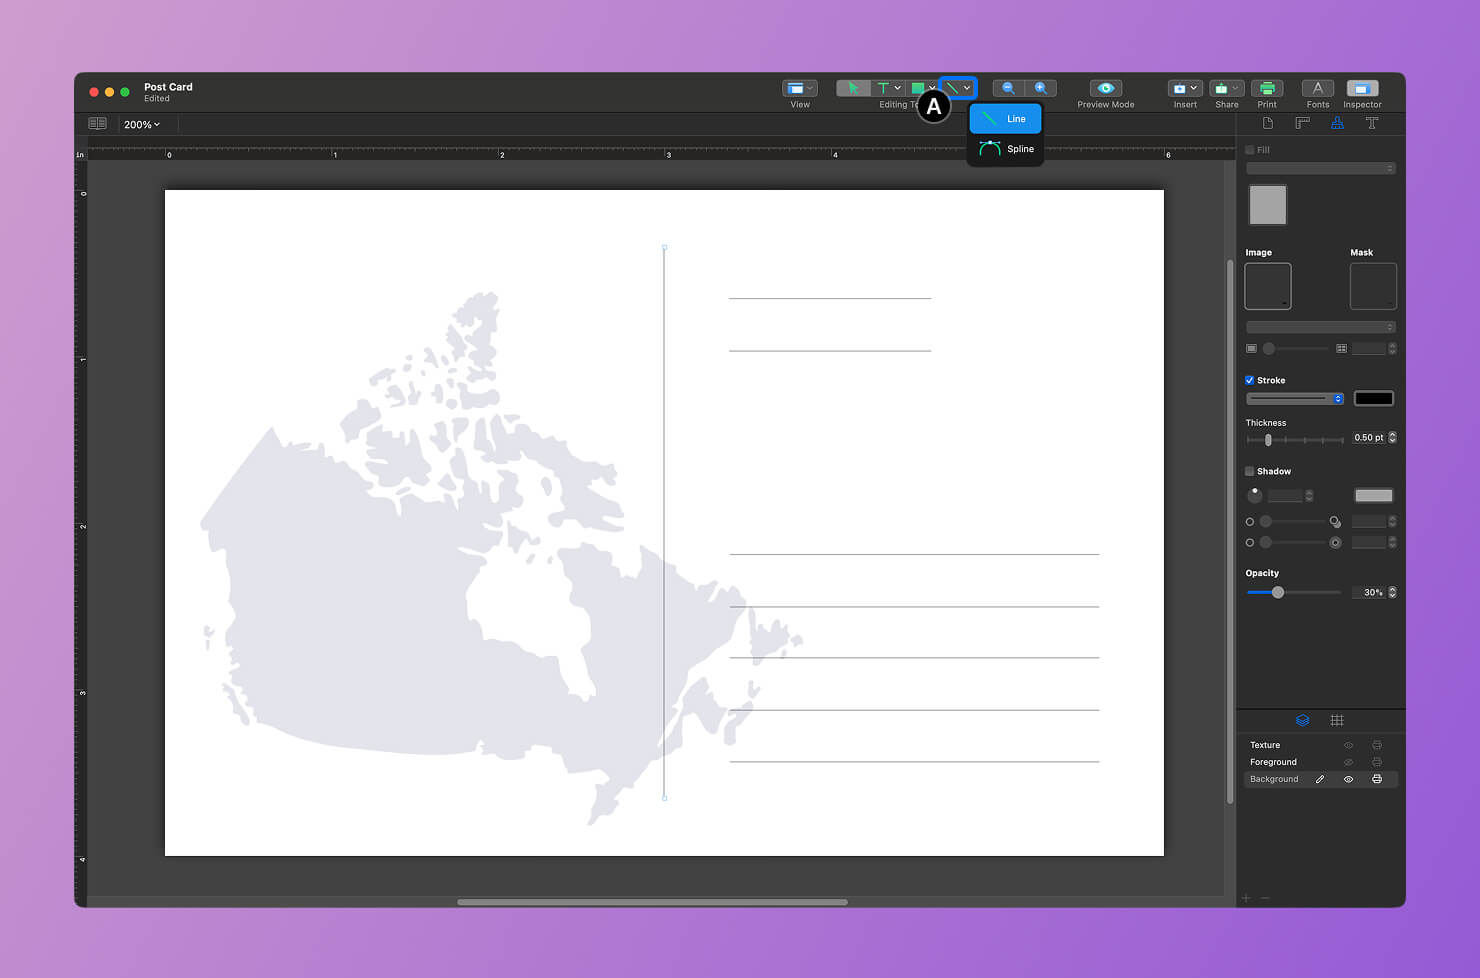
Now let’s add address guidelines. Select the Line Tool (label A) in the toolbar and draw lines on the canvas. You can place them horizontally or vertically, depending on your layout.
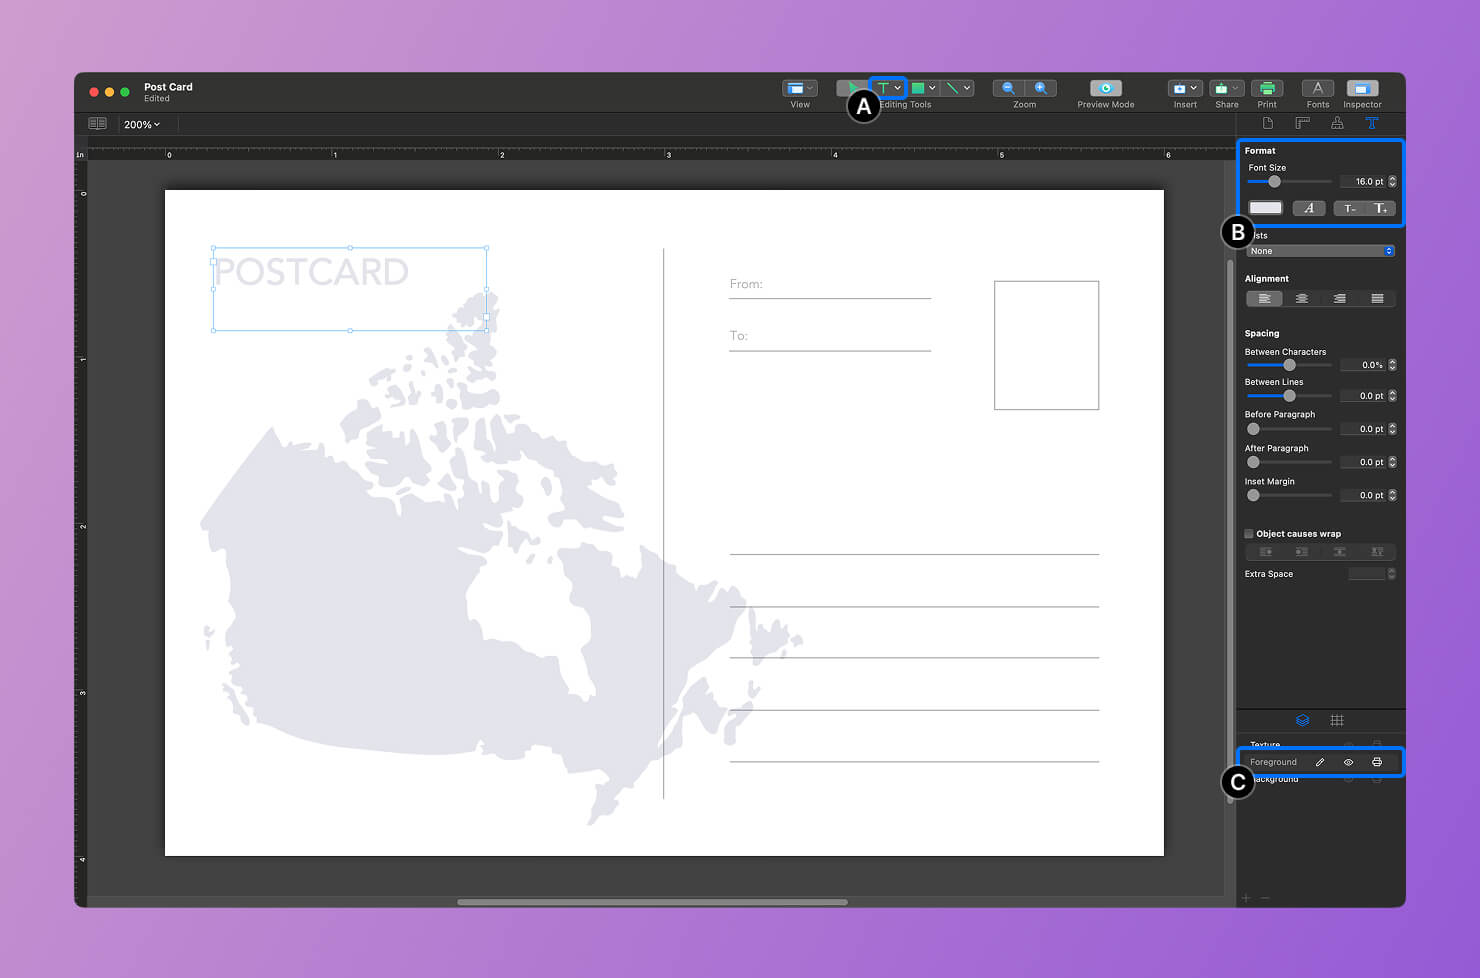
Finally, let’s add the remaining text. Click the T icon in the toolbar (label A), select Text Box, and type your message. To change the font, open the Inspector panel, go to the Text tab (label B), click the A icon, and choose a font. I used “Avenir” here as well.
Place all text elements on the Foreground layer (label C). Your postcard is now complete.
No matter the occasion—sending greetings from abroad, celebrating a birthday, sharing holiday wishes, or announcing a special life event—Swift Publisher makes it easy to create a greeting card that feels personal and professional.