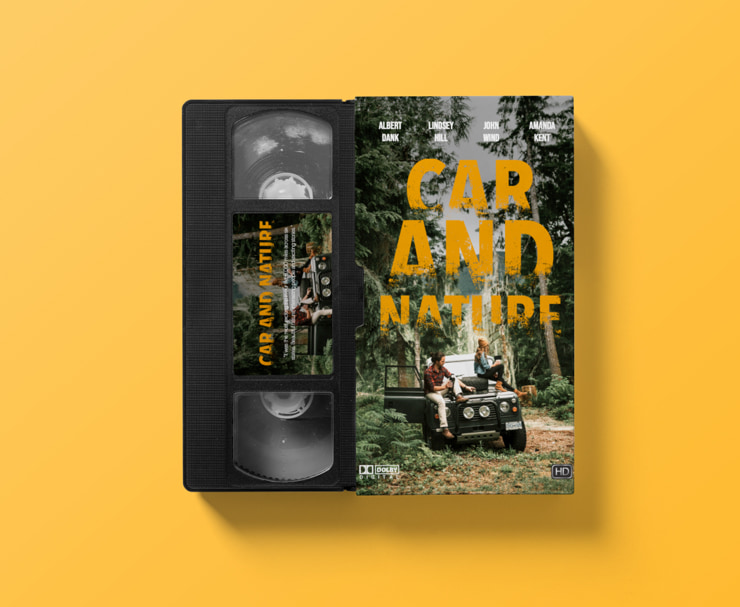
How to Design Custom VHS Covers With Swift Publisher for Mac
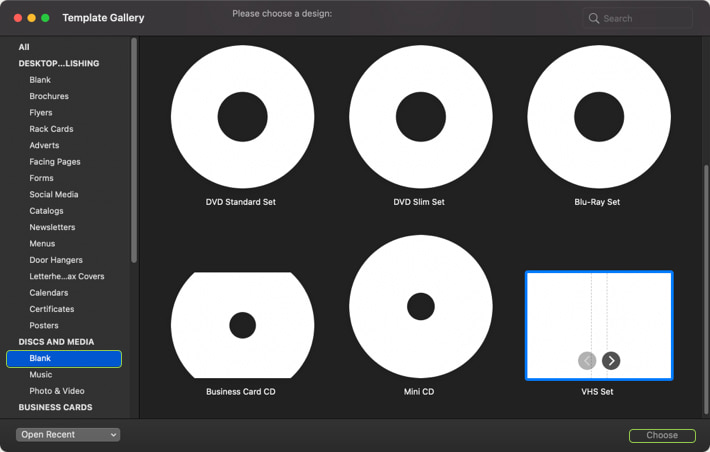
Open Swift Publisher, select VHS set in the “Disk and Media” category, and press the “Choose” button on the right bottom side of the interface.
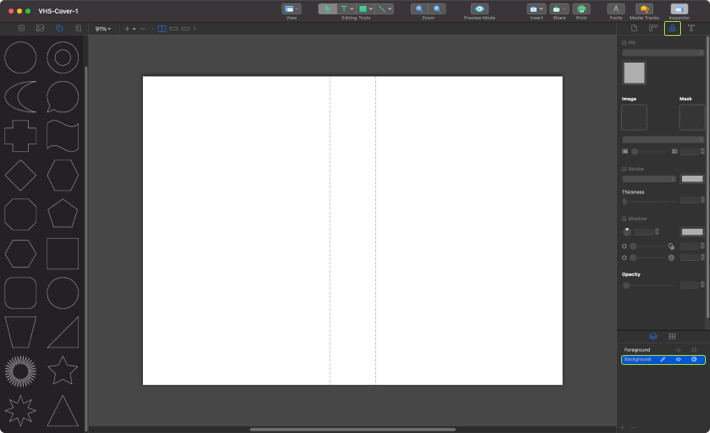
On the right bottom side of the Inspector, select the Background layer. If you want, you can rename this layer by double clicking on it.
Let’s import your background images.
There are two ways to do that. The easiest way is to drag and drop the image directly onto the canvas. Another way is to use the Insert > Image > From File menu.
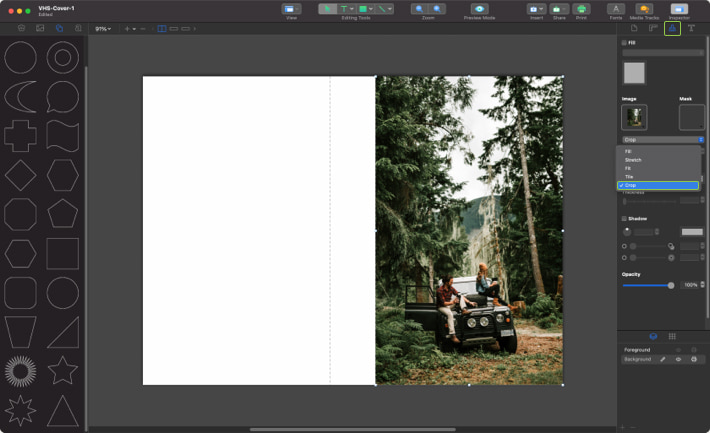
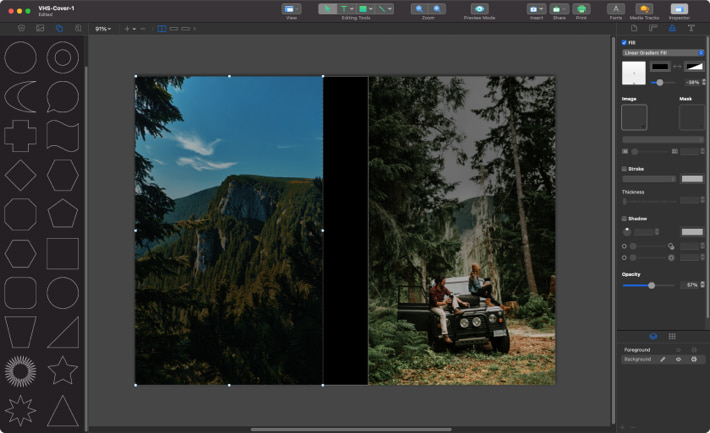
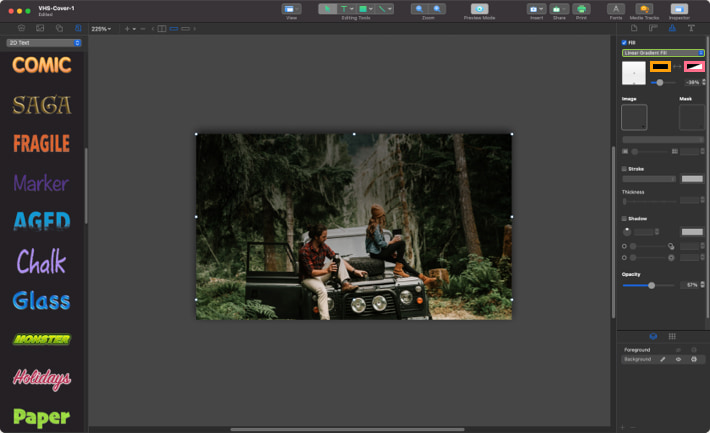
Note that your image should have a resolution of at least 300 dpi. After inserting the image, let’s crop it to fill the front cover. In the Inspector, go to Appearance, choose “Crop” in the dropdown panel, and crop your image like in the screenshot.
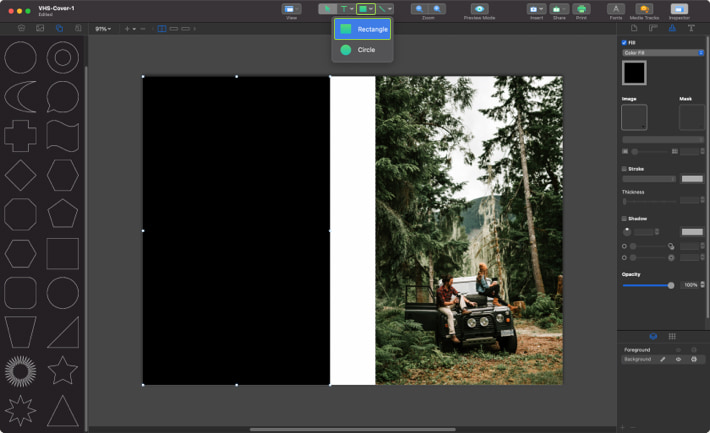
Let’s create a rectangle with a gradient fill. In the Toolbar, select the rectangle tool and create a rectangle 4.5″×7.4″.
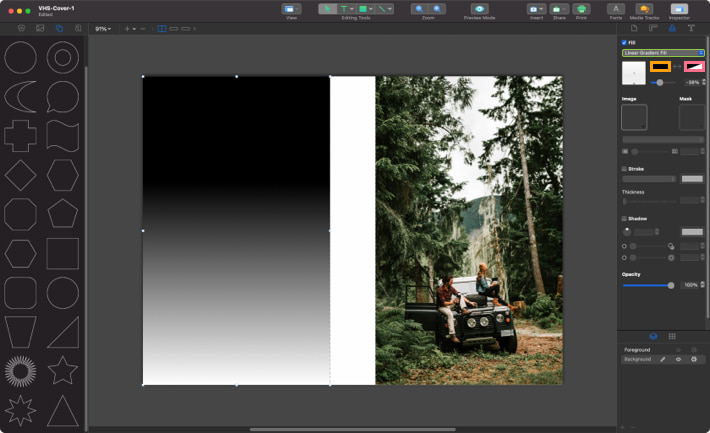
It’s time to make a gradient. Go to Appearance and select “Linear Gradient Fill” in the dropdown menu under the “Fill” checkbox. Select the left color and make it black (its location is marked with an orange outline rectangle in the screenshot). Make the right color black with the opacity of 0% (its location is marked with a pink outline rectangle on the screenshot). Set the color transition to -38%.
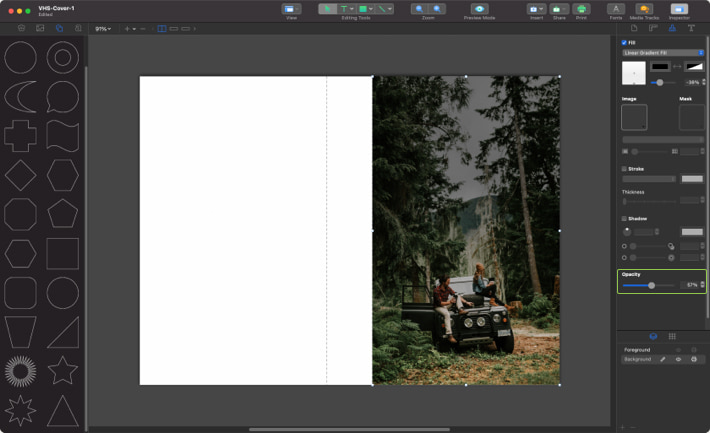
Paste the rectangle over the image and set the opacity to 57%.
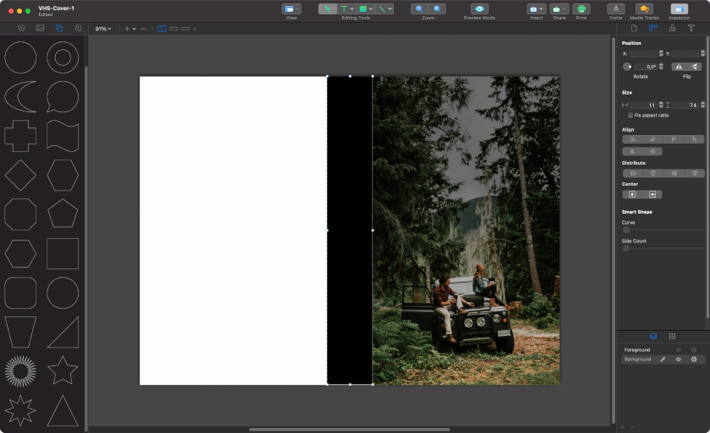
Let’s create a middle background cover. In the Toolbar, select the Rectangle tool and create a rectangle 1.1″×7.4″, like in the screenshot.
Insert a second image using one of the two methods described in Step 3. Duplicate (Command+C/Command+V) the gradient rectangle that you made in Steps 4–5.
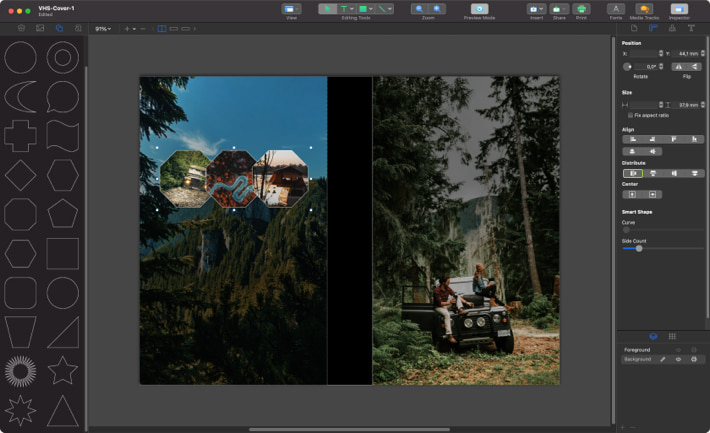
Go to the Source Panel on the left side of the interface and select the Smart Shapes icon. Choose the diamond shape and add a white stroke with a thickness of 0.25 pt.
In the Inspector, go to Geometry and slide the “Side count slider” to 8 sides.
In the Inspector, go to “Appearance” and then “Image” and choose “Custom image” in the dropdown menu. Find your image and select it.
Change the image size to “Fill” (location is marked with a green outline rectangle on the screenshot).

Let’s insert two more images using the same method described in Steps 11–12. Then go to “Geometry” and make “equal horizontal spacing between the object edges” in the distribute panel (its location is marked with a green outline rectangle on the screenshot).
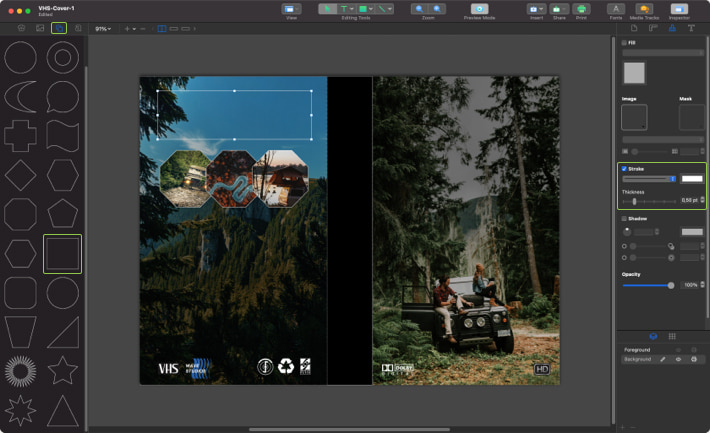
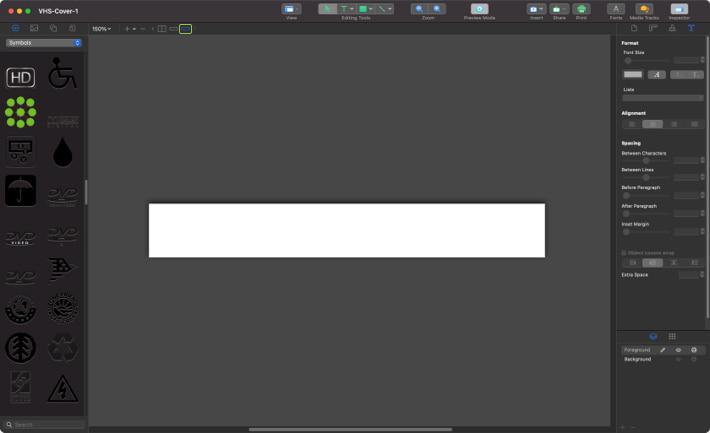
In the next step, we will insert other symbols into our VHS Cover. Open the “Clipart Collection” from the Source Panel on the right and select “Symbols” in the dropdown menu. Then find the symbols you need and drag and drop them onto the canvas.

Go to the library on the left side of the interface and select the Smart Shapes icon. Choose a rectangle, deselect Fill and add a white stroke with the thickness of 0.50 pt.
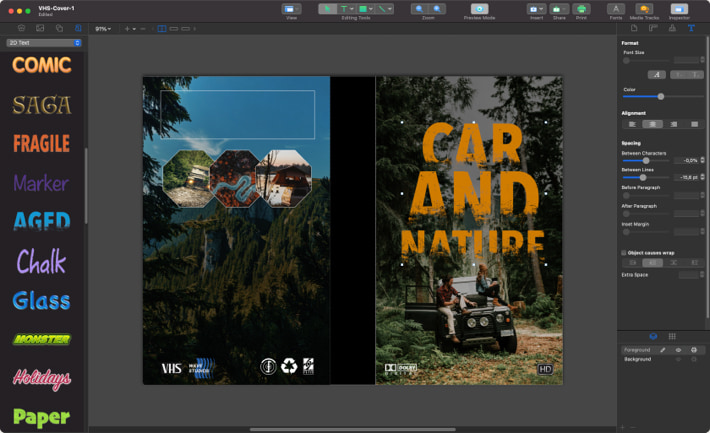
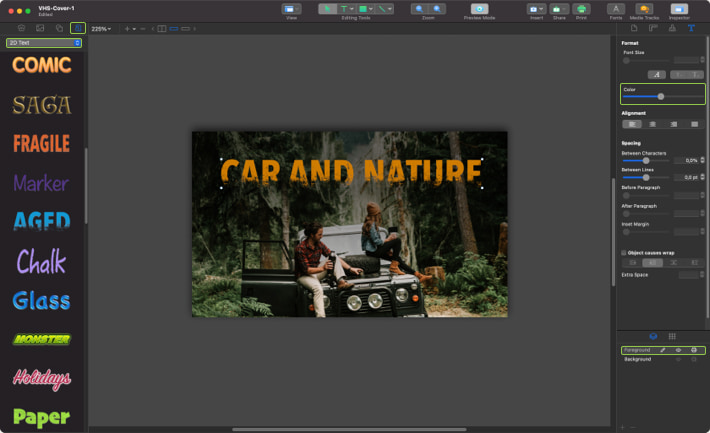
Now it’s time to add a header to your cover. First, select the foreground layer in the Layers panel. Then go to the Source Panel > Artistic headings. Select 2D Text in the dropdown menu, click on “Aged” to add decorative text to the canvas, and type your text in the “Edit Text” window. Then go to Inspector > Text, and edit the color with the color slider. You can resize the text using the control dots located on the sides of the text.
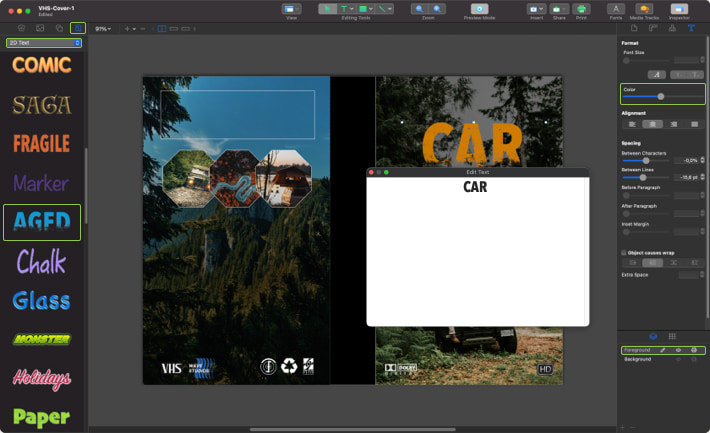
Repeat the same manipulation with the words “AND” and “NATURE.”
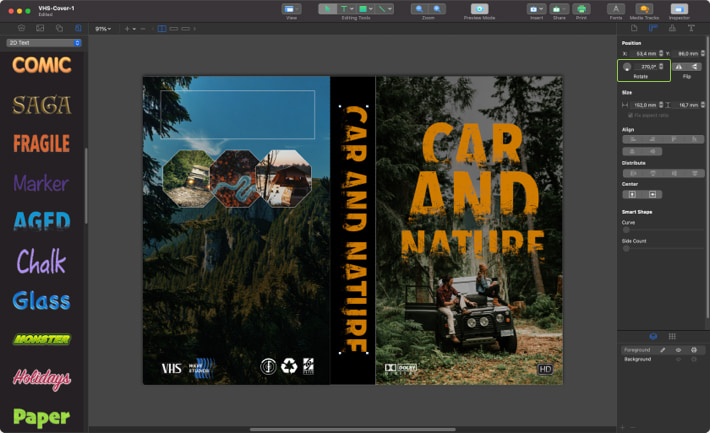
Now let’s add the text “CAR” and “NATURE” to the middle cover. To rotate it, go to Geometry and, in the Position, rotate it to 270°.
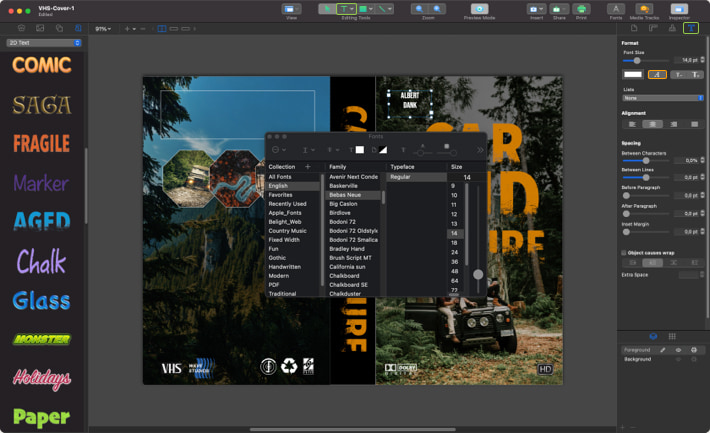
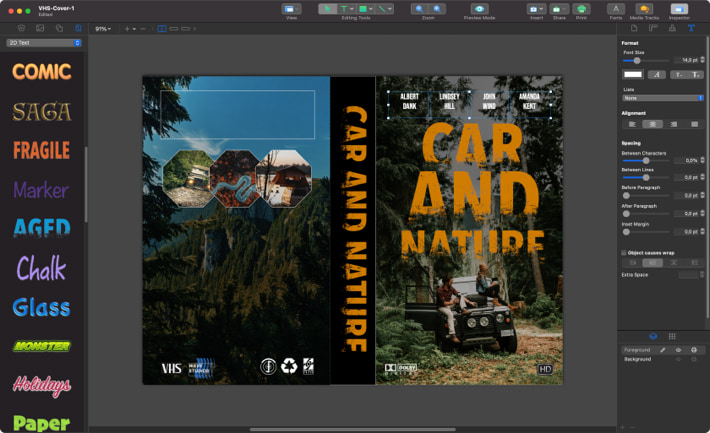
Now we will be adding text with the actors’ names. Click the Text icon on the Toolbar. On the canvas, click and drag to create a text box. Then go to Inspector > Text and press the “A” button (location is marked with an orange outline rectangle on the screenshot) Set the font size to 14 pt. The font in the template is Bebas Neue, which can be downloaded from Google Fonts.
Add the other three text boxes with text. You can use the shortcut Command+C to copy the text box, then Command+V to paste it in the new place and just change the text.
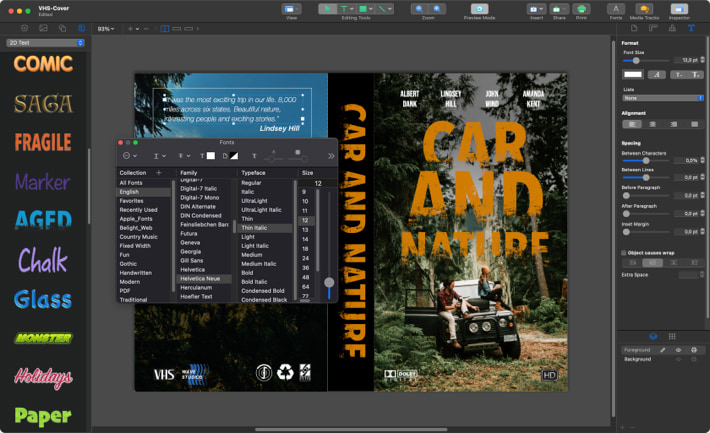
Now let’s add text to the back cover of the VHS. The algorithm is the same as in Steps 19–20. Use font Helvetica Neue, Typeface Thin Italic (it’s a system font), and set the Font Size to 12 pt. Then type the text “Lindsey Hill”, and select the following characteristics: font Helvetica Neue, Typeface Medium Italic and size 12 pt.
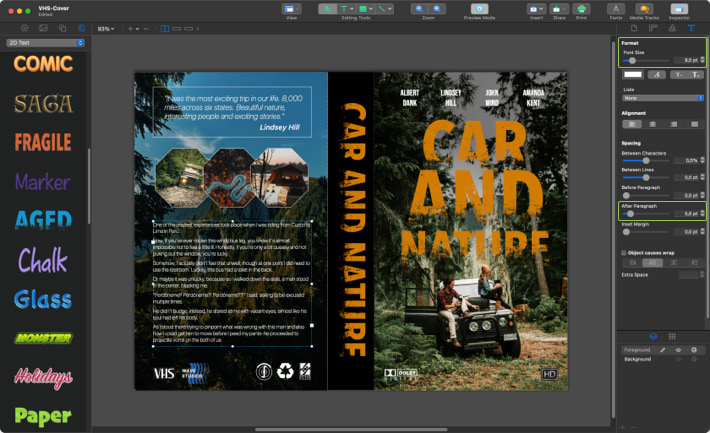
It’s time to add the last text box to the back cover. Use the font Helvetica Neue and Typeface Light Italic. Set the font size to 9 pt, and “After Paragraph” parameter in “Spacing” to 5 pt. Size of the text box: width—3.7″, height—2.6″.
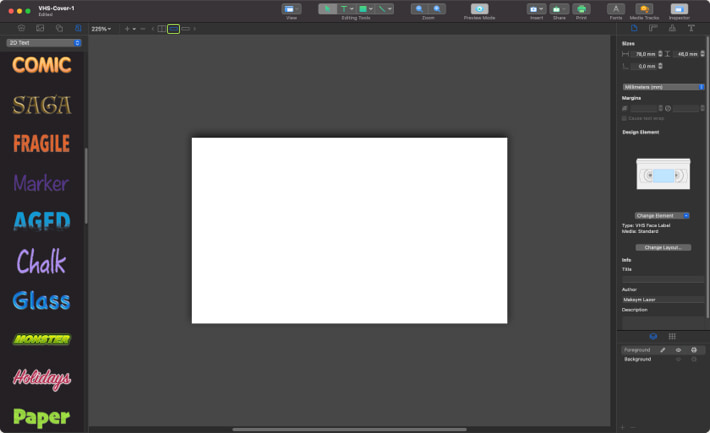
Now let’s create a design for the face element. Under the Toolbar in the Layout tools, switch to Face (the location is marked with a green outline rectangle on the screenshot).
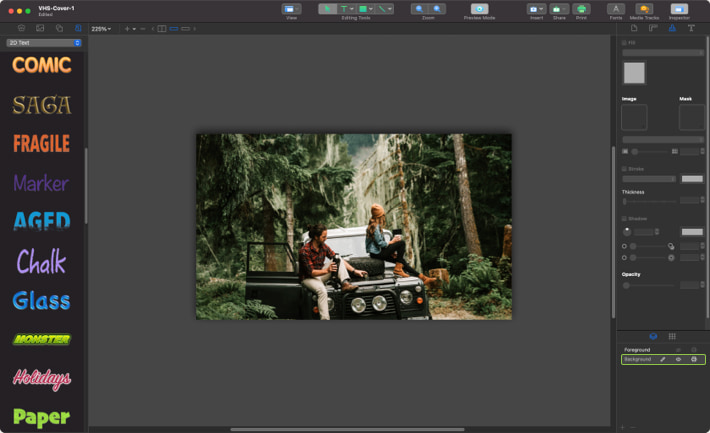
Let’s paste our photo into the Background layer. As we already mentioned, there are two ways to import images. The easiest way is to drag and drop it directly onto the VHS canvas, or you can go to Insert > Image > From File. It’s up to you which way to choose.
Create a gradient over the image. Go to Appearance, and select “Linear Gradient Fill” in the dropdown menu under “Fill” check. Select the left color and make it black (the location is marked with an orange outline rectangle on the screenshot). Make the right color black with the opacity of 0% (location is marked with a pink outline rectangle on the screenshot). Set the color transition to -38%.
Now it’s time to add a header to our cover. First, select the foreground layer in the Layers panel. Then go to the Artistic headings in the Library. Select 2D Text in the dropdown menu, click on “Aged” to add decorative text to the canvas and type your text in the “Edit Text” window. After that, go to Inspector > Text and edit the color using the color slider. You can resize the text using control dots located on the sides of the text.
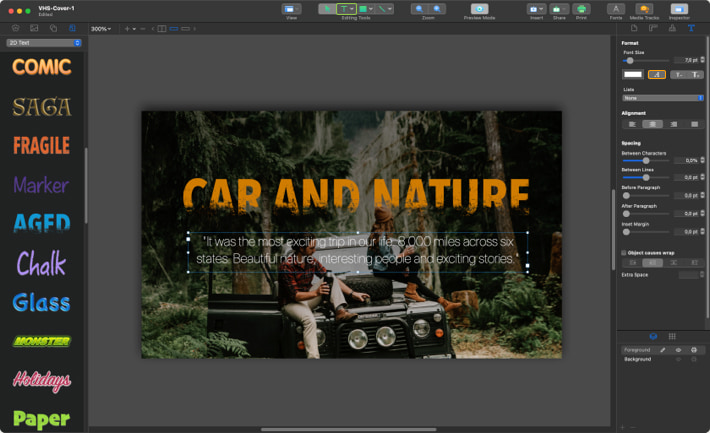
Let’s add description text to the face cover of the VHS. Select the Text icon in the Toolbar. On the canvas, click and drag to create a text box. Then go to Inspector > Text and press the “A” button (location is marked with an orange outline rectangle on the screenshot). Set the font size to 7 pt and the font to Helvetica Neue, Typeface—Light (it’s a system font so you don’t need to download it).
Now it’s time to make the last element of the VHS—create the design of the Spine. Under the Toolbar on the Layout tools panel, switch to Spine (location is marked with a green outline rectangle on the screenshot).
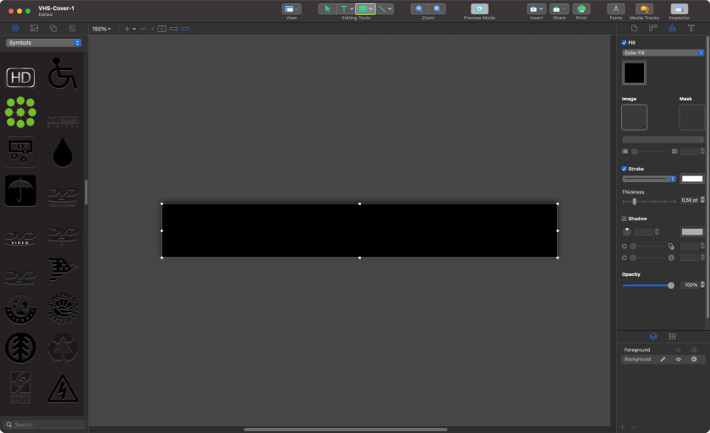
Create a background cover. In the Toolbar, select the Rectangle tool and create a black rectangle 5.7″×0.7″, like in the screenshot.
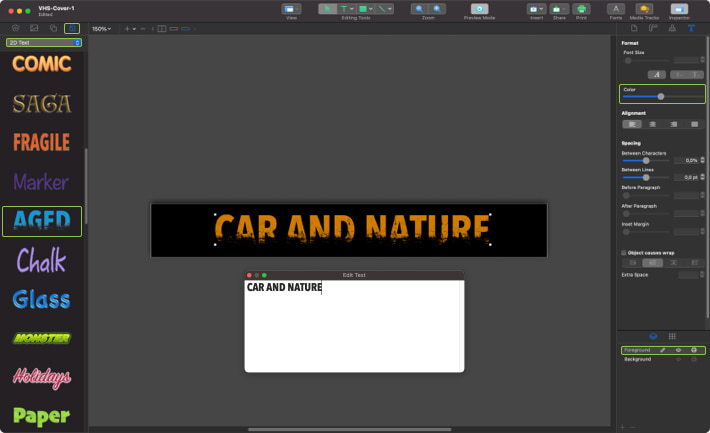
Now it’s time to add a header to your Spine Cover. Select the Foreground layer in the Layers panel. Then go to the Artistic headings in the Library. Select 2D Text in the dropdown menu, click on “Aged” to add decorative text to your canvas, and type your text in the “Edit Text” window. After that, go to Inspector > Text, and edit the color using the color slider. You can resize your text using the control dots located on the sides of the text.
Completed Project