Designing CD/DVD/Blu-Ray Prints With Swift Publisher
If you work with CDs, DVDs or any type of optical disc, you may find yourself grabbing a marker anytime you need to label your discs. We’re going to show you an easier and more professional way to create stunning designs on CDs, DVDs or any type of optical disc. When you need to label an optical disc, Swift Publisher has you covered.
Swift Publisher is comprehensive layout design software for Mac. Among its many features, Swift Publisher offers two ways to label discs: printing on circular labels and printing directly on the disc. Read on and we’ll give you the full scoop on how to easily label your discs.

Pre-designed Templates
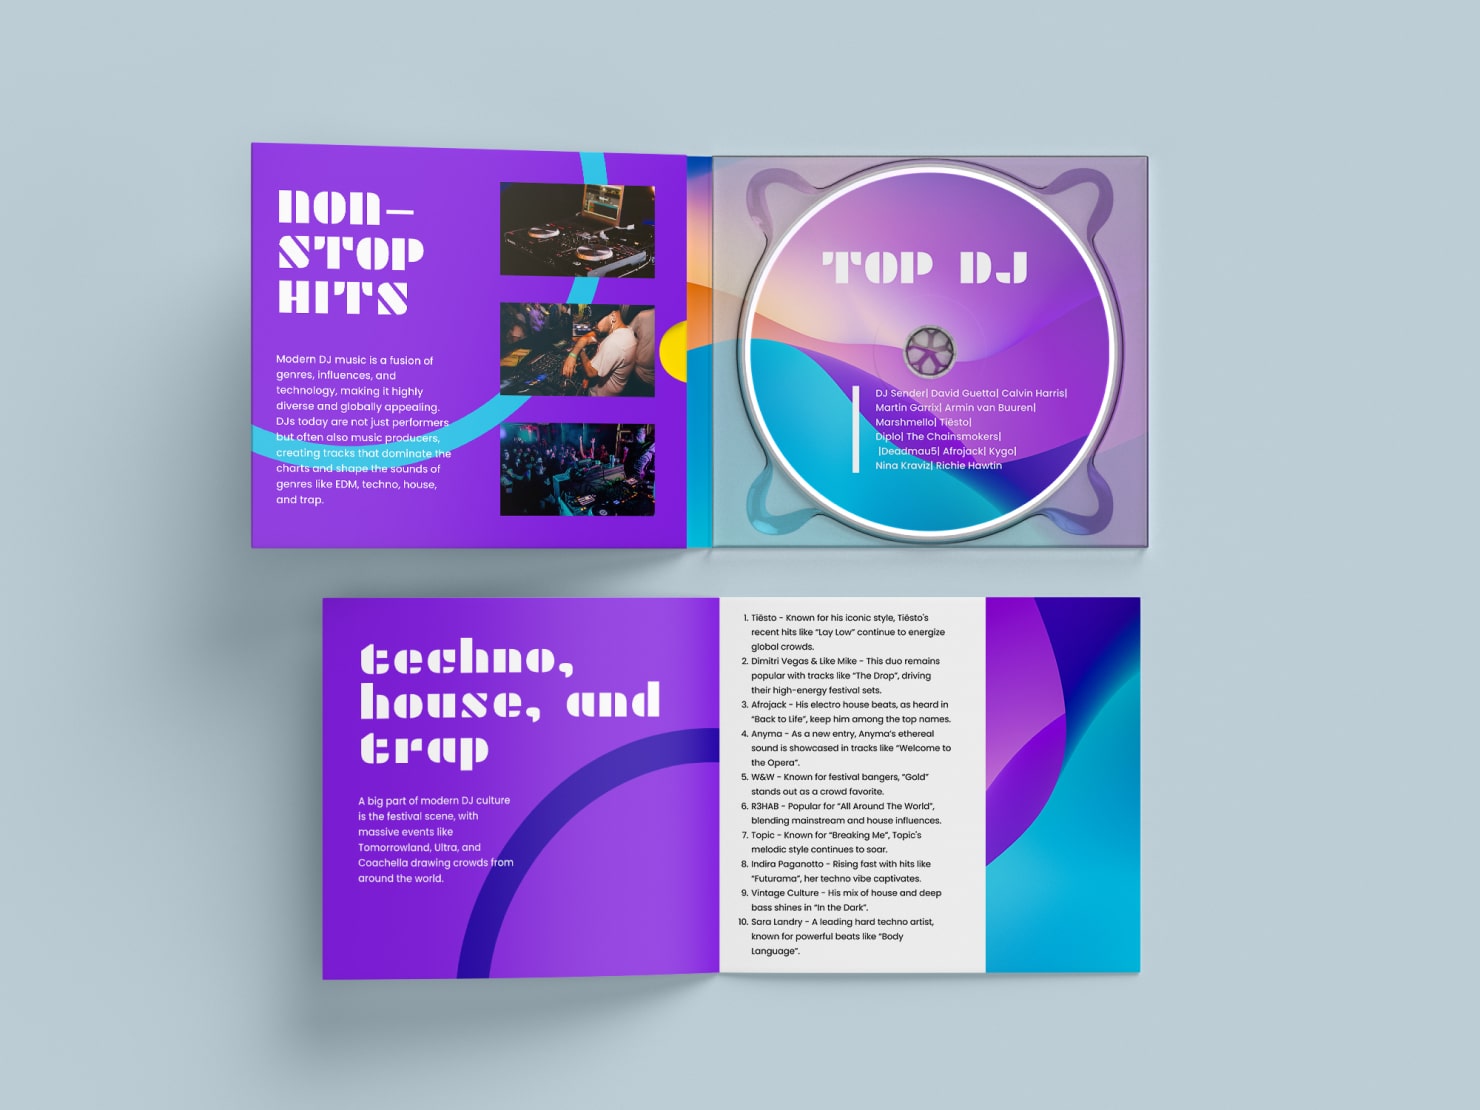
First, let’s take a look at creating a label for optical discs using Swift Publisher. Even if you’re new to the software, this is easy thanks to pre-designed templates. Swift Publisher offers templates for CDs, DVS and Blu-rays as well as vinyl records and VHS cassettes. And, if your disc is in a jewel case, there are templates for the inserts that go in the tray, as well as for the spines, folding booklets and the VHS covers. In short, for any piece you need to accompany a disc or vinyl, Swift Publisher has a template.
The templates can be customized with photos or backgrounds, using 2,000 clipart images that are included. You can also use flexible text and layout tools to create exactly the look you want.
Integration With Apple Applications
What makes Swift Publisher particularly user-friendly for creating disc labels and media is its integration with Apple applications. This allows you to import track info directly from your Apple Music library (former iTunes), as well as photos to use in a design from Apple Photos (former iPhoto), or a folder on your disc.
From the toolbar, you can open the Import dialog by selecting Media Tracks (Insert > Media Tracks). Then, you can select from Apple Music or Apple Photos the type of media you want to insert.
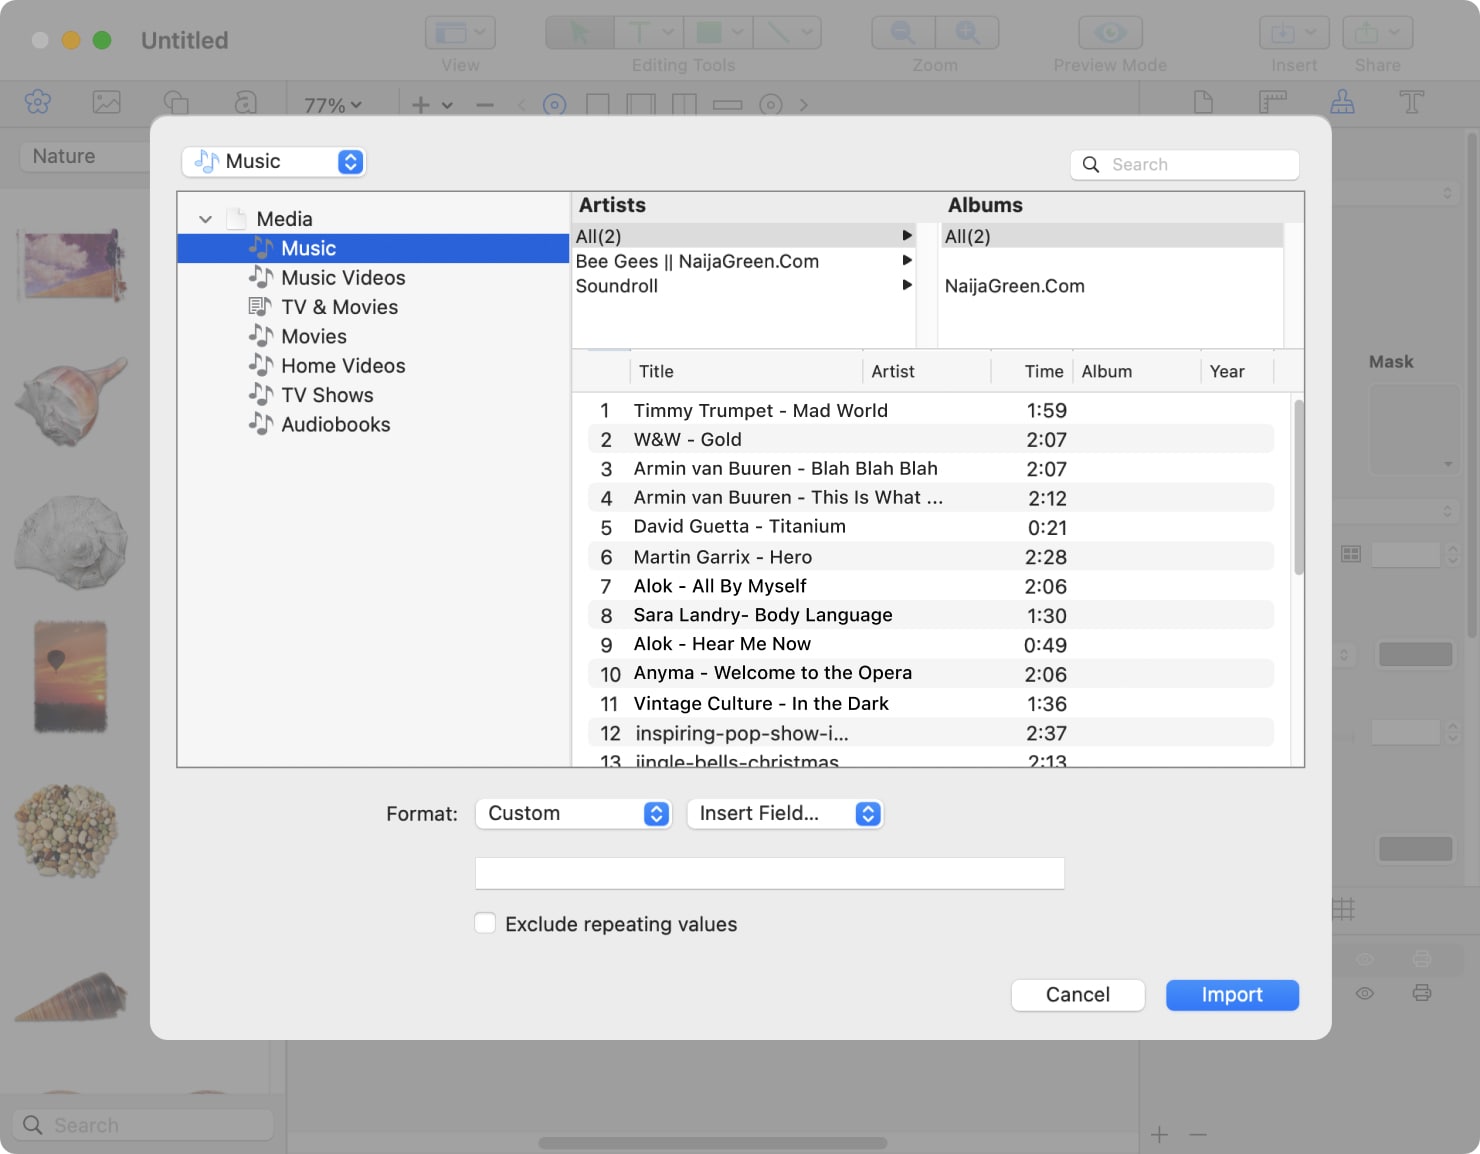
For example, if you select Apple Music, then from the Import dialog, select artist and album. A format list appears, which allows you to select which information to display for each track, like track number, artist or album.
When the design is finished, click the print button on the toolbar to get the print dialog options where you can choose how you will print the design.
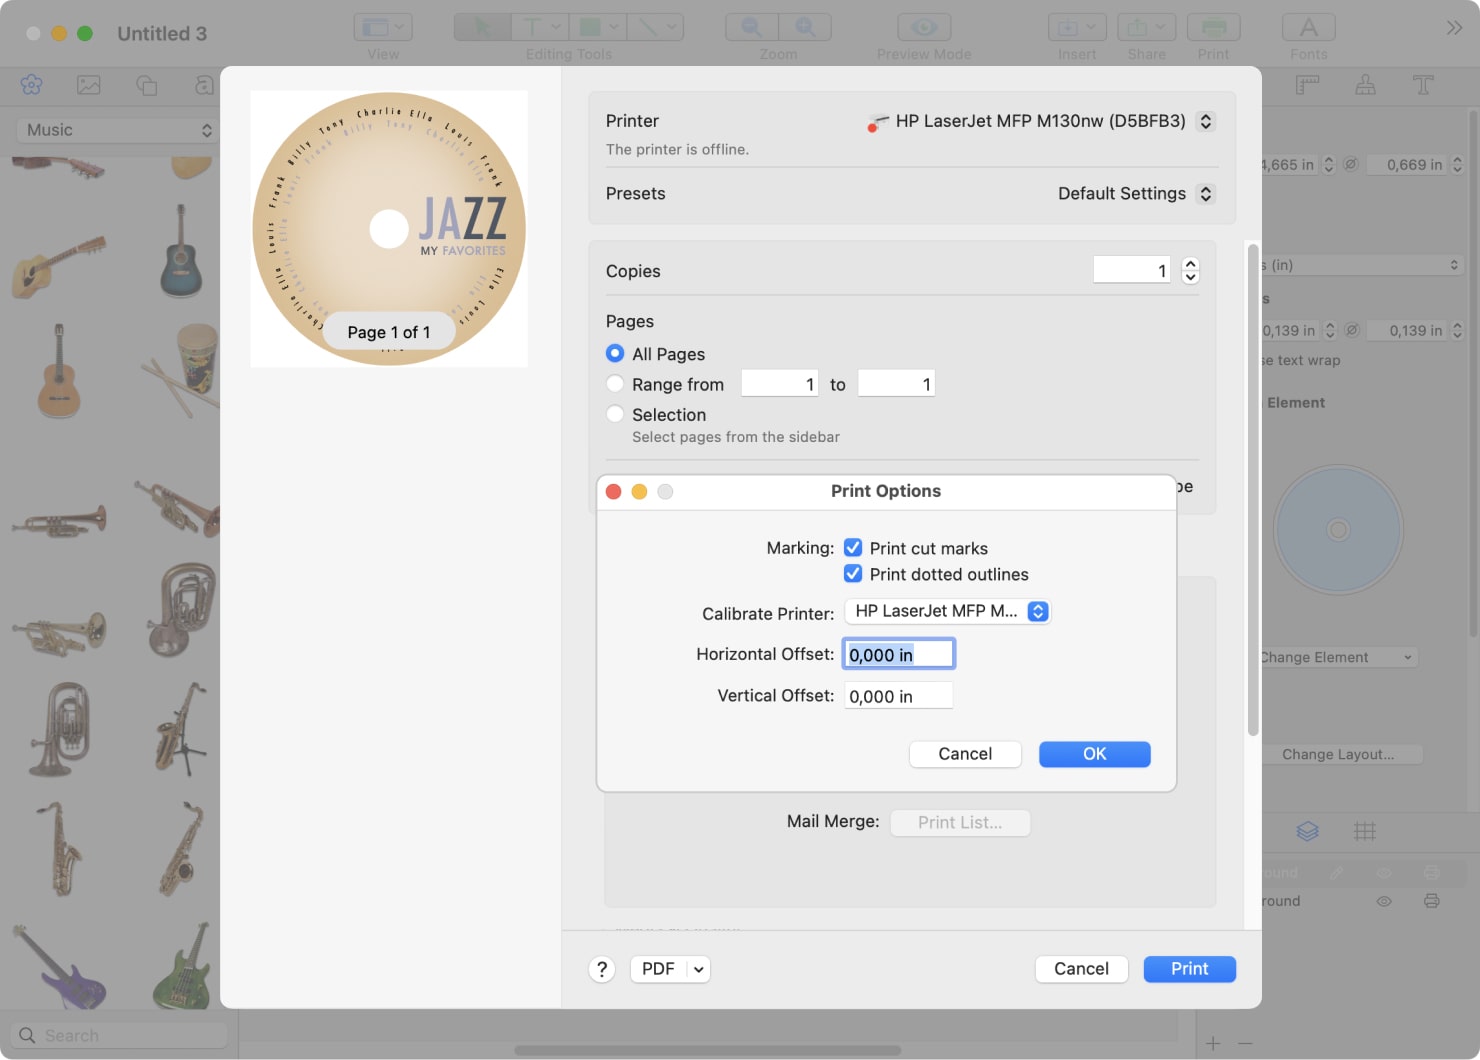
The integration makes it streamlined to import information to be printed automatically. Check out our video on Working with Discs for a quick demo.
Multiple Label Paper Layouts
Swift Publisher is also quite flexible, offering the capability to design and print labels on different types of paper. Say you have a standard label sheet from Avery, to see the list of supported papers there is a search tool and preview for each layout. Simply click the Change Layout… button in the Inspector to open it.
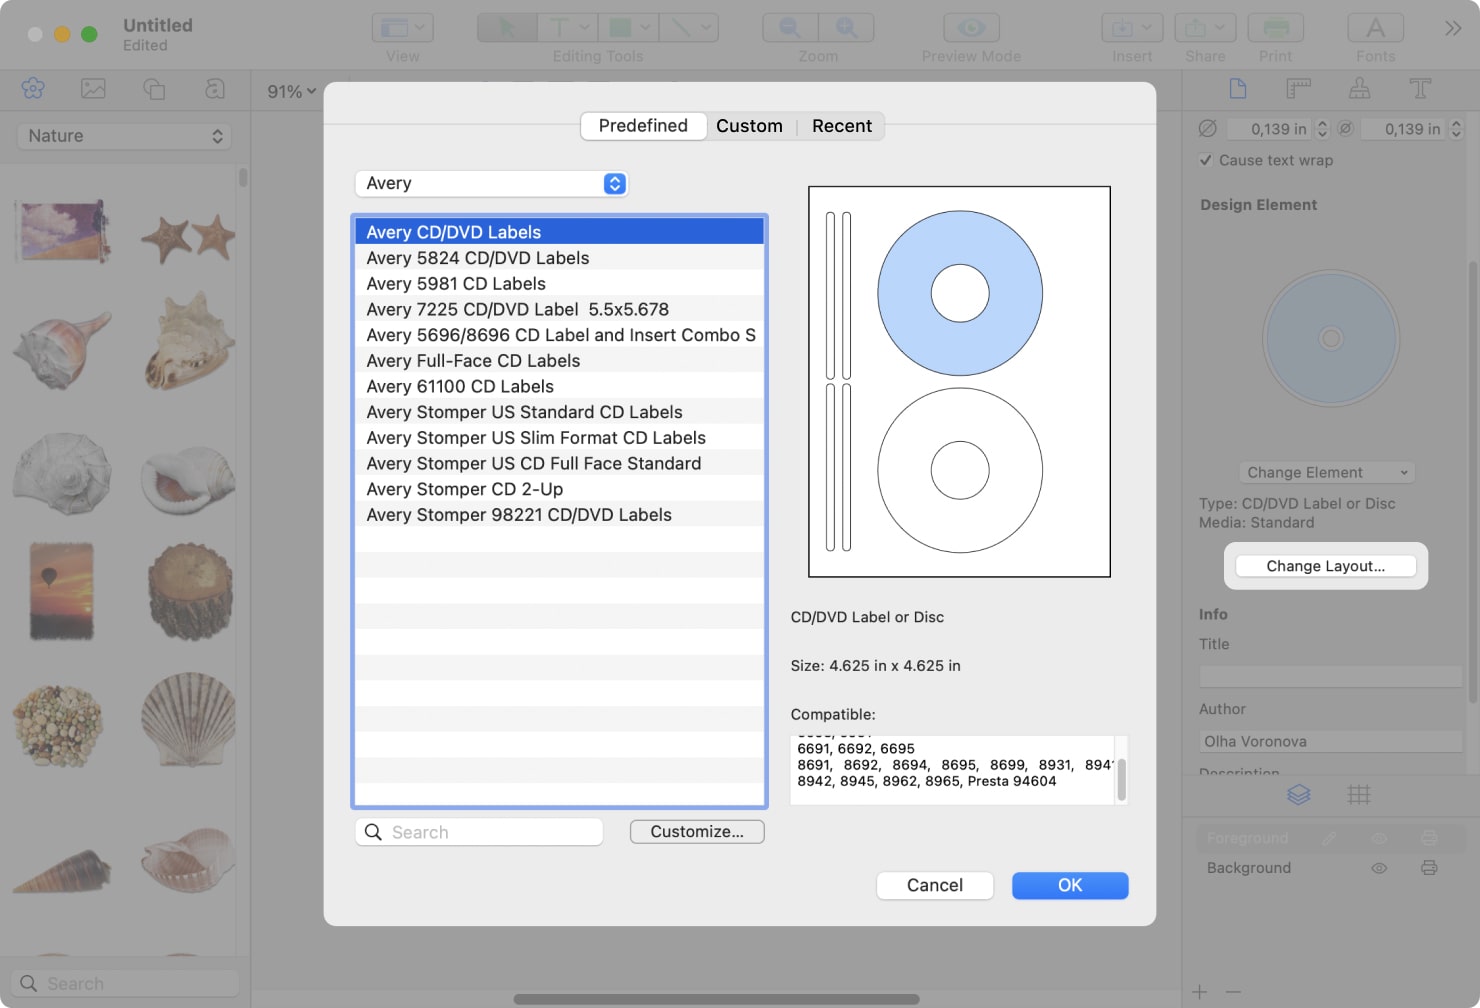
You can easily adjust print settings to accommodate that for these labels, and for most other popular label brands. Or perhaps you want a custom layout where you set your own number of labels per page, depending on your page size. That’s easy to do as well. Swift Publisher supports templates from different manufacturers, the list you can find below.
| Cut-Out Layout (US) | Cut-Out Layouts (Metric) | Supported Printers with Disc Tray |
|---|---|---|
| Ace Label | A-One | Brother |
| Avery | APLI | Canon |
| Fellowes/NEATO | DECAdry | Epson |
| Office Depot | HP | HP |
| Staples | XEROX | Imation |
| Pima | Data Becker | Microboards |
| TDK | Elecom | Primera |
| Belkin and others | Fellowes/NEATO and others | DYMO |
Direct-to-Disc Printing
If your printer supports disc printing mode, Swift Publisher can also print directly on optical disc with a special printable coating. This creates a sleek, professional look for your discs.
To print directly on a disc in Swift Publisher, first select the disc tray layout that corresponds to your printer. Then, select File > Change Layout to see the Change Layout dialog, and follow these steps:
- Select CD/DVD label or Disc in the upper drop-down menu.
- Select the printer manufacturer and tray type in the list. The tray type is usually indicated on the disc tray.
- Open the Print dialog by choosing File > Print.
- Open the Paper Handling section.
Note that the Paper Handling settings are different for Epson and Canon Printers. - Select the Scale to fit paper size option.
- In the Destination Paper Size drop-down list, select the option that is required by your printer manufacturer for printing on discs. For example, choose A4 (CD/DVD) for an Epson printer. For a Canon printer, select the compatible disc tray letter (e.g., Disc tray J).
- Set up the print media and quality. Epson printers usually have these in the Print Settings section. Select CD/DVD as the Media Type. Canon printer users should look for the Quality & Media section. Select Printable Disc as the Media Type. Set Paper Source to Disc tray. Consult your printer documentation for that information.
Select Media Type for Epson printers. Select Media Type and Paper Source for Canon printers. - Click the Print button to start printing.
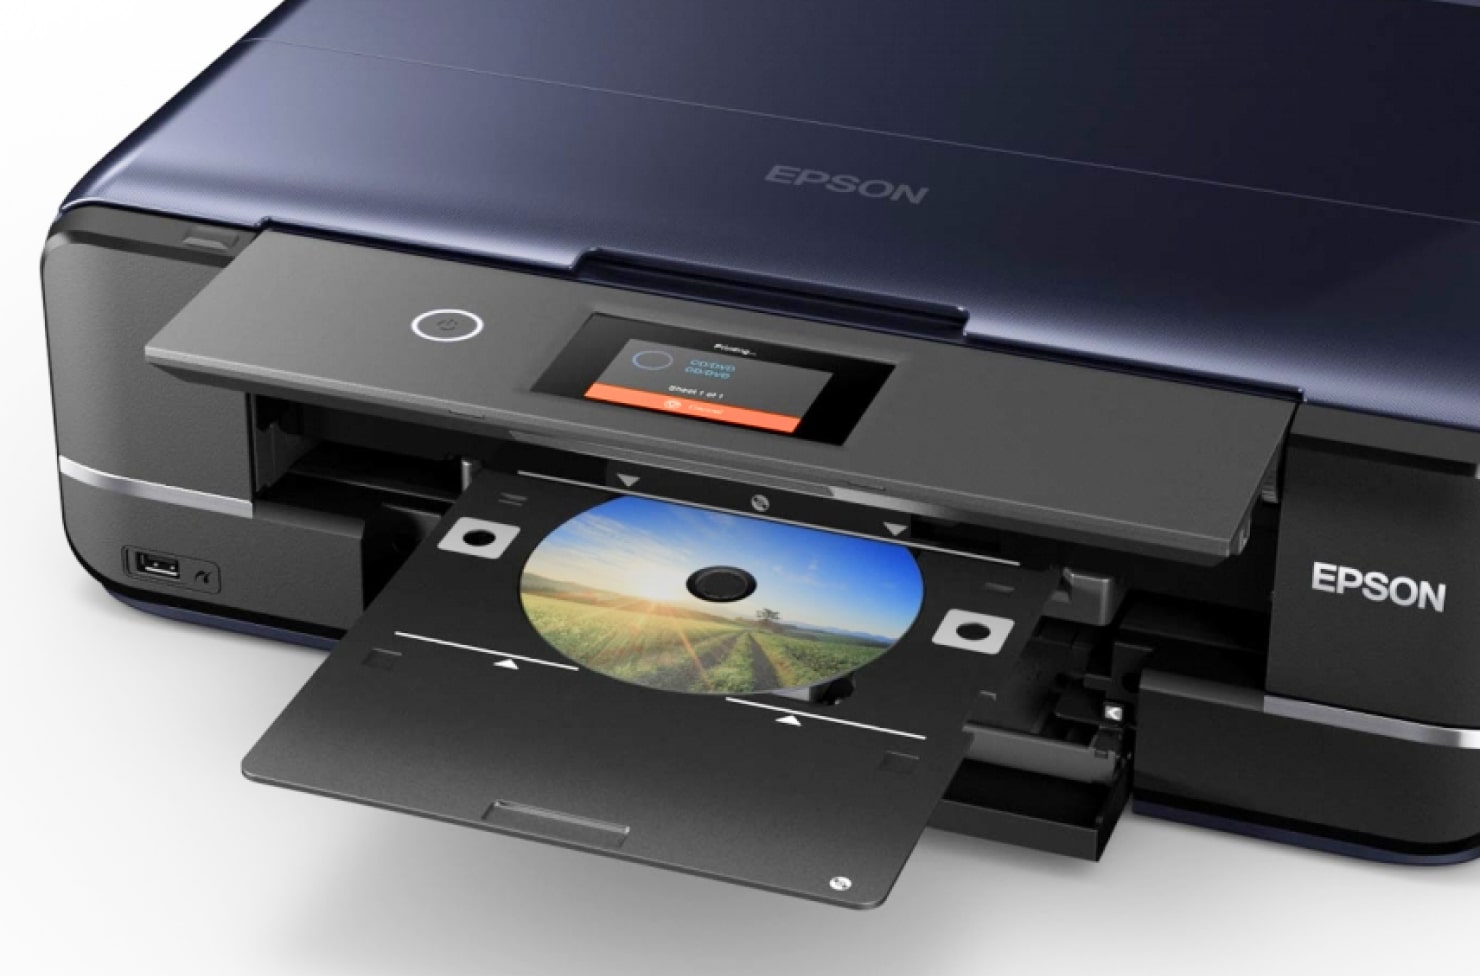
You can find more detailed steps on our Help page about Direct to Disc Printing.
Multi Page Booklets and Two-Sided Printing
You can also print professional-style booklets and two-sided covers to insert into disc cases. Simply select the Scale to fit paper size, if the Paper Size in the Print dialog is different from the Page Size in the Documents tab of the Inspector. To print a booklet, select Format as booklet check box. Then choose horizontal or vertical page orientation.
Check out our Help page if you’d like to explore how to adjust the settings for different document types.
You might also want to print two-sided inserts for disc cases, by selecting the Two-sided option in the Layout section. If you print on both sides, you can select which side should be printed by using the Pages to Print option in the Paper Handling section. Select All Pages if your printer has a duplex printing feature (Two-Sided option in the Layout section). If it doesn’t, select Odd Pages or Even Pages, print one side, flip paper, and print the second side with the other option selected.
Here are more helpful tips on how to print on both sides of paper.
Text Positioning
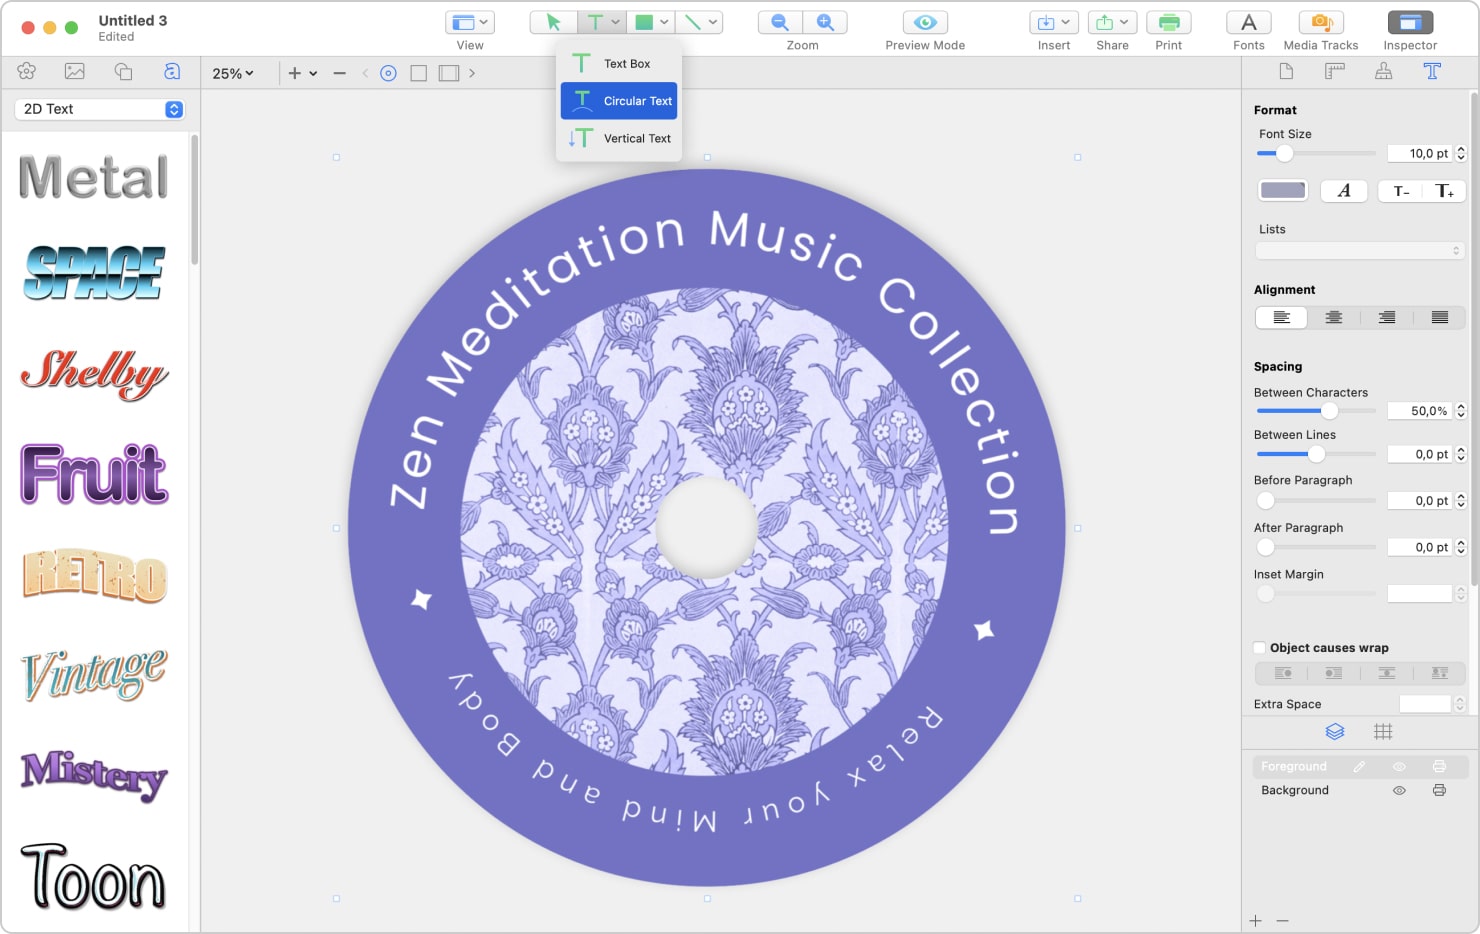
Swift Publisher allows you to format text in many creative ways, like printing circular text, or vertical text for the spine of a disc case. The circular text tool (Insert > Text > Circular Text) is great to print on the rim of CDs or even vinyl records. There are tools to adjust margins for the edge and the center of the disc. This customization lets users wrap texts, so disc labels look professional.
To find text formatting tools, head to the Text tab of the Inspector. You might want to check out a helpful video on formatting text.
Calibration Tools
The calibration tools in Swift Publisher allow for Horizontal and Vertical Offset fields. These let users position elements precisely within your design. The Horizontal Offset determines how far an object is moved left or right from its original position. The Vertical Offset tool allows for an up or down shift. By changing the values in these fields, you can have tight control over the placement of text and images, for pixel-perfect alignment throughout all disc labels and inserts.
These options are found in the print options box. Check out our video to see how to set the offset fields.

Swift Publisher: A Complete Disc Printing Solution
Within Swift Publisher, Mac users have a full solution for optical disc labeling and packaging design. With pre-designed templates, integration with Apple applications, and support for various printing methods including direct-to-disc printing, Swift Publisher makes creating professional-looking disc labels and inserts easy and streamlined.
The software’s flexibility in handling different paper layouts, multi-page booklets, and two-sided printing, as well as text formatting and calibration tools, makes it a versatile choice for anyone who wants to design and print custom labels. Whether you’re a pro graphic designer, or whether it’s your first try, Swift Publisher gives you the tools to create and design disc labels and packaging with ease.