Program Interface
Swift Publisher Main Window
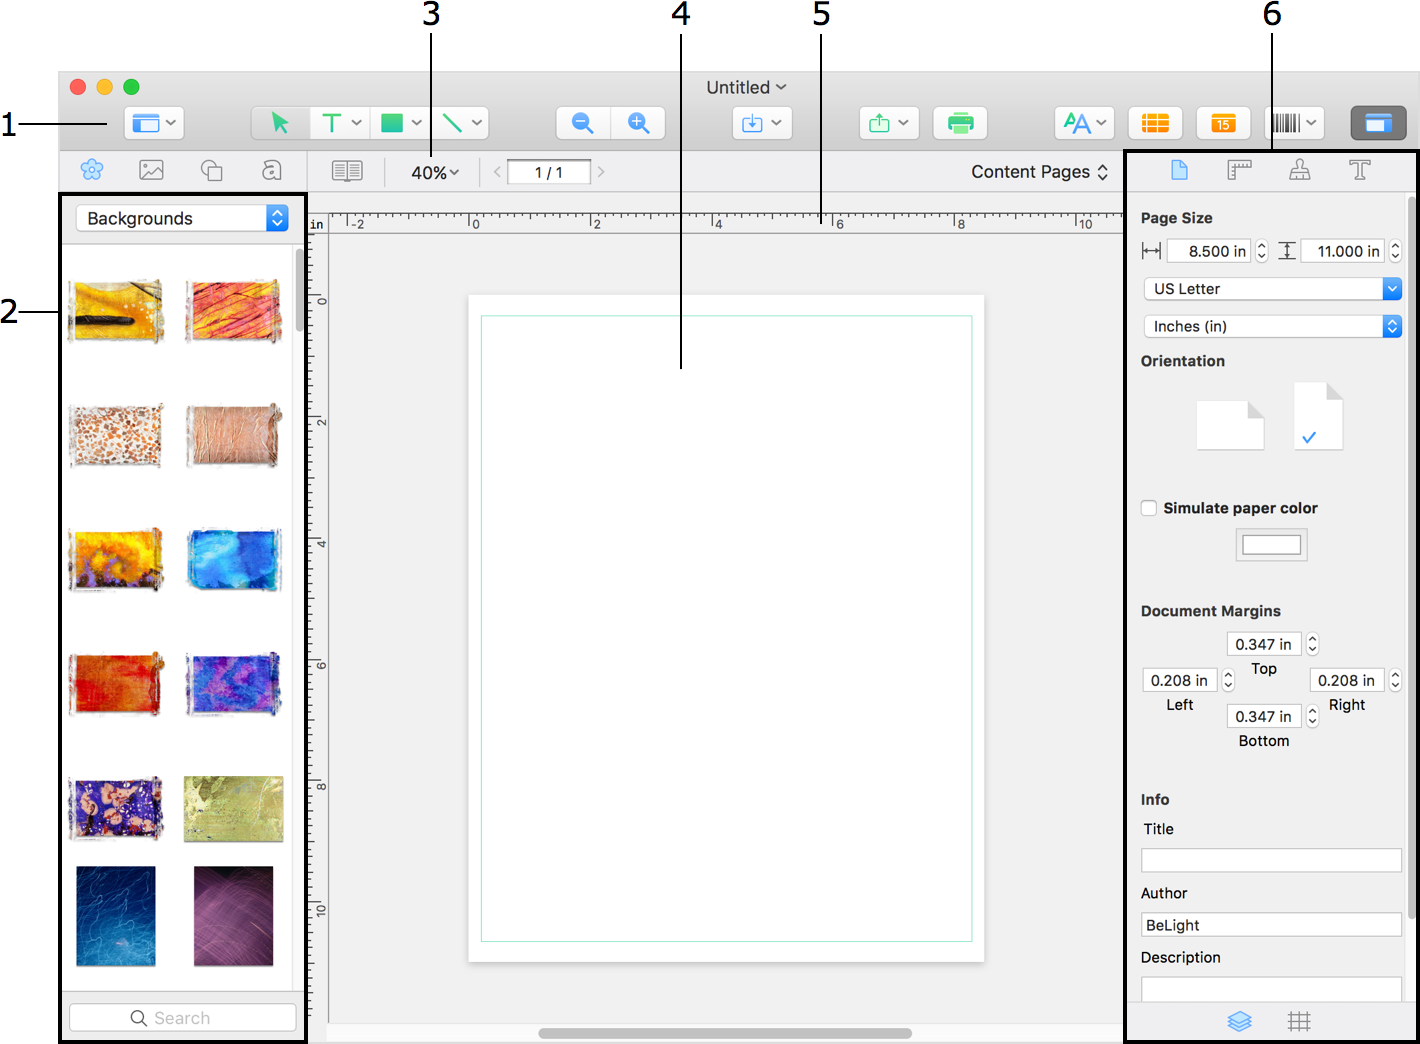
1 – Toolbar. Here you can select a text or drawing tool.
2 – Source panel. Here you can preview the content of the built-in clipart library and access images stored in Photos.
3 – Layout tools. Here you can change the canvas scale. Depending on the document type, there may be more tools for managing pages or CD/DVD elements.
4 – The design canvas. Your document is displayed and edited here.
5 – Ruler. It lets you determine the object's coordinates and size, as well as add guide lines.
6 – Inspector. It consists of several tabs containing the tools and properties for different objects.
The Toolbar
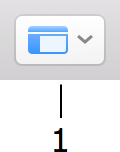
1 – View options.
1.1 – Show or hide the Source panel.
1.2 – Show or hide the rulers.
1.3 – Show or hide the grid.
1.4 – Turn the preview mode on or off. This button lets you show or hide the guidelines, margins, and other auxiliary marking.
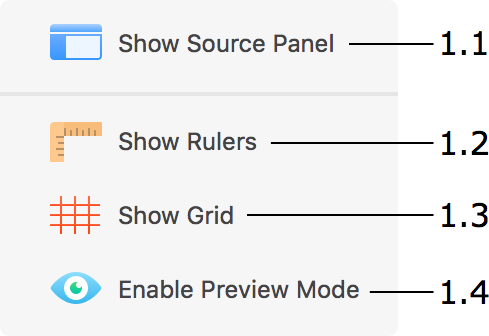
2 – Selection tool. Use it to select and move objects. To activate it, press the V key.
3 – Text tools. Note that there are multiple text tools. To view all of them, click and hold the mouse button (or click on an arrow), then select the necessary tool in the popup menu.
The text tool icon typically displays the most recently used text tool. Click once to activate the text tool shown in the icon. If you click on an already selected tool a second time, the tool will become activated permanently. Unlike the regular mode, it will remain activated after adding one text box so that you will be able to continue adding more text boxes. To deactivate the tool, click on another tool, for instance, on the selection tool.
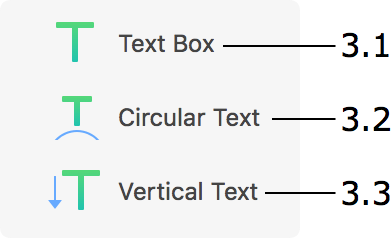
3.1 – Regular text. Use it to add text boxes, including linked text boxes where text flows from one box to another. To activate it, press the T key.
3.2 – Circular text. To activate it, press the U key.
3.3 – Vertical text. To activate it, press the Y key.
4 – Tools for drawing shapes. Note that there are multiple tools for different shapes. To view all of them, click and hold the mouse button (or click on an arrow), then select the necessary tool in the popup menu.
If you click on an already selected tool a second time, the tool will become activated permanently. Unlike the regular mode, it will remain activated after adding one shape so that you will be able to continue adding more shapes of the same type. To deactivate the tool, click on another tool, for instance, on the selection tool.
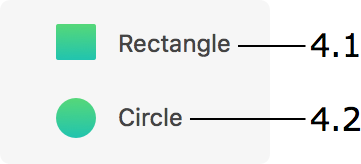
4.1 – Rectangle tool. Use it to draw rectangles and squares. To activate it, press the R key.
4.2 – Circle tool. Use it to draw circles and ovals. To activate it, press the C key.
5 – Tools for drawing lines. Note that there are multiple tools for different line types. To view all of them, click and hold the mouse button (or click on an arrow), then select the necessary tool in the popup menu.
If you click on an already selected tool a second time, the tool will become activated permanently. Unlike the regular mode, it will remain activated after adding one line so that you will be able to continue adding more lines of the same type. To deactivate the tool, click on another tool, for instance, on the selection tool.
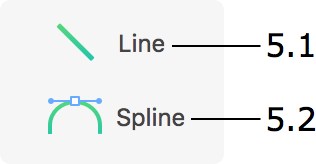
5.1 – Line tool. Use it to draw lines. To activate it, press the L key.
5.2 – Spline tool. Use it to draw curved lines and polygons. To activate it, press the S key.
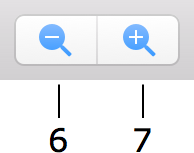
6 – Zoom out.
7 – Zoom in.
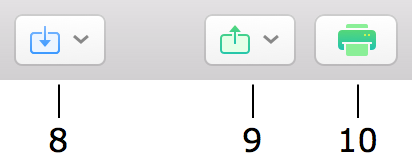
8 – Import graphics from different sources.
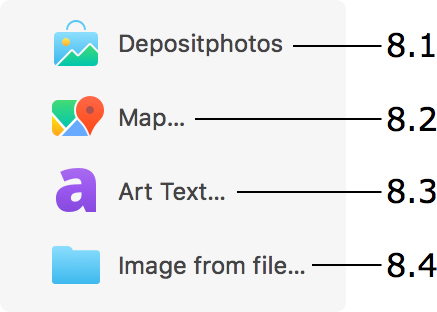
8.1 – Open the Depositphotos online image stock in a built-in browser. This service requires registration.
8.2 – Import a map created by Google.
8.3 – Design and import graphics from Art Text. Art Text is a stand-alone application. It must be installed and licensed in order to use this feature.
8.4 – Import an image from a file.
9 – The option to share your document in the PDF format.
10 – Print the current document.
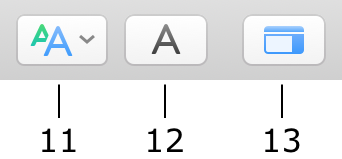
11 – Select or edit text styles.
12 – Show the Fonts panel.
13 – Show or hide the Inspector.
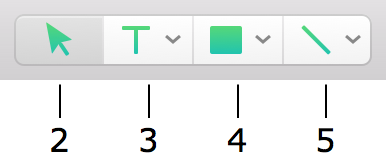
The Source Panel
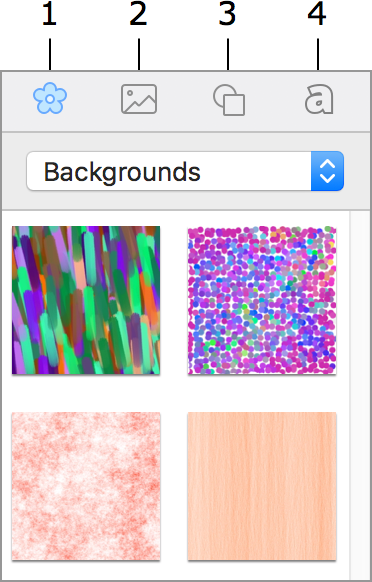
1 – Built-in clipart.
2 – Import images from your Photos library or from a folder on your disk.
3 – Built-in Smart Shape library.
4 – Collection of heading designs.